Add Organizations
To add an organization:
Step 1 – On the Netwrix 1Secure Website, on the Home page, select the Add organization icon to add an organization.
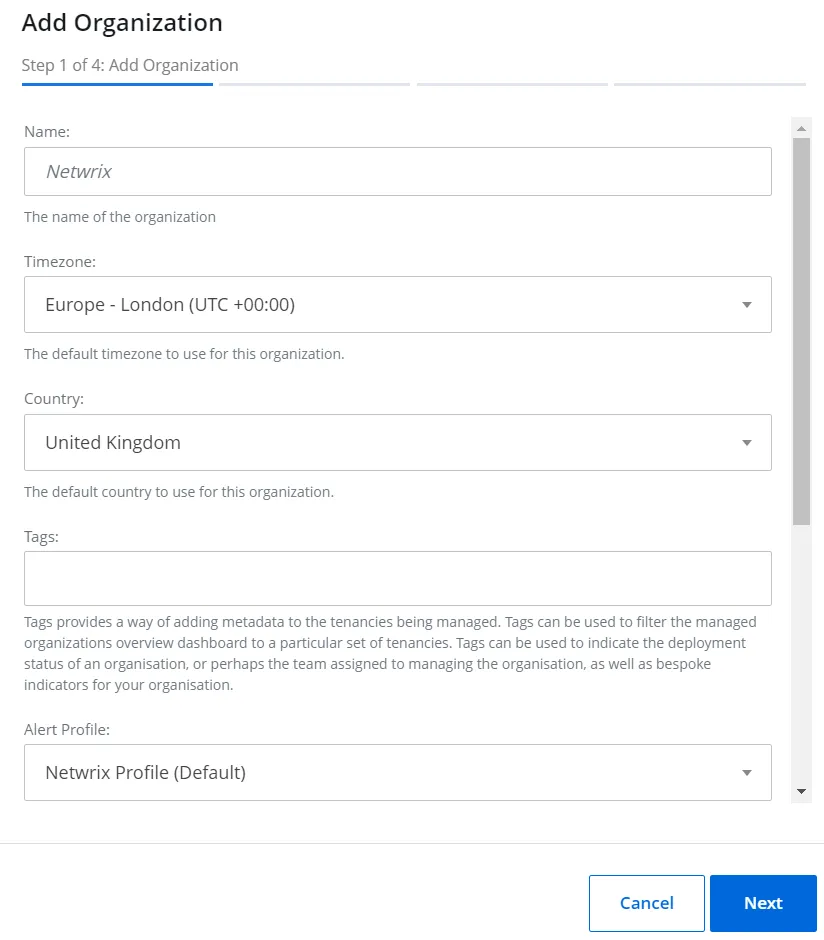
Step 2 – On the Add Organization (Step 1 of 4) window, specify the following:
- Name – Specify a name for the organization
- Timezone – Select a timezone for the organization
- Country – Select a country for the organization
- Tags – Select tags for the organization. Tags provide a way of adding metadata to the tenancies being managed. To specify multiple tags, select them one by one from the dropdown menu.
- Alert profile – Select an alert profile for the organization. With alert profiles, you can group alert configurations and delivery notification settings together.
- Risk Profile – Select a risk profile for the organization. With risk profiles, you can group thresholds together.
- Groups – Select a group for the organization. To assign an organization to multiple groups, select the groups one by one from the dropdown menu.
Click Next.

Step 3 – On the Select Data Source (Step 2 of 4) window, add a preferred data source to your organization:
- Active Directory
- Azure AD (now Microsoft Entra ID)
- Computer
- Exchange Online
- SharePoint Online
See the Sources and Connectors topic for detailed information.
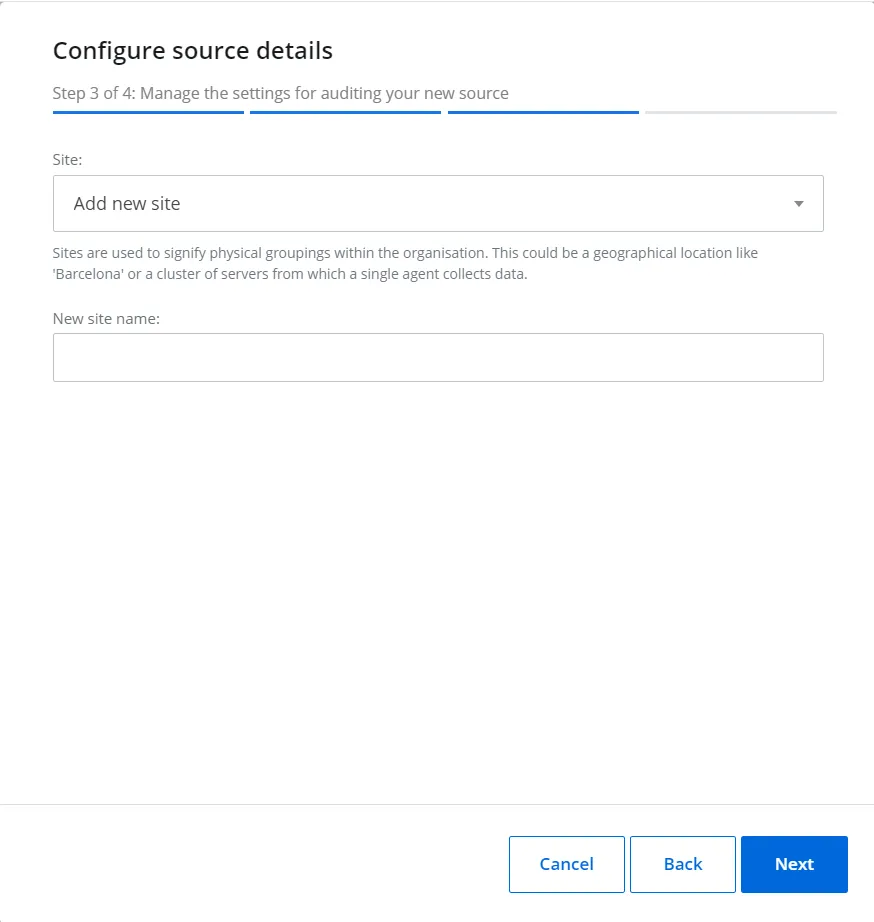
Step 4 – On the Configure source details (Step 3 of 4) window, add a site for your organization. Sites are used to signify physical groupings within the organization. Click Next.
This step is displayed only when adding Active Directory and Computer sources.
See the Add Sites to an Organization topic for additional information.
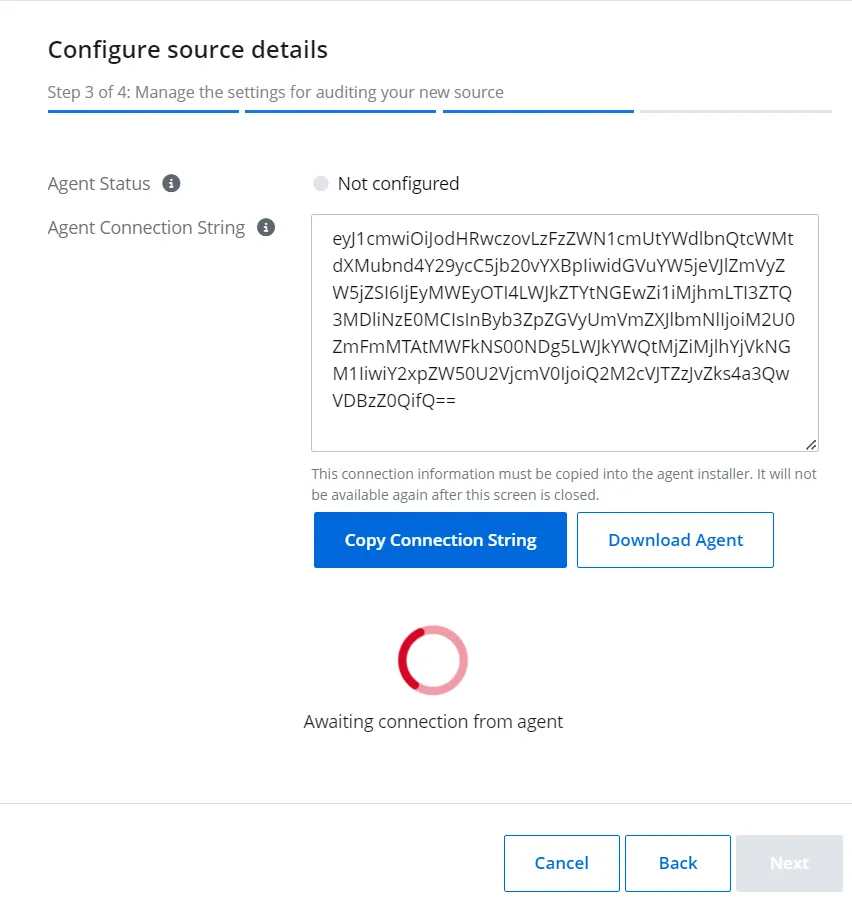
Step 5 – On the Configure source details (Step 3 of 4) window, follow the instructions to install the agent. Go to the Install Agent topic of the online help. Click Next.
Install the agent only for on-prem sources - Active Directory and Computer. This step is displayed only when adding these sources.
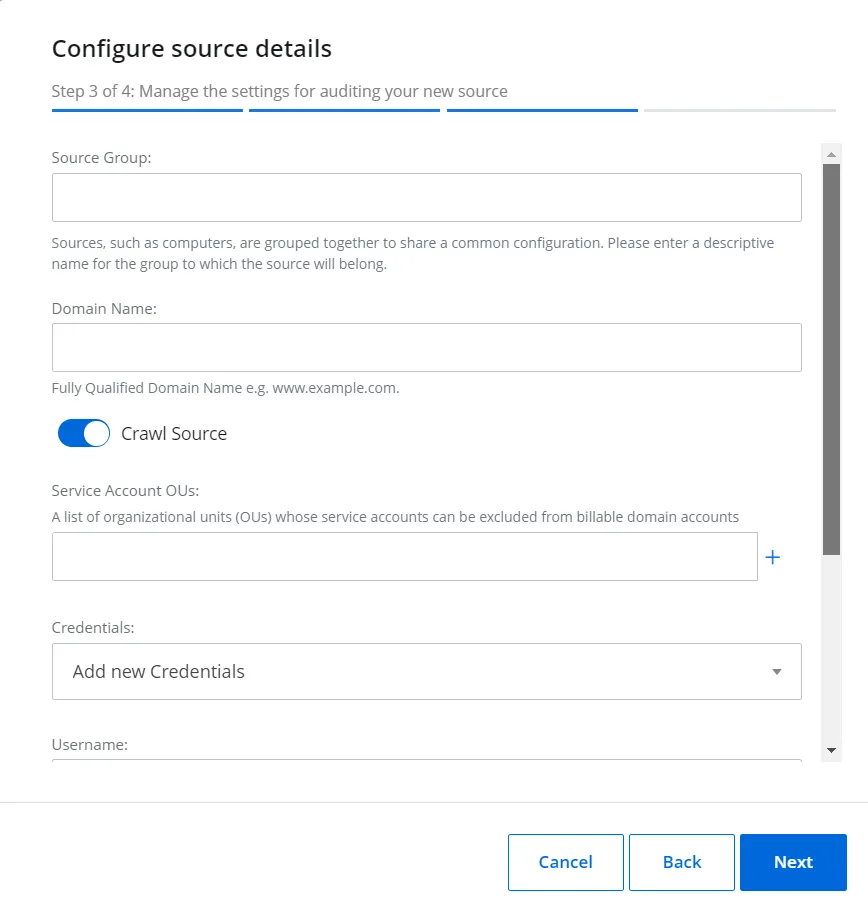
Step 6 – On the Configure source details (Step 3 of 4) window, specify your source settings. See the Sources and Connectors topic for additional information.
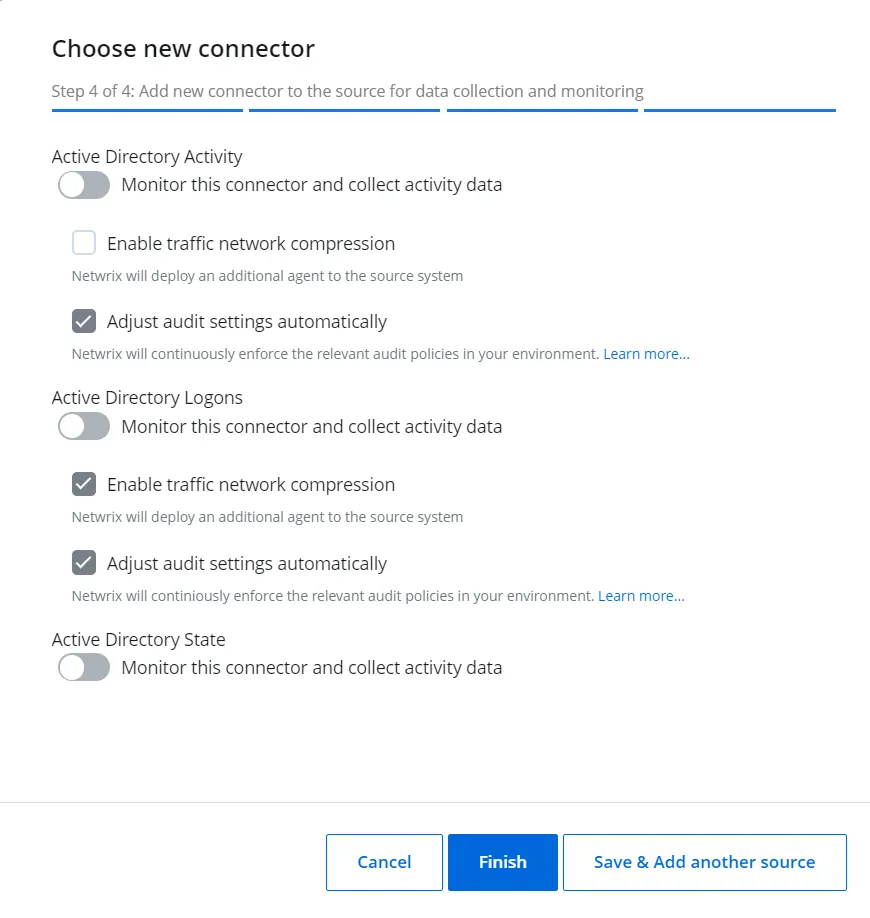
Step 7 – On the Choose new connector (Step 4 of 4) window, add the connectors for your sources on. See the Sources and Connectors topic for additional information.
Step 8 – Click Finish or Save & Add another source to add a source for your organization.
The organization is now added.