Viewing the Status of SendMail Actions
Follow the steps to view the status of an executed SendMail action:
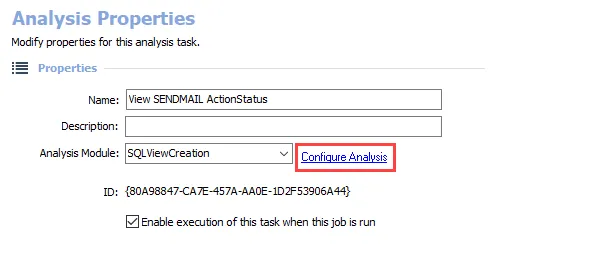
Step 1 – Create a new SQLViewCreation analysis and choose Configure Analysis. The View and Table Creation Analysis Module wizard opens.
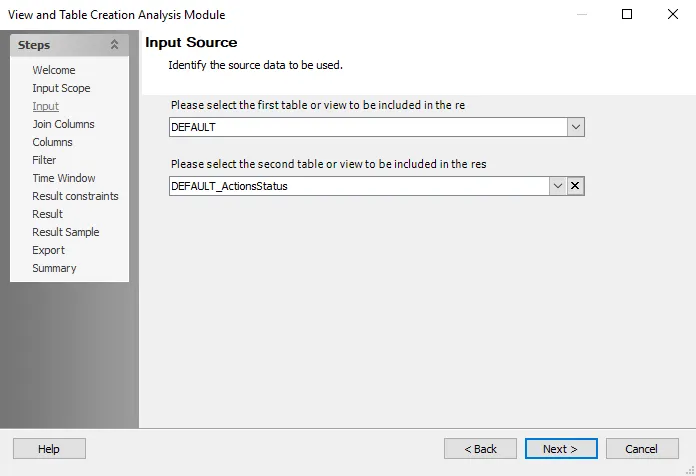
Step 2 – On the Input Source page, choose the original source table for the SendMail action as
the first table and tablename_ActionStatus as the second table. For example, if the source table
is MailEnabledPF, then select MailEnabledPF_ActionStatus as the second table.
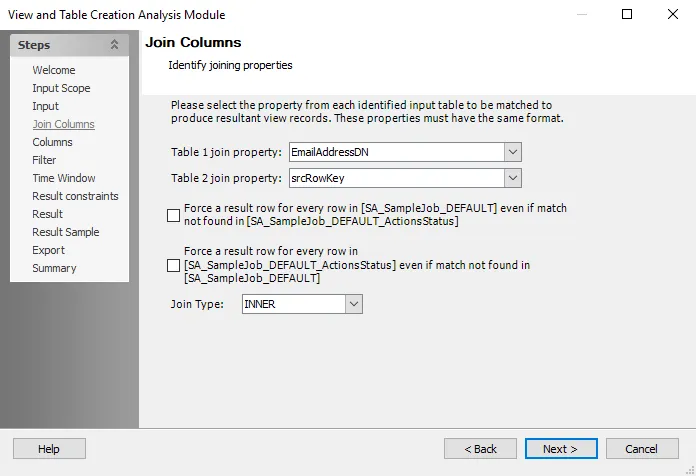
Step 3 – For Table 1 join property, specify the column recipient of the SendMail action. For example, if sent to SMTP address, specify SMTPaddress as the column. For Table 2 join property, select srcRowKey. Leave everything else at the default settings.
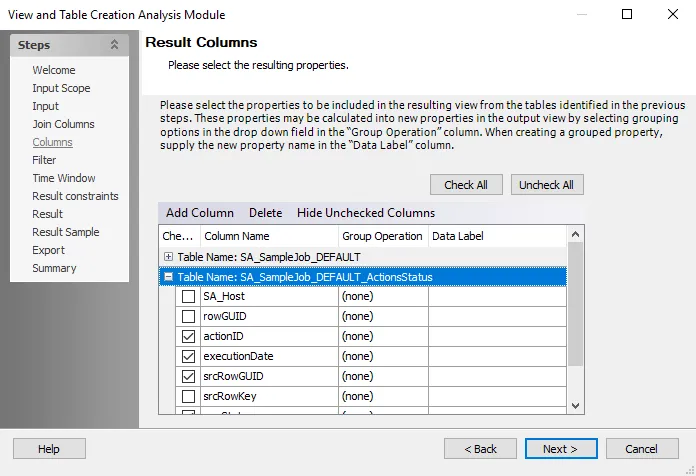
Step 4 – On the Results Columns page, select the columns to return from each table. Leave all other settings at their default.
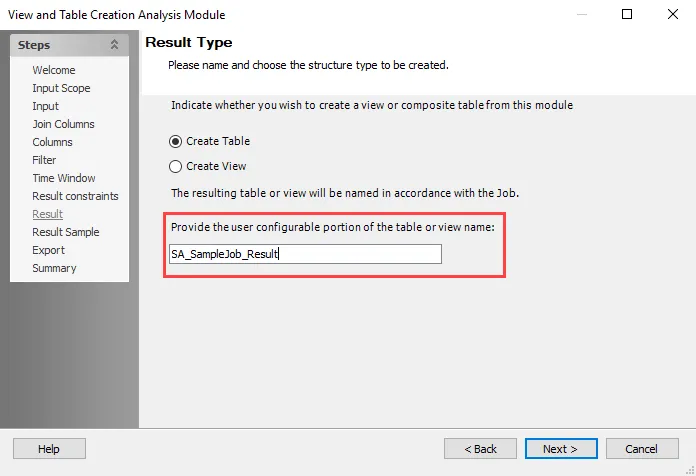
Step 5 – On the Result Type page, leave it as a table and provide a descriptive name, for
example SendMailStatus.

Step 6 – Click through the rest of the options. On the Result Sample page, click Show Preview to display the columns selected within the Columns page. Click Summary to navigate to the Summary page and click Finish to exit the wizard.
This analysis now reports the status of the SendMail action.