Importing False Positive Exclusion Filters
Create an import (TXT) file containing a list of file paths for the files to be excluded from Sensitive Data reports. The text file should have one file path per row. The import file needs to be scoped to a single solution and a criteria set.
Follow the steps to import a list of False Positive Exclusion Filter.

Step 1 – Click Import to open the Select False Positive Exclusion Filter file to import window.
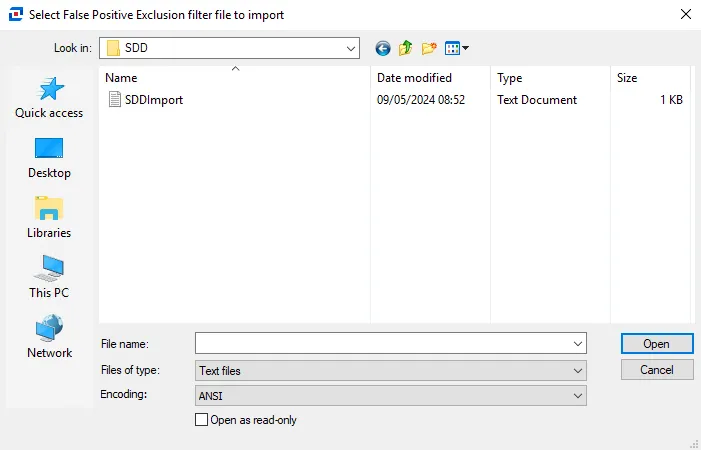
Step 2 – Navigate to the file that will be imported. Select the file and click Open. The Configure Imported False Positive Exclusion Filters window opens.
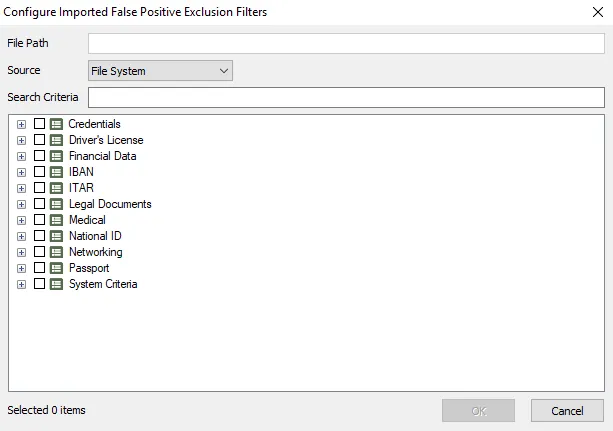
Step 3 – Select the repository type from the Source drop-down menu.
Step 4 – Select the required criteria from the list. You can use the Search Criteria textbox to filter the list by keywords.
Step 5 – Click OK to confirm configurations. The Configure Imported False Positive Exclusion Filters window closes.
Step 6 – Click Save on the Sensitive Data view to save changes.
The imported list of False Positive Exclusion Filters are now applied to Sensitive Data reports. If all of the files in the import were not meant to have the same Source and Criteria set, see the Editing False Positive Exclusion Filters topic for additional information.