AD_GroupMemberActivity Job
The AD_GroupMemberActivity Job analyzes the AD actions taken by the effective members of a group. Monitoring authentication can provide a more accurate method of determining staleness than last logons.
Analysis Tasks for the AD_GroupMemberActivity Job
Navigate to the Jobs > Active Directory > 6.Activity > Group Usage > AD_GroupMemberActivity > Configure node and select Analysis to view the analysis tasks.
The default analysis task is:
- Group Member Activity – Creates the SA_AD_GroupMemberActivity_GroupSummary table accessible under the job’s Results node
In addition to the tables created by the analysis tasks, the AD_GroupMemberActivity Job produces the follow pre-configured report:
| Report | Description | Default Tags | Report Elements |
|---|---|---|---|
| Group Member Activity | This report identifies actions taken by the members of each group within your environment. | CCPA GDPR SOX HIPPA PCI-DSS GLBA ITAR FERPA FISMA ISO27001 | This report is comprised of one element: - Table – Displays group member activity |
Configure the Group Member Activity Analysis Task
Customizable parameters enable you to set the values used to include the SIDs for admin groups during this job’s analysis. The parameters can be customized and are listed in a section at the bottom of the SQL Script Editor. Follow the steps to customize an analysis task’s parameters.
Step 1 – Navigate to the Active Directory > 6.Activity > Group Usage > AD_GroupMemberActivity > Configure node and select Analysis.
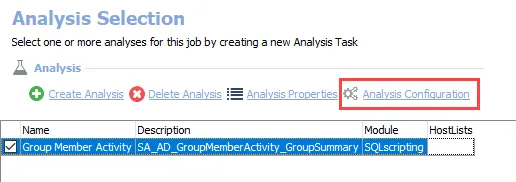
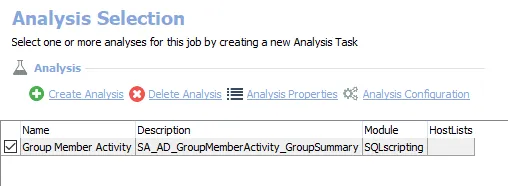
Step 2 – In the Analysis Selection view, select the Group Member Activity analysis task and click on Analysis Configuration. The SQL Script Editor opens.
CAUTION: Do not change any parameters where the Value states Created during execution.
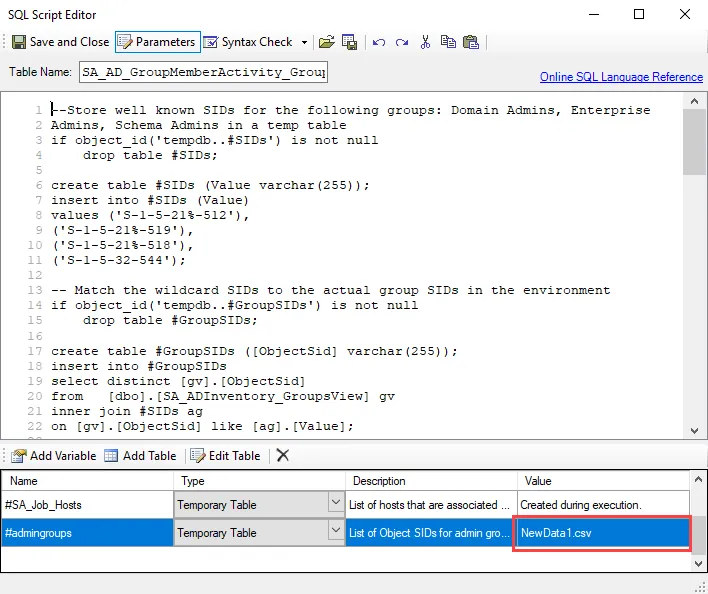
Step 3 – In the parameters section at the bottom of the editor, find the Value column. Select the cell for the temporary table called #admingroups, and click Edit Table to modify the value.
- The new value should include SIDs for admin groups to be considered administrative groups beyond the default admin groups.
Step 4 – Click Save and Close to finalize the customization and close the SQL Script Editor window.
The analysis task now includes custom parameters for the updated values.