1-SEEK System Scans Job
The 1-SEEK System Scans job is designed to collect sensitive data from the targeted file servers.
Query for the 1-SEEK System Scans Job
The File System Scan query uses the FSAA Data Collector and has been preconfigured to use the Sensitive data Scan category.
- File System Scan – Scans the File System
The following default configurations are commonly customized:
-
Scan Server Selection page:
- Set to Local Server, or local mode scans
-
Default Scoping Options page > Scan Settings tab:
- Set to Limit subfolder scan depth to 2 level(s)
- Set to Exclude system shares
-
Scoping Options
- Add share and folder inclusions
- Add share and folder exclusions
-
Sensitive Data Settings page:
- Set to Don’t process files larger than 2 MB
- Set to Store discovered sensitive data
- Set to scan typical documents
-
SDD Criteria Settings page:
-
Set to the following System Criteria:
- Credit Cards
- Passwords
- Tax Forms
- US SSN
-
See the Recommended Configuration for the File System Solution topic for a complete list of customizable settings. See the Configure the (SEEK) File System Scan Query topic for instructions.
Configure the (SEEK) File System Scan Query
The 1-SEEK System Scans job has been preconfigured to run with the default settings with the category of Sensitive data Scan. Follow these steps to set any desired customizations.
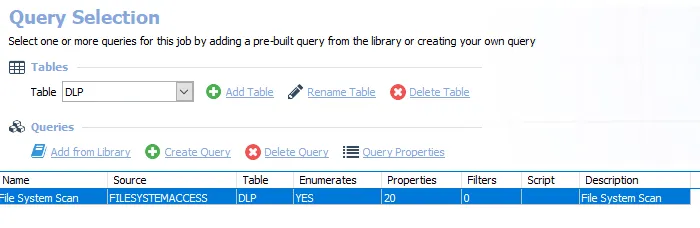
Step 1 – Navigate to the FileSystem > 0.Collection > 1-SEEK System Scans > Configure node and select the Queries node.
Step 2 – In the Query Selection view, click Query Properties. The Query Properties window opens.
Step 3 – Select the Data Source tab, and click Configure. The File System Access Auditor Data Collector Wizard opens.
CAUTION: Do not make changes to other wizard pages as they have been pre-configured for the purpose of this job.
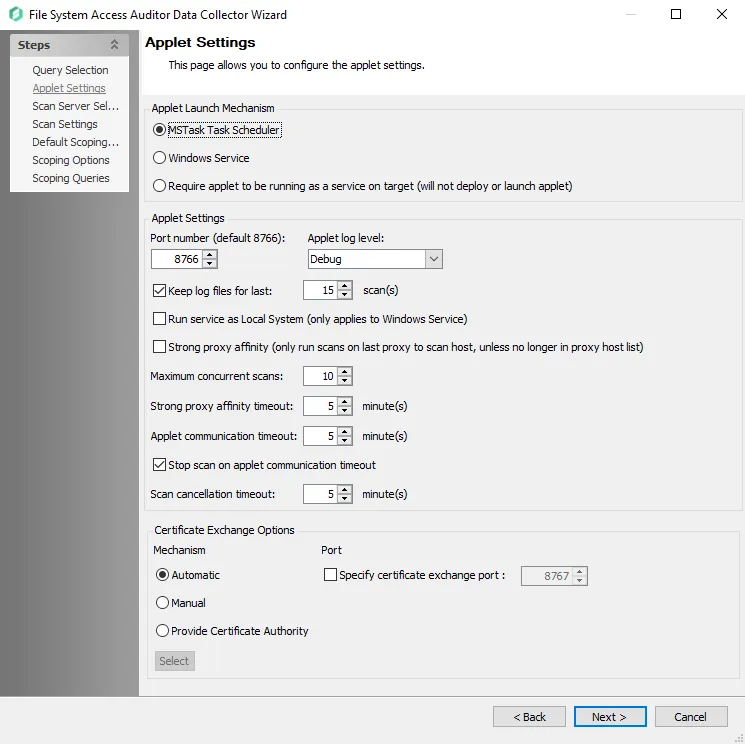
Step 4 – The Applet Settings page applies to the applet and proxy mode scans which are selected on the Scan Server Level page. If employing proxy servers, see the FSAA: Applet Settings topic for configuration instructions.
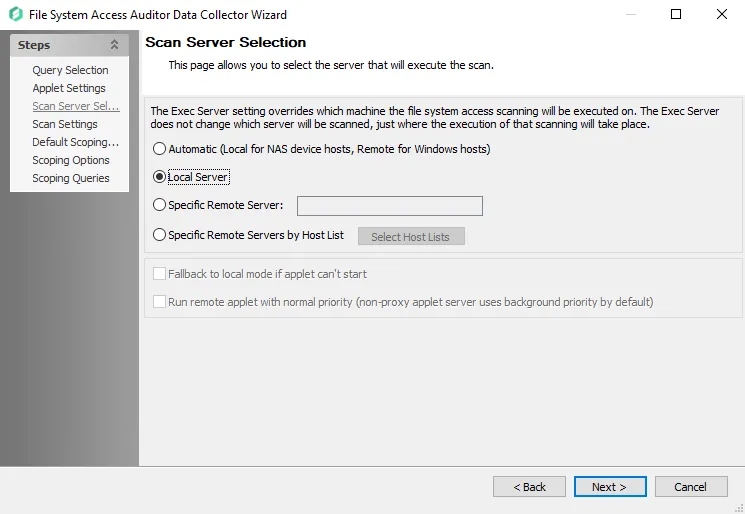
Step 5 – The Scan Server Selection page applies to the applet and proxy mode scans. Remember, each mode has different provisioning requirements. In addition to changing the type of scan mode, you can modify the scan restart settings. See the FSAA: Scan Server Selection topic for additional information.
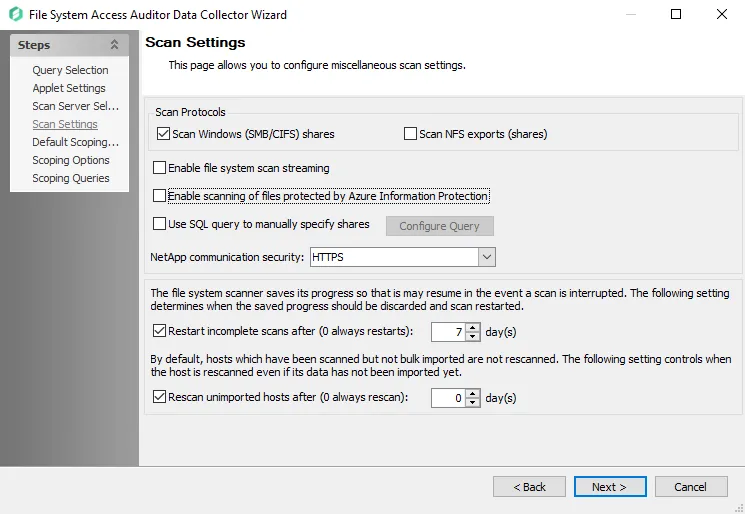
Step 6 – On the Scan Settings page, you can enable streaming. See the FSAA: Scan Settings topic for additional information.
NOTE: If streaming is enabled, the 2-SEEK Bulk Import job is no longer needed as part of the 0.Collection job group.
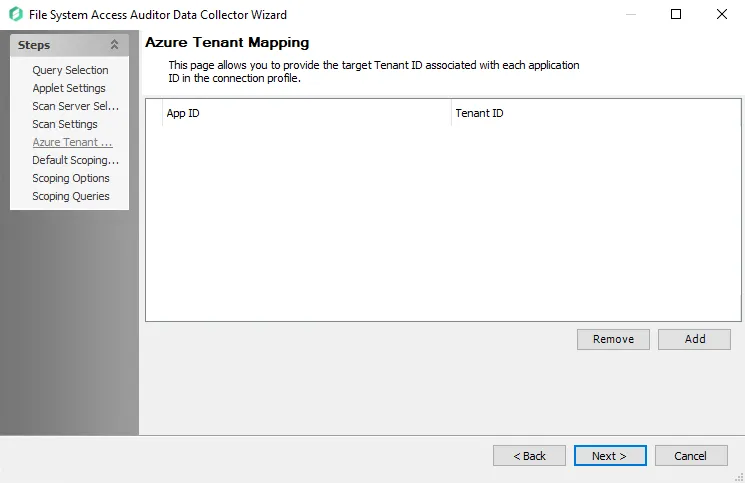
Step 7 – On the Azure Tenant Mapping page, enable Azure Information Protection (AIP). See the FSAA: Azure Tenant Mapping topic for additional information.
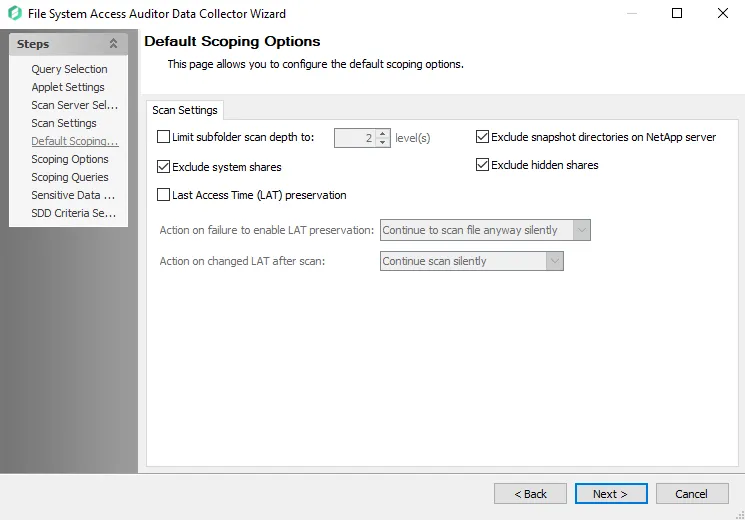
Step 8 – On the Default Scoping Options page, configure the following on the Scan Setting tab:
-
Limit subfolder scan depth to – Select this checkbox and use the arrow buttons to modify the subfolder scan depth
-
Exclude snapshot directories on NetApp server – Select this checkbox to exclude snapshot directories on NetApp server
-
Exclude system shares – Select this checkbox to exclude system shares
-
Exclude hidden shares - Select this checkbox to exclude hidden shares
-
Last Access Time (LAT) preservation – Select this checkbox to specify action on Last Access Time (LAT) preservation as follows:
-
Action on failure to enable LAT Preservation – Before scanning each file, FSAA attempts to enable an operating system feature to preserve the LAT when accessing the file. This operation may fail for a variety of reasons, which include but are not limited to: the operating system or file system where the file is located does not support LAT preservation, or insufficient permissions from the service account trying to access the file. The following configuration addresses a failure to enable the LAT preservation mode:
- Continue to scan file silently – FSAA scans the file with the possibility that LAT preservation is not possible. No warning will be shown.
- Continue to scan file with warning – FSAA scans the file with the possibility that LAT will not be preserved. A warning will be shown for this file.
- Skip file silently – FSAA will not scan the file. No warning will be shown.
- Skip file with warning – FSAA will not scan the file. A warning will be shown indicating the file was skipped.
- Abort the scan – FSAA will abort the scan. No further files will be processed.
-
Action on changed LAT After scan – Before scanning each file, the LAT of the current file is recorded. After scanning, it is verified whether the LAT has changed since then (likely scenarios are either that the LAT preservation mechanism failed to function as intended, or that the file was accessed by someone while the scan was occurring). The following configuration addresses a changed LAT:
- Continue scan silently – The scan will move on to the next file while updating the LAT for the processed file. No warning will be shown.
- Continue scan with warning – The scan will continue on to the next file. LAT will be updated for the processed file. A warning will be shown.
- Force-reset file LAT silently – The scan will reset the file's LAT to its original state before processing. No warning will be shown. The scan will proceed to the next file.
- Force-reset file LAT with warning – The scan will Reset the file's LAT to its original state before processing. A warning will be shown. The scan will proceed to the next file.
- Abort the scan – FSAA will abort the scan. LAT will be updated for the processed file. No other files will be processed
-
See the Scan Settings Tab topic for additional information.
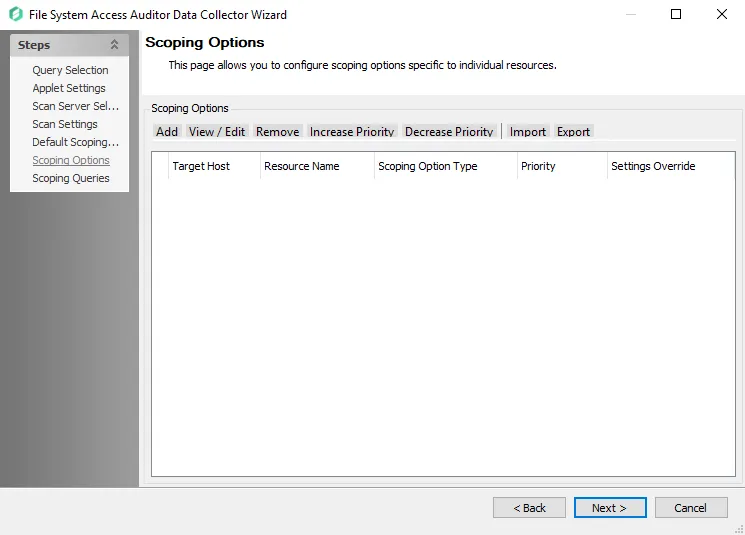
Step 9 – On the Scoping Options page, add share/folder inclusions and exclusions. See the FSAA: Scoping Options topic for additional information:
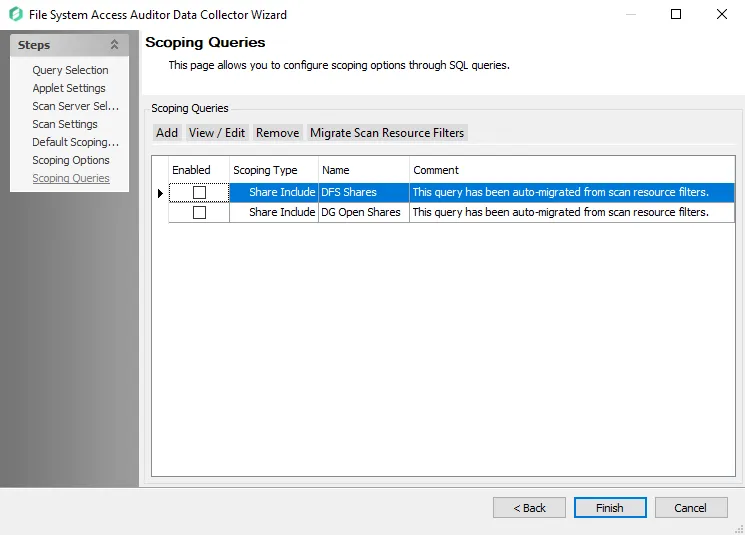
Step 10 – On the Scoping Queries page:
- Add share and folder inclusions
- Add share and folder exclusions
- Scope to scan only Open shares
NOTE: This option only works in conjunction with File System Access Auditing.
See the FSAA: Scoping Queries topic for additional information.
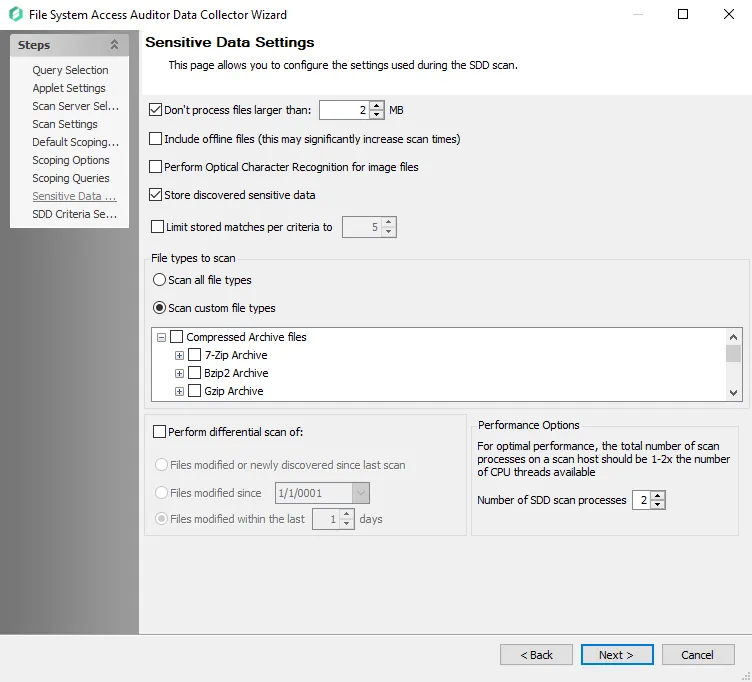
Step 11 – On the Sensitive Data Settings page:
-
Modify maximum file size to be scanned
-
Add scanning offline files
-
Modify file types to be scanned
-
Enable differential scanning
-
Modify the number of SDD scan processes
RECOMMENDED: For optimal performance, the total number of scan processes on a scan host should be 1 to 2 times the number of CPU threads available.
-
Enable Optical Character Recognition (OCR) scans
NOTE: The OCR option is intended to work for clear scanned physical documents or documents directly converted to images, with standard fonts. It will not work for scanning photos of documents and may not be able to recognize text on images of credit cards, driver's licenses, or other identity cards.
See the FSAA: Sensitive Data Settings topic for additional information.
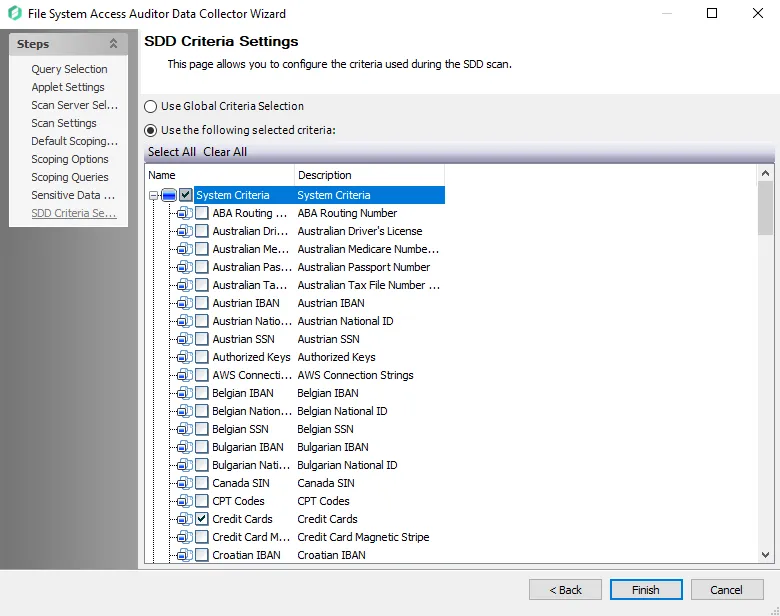
Step 12 – On the SDD Criteria Settings page, add or remove criteria as desired. See the FSAA: SDD Criteria Settings topic for additional information.
- (Optional) To create custom criteria, see the Sensitive Data Criteria Editor topic for additional information
NOTE: By default, discovered sensitive data strings are not stored in the Access Analyzer database.
Step 13 – Click Finish to save any setting modifications or click Cancel if no changes were made. Then click OK to close the Query Properties window.
If changes were made, the 1-SEEK System Scans Job has now been customized.