Migrating Proxy Servers to Scanners
Overview
Scanner nodes in Access Analyzer 26 replace legacy Windows proxy servers for distributed File Server and Active Directory scanning. If your legacy environment used proxy servers to scan hosts close to their network location, deploy equivalent scanner nodes in AA26 so scans run in the same distributed fashion.
Without dedicated scanner nodes, File Server and Active Directory source groups use the Default Scanner, which runs scans from the central AA26 server. This works for small or centralized environments but isn't optimized for distributed deployments where proximity to the target matters.
Entra ID and SharePoint Online source groups do not use scanners. Those connectors connect directly from the AA26 service. Only File Server and Active Directory source groups require scanner deployment.
Architecture comparison
In the legacy product, distributed scanning relied on Windows proxy servers running the FSAA Proxy Service (FSAAAppletServer.exe). These were persistent Windows agents deployed manually and assigned per-job in the Data Collector wizard.
AA26 replaces this with scanner nodes: Linux virtual machines that AA26 registers via SSH and automatically configures with a lightweight Kubernetes (K3s) runtime. Scans run as on-demand containers — there is no persistent agent process, and no manual service installation.
| Legacy Proxy Server | AA26 Scanner Node | |
|---|---|---|
| Operating system | Windows | Linux |
| Deployment | Manual installer on each Windows host | Automated via SSH from AA26 |
| Runtime | Persistent Windows service | On-demand containers (per scan) |
| Assignment | Per-job (Scan Server Selection wizard page) | Per-source group (via scanner labels) |
| Connectors supported | FSAA, ADInventory, and others | File Server, Active Directory |
| Default option | Local mode (EA console) | Default Scanner (local, always available) |
The Default Scanner is available immediately without any deployment. It runs scans directly from the AA26 server — equivalent to the legacy "Local Server" option in the Scan Server Selection page. If your legacy environment ran all scans locally, the Default Scanner covers this case without any migration action.
Before you begin
- Identify which legacy proxy servers are in use and which jobs reference them.
- Confirm the replacement Linux VMs are provisioned and accessible via SSH.
- Obtain an SSH Username/Key service account with access to each Linux VM. This account is used by AA26 during scanner registration.
- Plan your scanner labeling scheme before deploying. Scanner labels route scans to specific scanner pools. A consistent scheme — for example,
region=us-eastorenvironment=production— makes source group assignment straightforward.
Step 1 — Inventory legacy proxy servers
Before deploying scanner nodes, document every proxy server in use.
- Open the Netwrix Access Analyzer console.
- Navigate to Settings > Proxy Servers (or the equivalent node in your version).
- For each proxy server, record:
- The server hostname or IP address.
- The jobs or host lists assigned to it.
- The geographic location or network segment it serves.
This inventory determines how many scanner nodes you need and how to label them.
Step 2 — Deploy scanner nodes
Navigate to Configuration > Scanners in Access Analyzer 26.
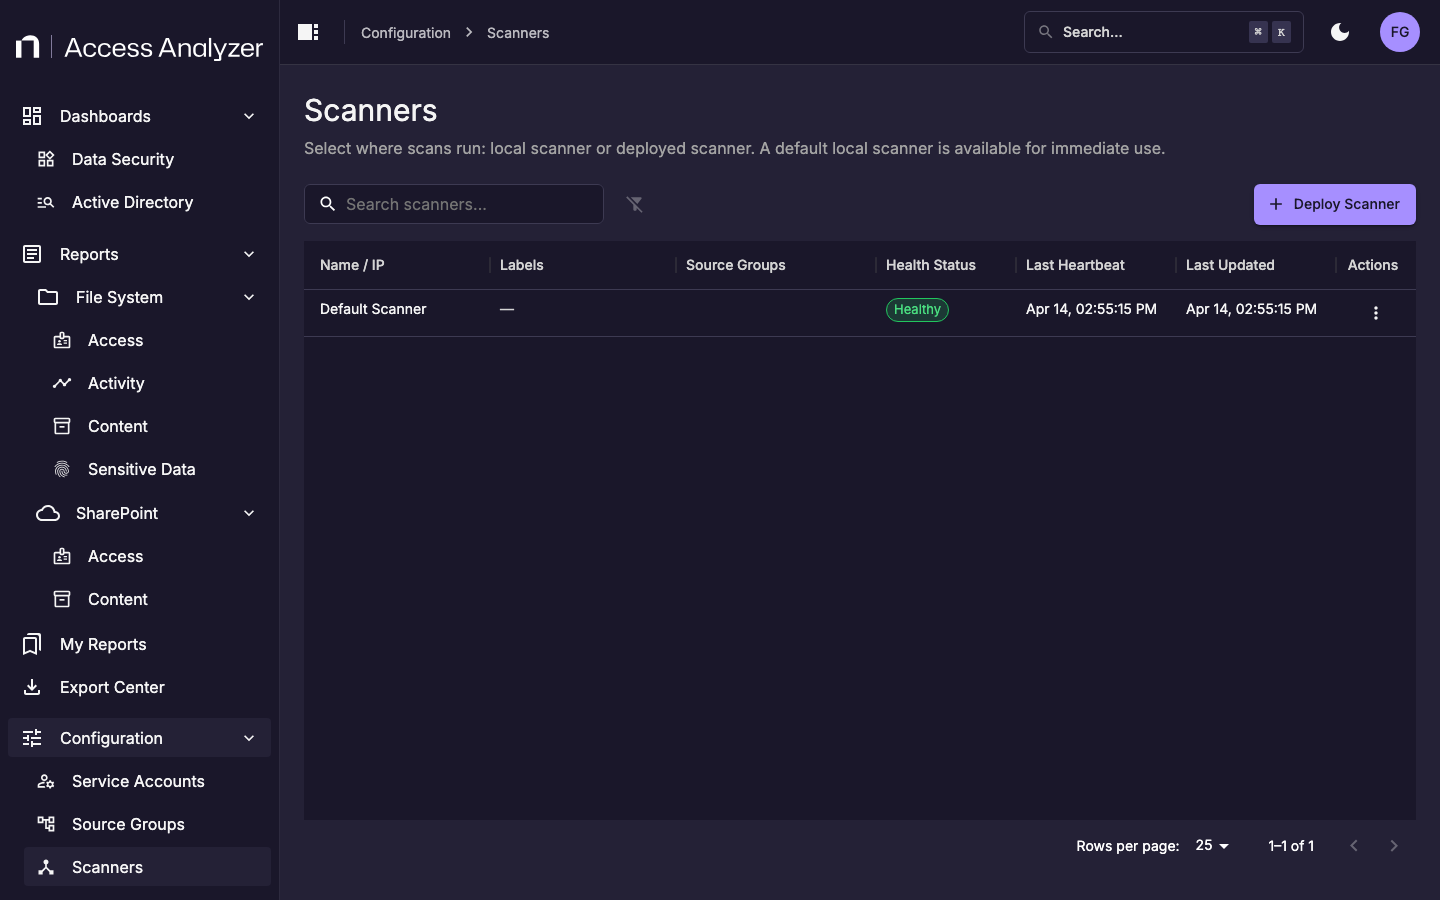
The list shows all registered scanner nodes. The Default Scanner is always present and represents local scanning from the AA26 server.
Click Deploy Scanner to register a new scanner node.
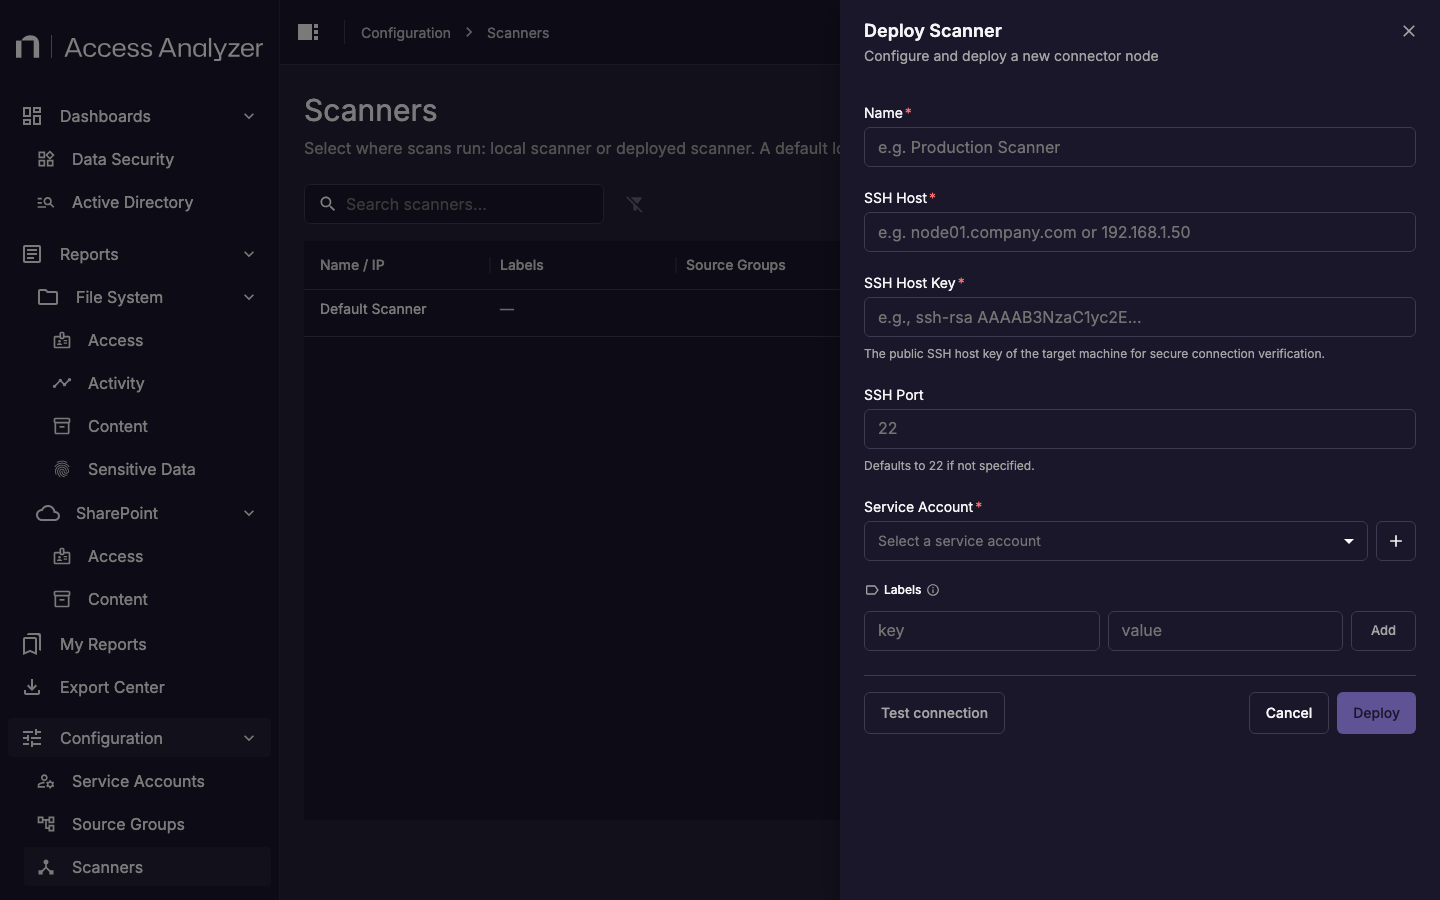
Complete the form for each scanner node you are deploying:
| Field | Description |
|---|---|
| Name | A display name that identifies this scanner. Use a name that reflects its location or purpose, for example us-east-scanner-01. |
| SSH Host | The hostname or IP address of the Linux VM. |
| SSH Host Key | The public SSH host key of the target machine. AA26 uses this to verify the identity of the remote host before connecting. Retrieve it by running ssh-keyscan <hostname> on the target machine or your management workstation. |
| SSH Port | The SSH port. Defaults to 22 if not specified. |
| Service Account | An SSH Username/Key service account that has SSH access to the Linux VM. AA26 uses these credentials to connect and install the K3s runtime. |
| Labels | Key-value pairs used to route scans to this scanner. Add at least one label that matches your labeling scheme, for example region=us-east. |
Click Test connection before clicking Deploy to verify that AA26 can reach the Linux VM with the provided credentials. Deployment installs the K3s runtime on the target machine automatically.
Repeat for each scanner node you are deploying.
Step 3 — Assign scanner labels to source groups
After deploying scanner nodes, configure each source group to use them.
- Navigate to Configuration > Source Groups.
- For each File Server or Active Directory source group, open the actions menu and select Edit.
- In the Scanner Labels field, enter the key-value labels that match the scanner nodes responsible for that group. For example, if your file servers are in the US East region and you labeled your scanner
region=us-east, addregion=us-eastto the source group. - Click Save.
Scans in that source group will route to any scanner node matching all specified labels. If no labels are set on a source group, scans use the Default Scanner.
A source group can match multiple scanner nodes if more than one node carries the specified labels. AA26 distributes scans across matching nodes.
Step 4 — Verify scanner health
After deploying and assigning scanner nodes:
- Navigate to Configuration > Scanners.
- Confirm each deployed scanner shows Healthy in the Health Status column.
- Run a test scan on one source group that uses each new scanner. Verify the scan completes successfully before proceeding.
Step 5 — Decommission legacy proxy servers
After validating that scanner nodes are handling scans successfully:
- Stop the FSAA Proxy Service on each legacy Windows proxy server.
- Uninstall the proxy service using Add/Remove Programs or your organization's standard software removal process.
- Retire the Windows VMs if they are no longer needed for other purposes.