Migrating Target Servers and Host Lists to Source Groups
Overview
This procedure covers inventorying the host lists in your legacy Netwrix Access Analyzer installation and recreating them as source groups and sources in Access Analyzer 26.
Before starting this procedure, complete Migrating Connection Profiles to Service Accounts. The source group creation wizard requires a service account to be present before you can create a group.
Key difference: host lists vs. source groups
In the legacy product, a single host list can contain any mix of target system types. A list named "East Coast Servers" might include file servers, Active Directory domain controllers, and SharePoint sites.
AA26 source groups are single-type. Each group is created for one connector type, and that type is permanent — it can't be changed after creation. You must split mixed-type host lists into separate source groups before you begin.
Planning example:
| Legacy Host List | Hosts | AA26 Source Groups |
|---|---|---|
| East Coast Servers | 12 file servers, 2 AD domains | East Coast — File Servers (12 sources) East Coast — Active Directory (2 sources) |
| Cloud Resources | Entra ID tenant, SharePoint site | Cloud — Entra ID (1 source) Cloud — SharePoint Online (1 source) |
Plan your source group structure on paper before creating anything in AA26.
Supported connector types
AA26 currently supports the following connector types. Only hosts of these types need to be migrated:
| Legacy Collector / Target Type | AA26 Connector |
|---|---|
| File System (FSAA) — Windows file servers | File Server |
| File System (FSAA) — NetApp ONTAP | File Server |
| File System (FSAA) — Isilon/PowerScale | File Server |
| File System (FSAA) — Dell VNX, Celerra, Unity | File Server |
| AD Inventory / ADActivity — Active Directory | Active Directory |
| Azure AD / Entra ID | Entra ID |
| SPAA — SharePoint Online | SharePoint Online |
Legacy jobs targeting SQL Server, Exchange, Unix, or other systems do not have corresponding connectors in AA26 at this time. Document those targets separately for future migration phases.
Before you begin
- All service accounts have been created in AA26 (Migrating Connection Profiles).
- Scanner nodes have been deployed for Active Directory and File Server source groups, or you have confirmed that the Default Scanner (local) meets your scanning needs (Migrating Proxy Servers to Scanners).
- You have a written inventory of host lists and their members (see Step 1).
- You have planned which legacy host lists map to which AA26 source groups.
Step 1 — Inventory legacy host lists
Export a complete inventory of your legacy host lists and hosts before making any changes.
- Open the Netwrix Access Analyzer console.
- Navigate to Host Management in the left panel.
- For each host list, right-click and select Export to export the host list to CSV.
- Record the host list name, the number of hosts, and the system types present.
Step 2 — Create source groups in Access Analyzer
Navigate to Configuration > Source Groups.
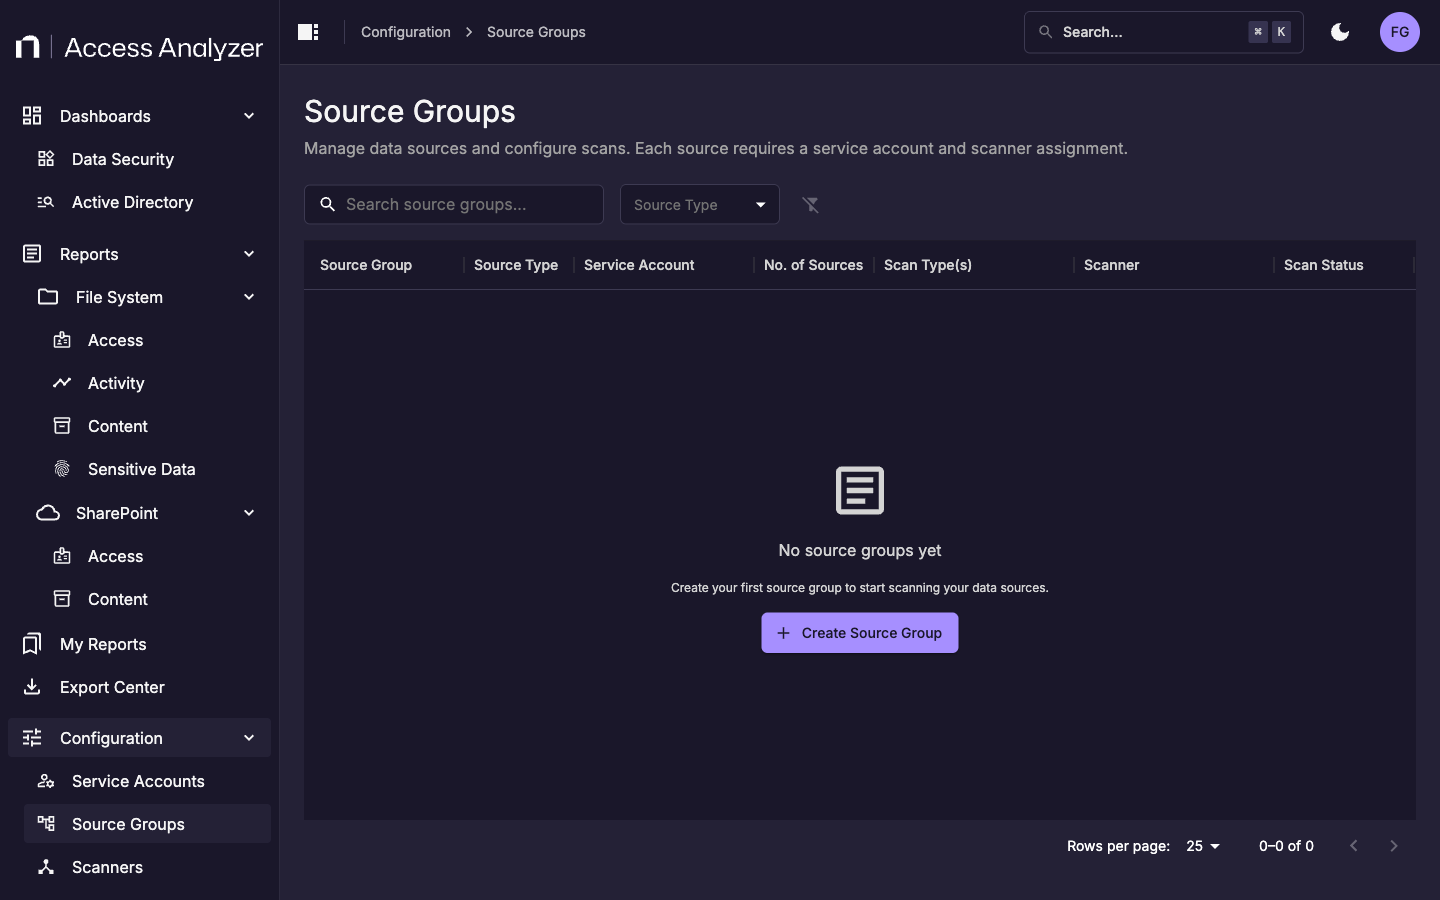
Create one source group for each connector type across your legacy host lists. Click Create Source Group to open the wizard.
Step 1 of 3 — Select the source type
The wizard first asks you to choose a connector type.
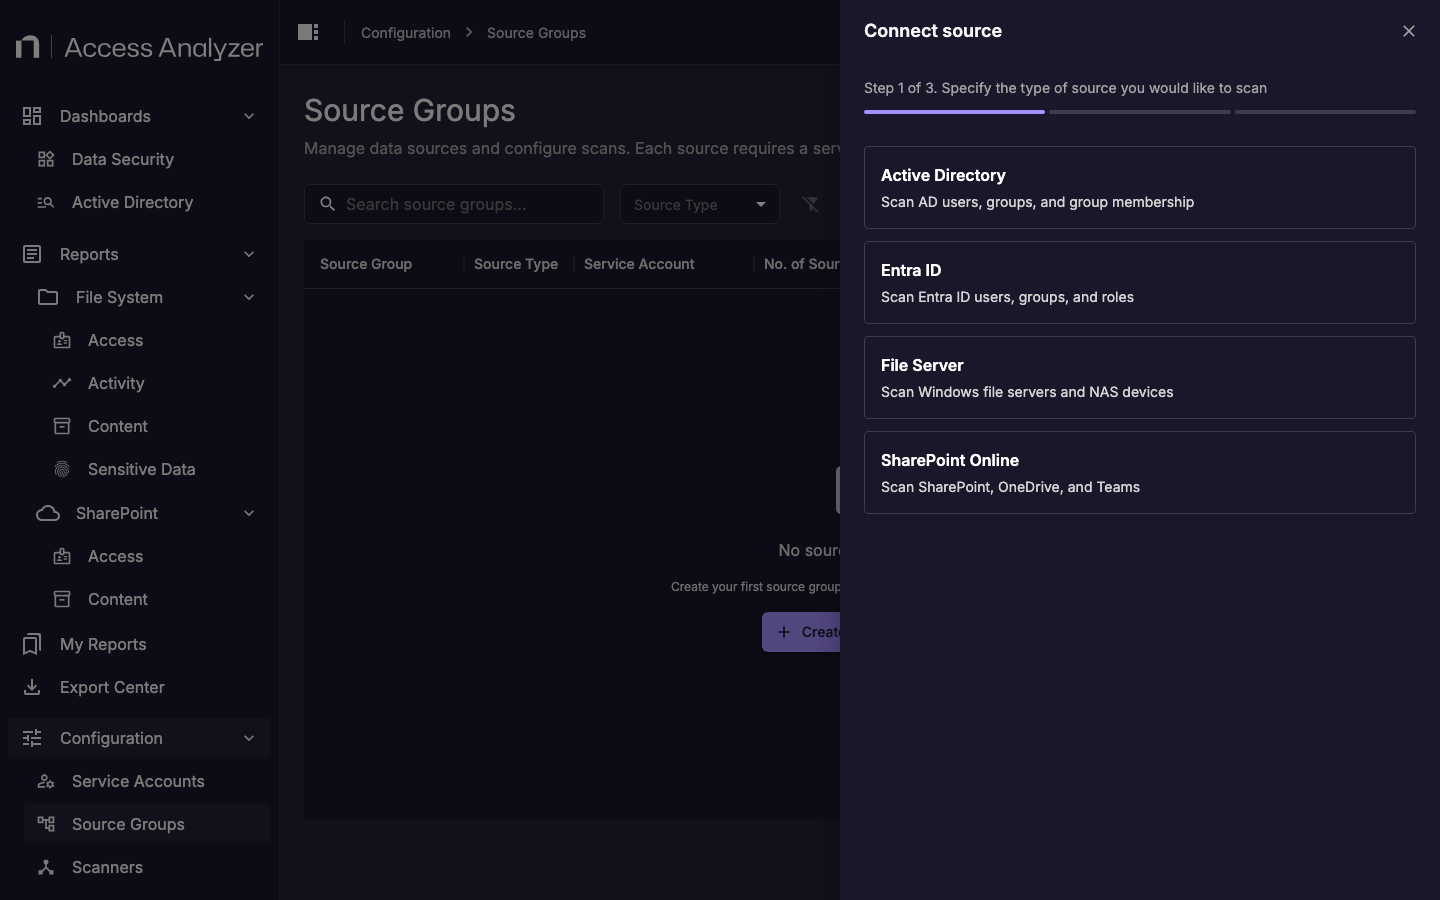
Select the connector type that matches the hosts you are migrating. If you have hosts of multiple types from the same legacy host list, you'll repeat this process for each type.
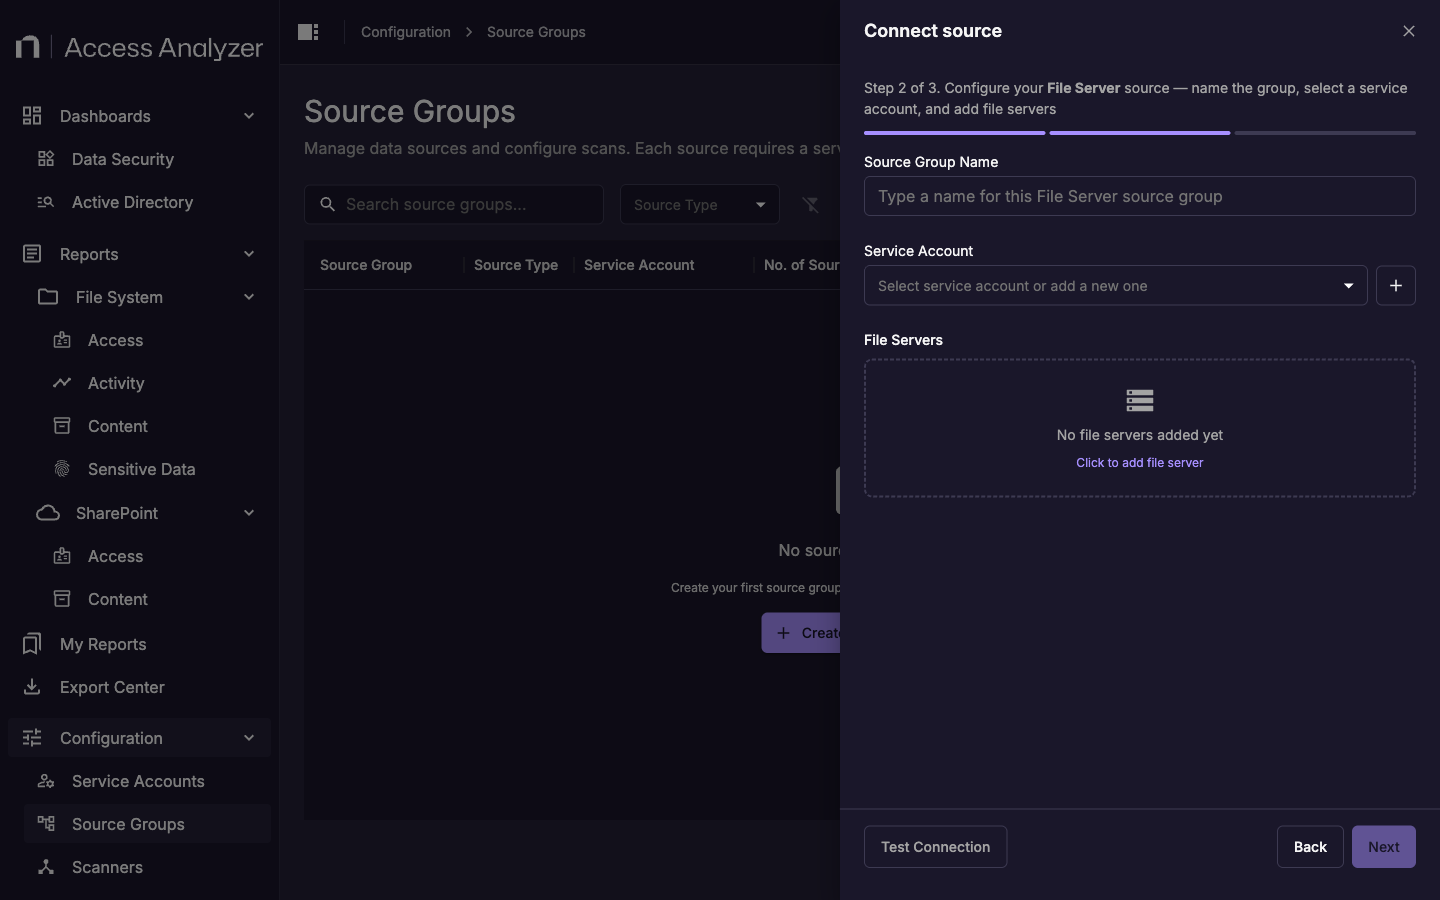
Step 2 of 3 — Configure the group
| Field | What to enter |
|---|---|
| Name | A descriptive name that identifies the source type and scope. Example: File Servers — East Coast |
| Service Account | Select the service account you created for this connector type. |
| Max Concurrent Scans | Leave at 1 for initial setup. Increase after validating the first scan. |
| Scanner Labels | For Active Directory and File Server groups, add the key-value labels that match the scanner nodes you deployed. Leave empty to use the Default Scanner (local scanning from the AA26 server). |
Add sources to the group:
- For each host in the matching legacy host list, click Add Source and enter the hostname or IP address.
- Use the Test Connection button to verify connectivity for each source before saving.
Step 3 of 3 — Configure scan parameters

Select the scan types to enable. Configure the scan schedule using a cron expression. See Migrating Job Schedules for guidance on translating legacy schedule triggers to cron expressions.
Click Save to create the source group.
Add sources to the group one at a time using the Add Source button in the source group UI, or use the AA26 REST API. See Step 3 — Test connections after all sources have been added.
Step 3 — Test connections
After adding sources, verify that AA26 can reach each target:
- Navigate to Configuration > Source Groups.
- Click the actions menu for your new source group and select View Sources.
- For each source, click the actions menu and select Test Connection.
- Confirm that all sources show a successful connection result before proceeding.
If a connection test fails, verify that:
- The service account has the required permissions on the target system.
- The scanner assigned to the source group can reach the target on the required ports.
- The hostname or IP address in the source matches what the scanner can resolve.