Scan Entra ID
Connect a Microsoft Entra ID tenant to Access Analyzer and run an Identity sync. The sync reads the tenant's users, groups (including dynamic membership rules), directory roles, and memberships. The results appear in the Entra Users and Entra Groups reports, and they let SharePoint Online scans of the same tenant calculate effective permissions.
Access Analyzer signs in to the tenant as an application, not as a user, so the first job is an app registration with a client secret.
Before You Start
In Entra ID. You need an administrator who can create an app registration and grant admin consent for its permissions. The registration needs Microsoft Graph application permissions that let Access Analyzer read users, groups, and directory roles; the sync never writes to the directory. When you add the source, Test connection checks that the app has the permissions it needs.
The network. The Access Analyzer server needs outbound HTTPS (TCP 443) to the Microsoft sign-in and Microsoft Graph endpoints for your tenant's cloud.
In Access Analyzer. Sign in with the Admin role.
Registering this application doesn't let people sign in to Access Analyzer with their Microsoft accounts. Set that up separately under Single sign-on.
1. Register an Application in Entra ID
- In the Microsoft Entra admin center, create an app registration for Access Analyzer.
- On the registration's Overview page, copy the Application (client) ID and the Directory (tenant) ID. You need both in later steps.
- Under Certificates & secrets, create a client secret.
- Copy the secret value; Entra ID shows it only once.
- Under API permissions, add the Microsoft Graph application permissions that grant read access to users, groups, and directory roles.
- Grant admin consent for the tenant.
Record the secret's expiry date. When you rotate it, update the service account you create in the next section.
2. Create the Service Account
Entra ID sources use a Client ID/secret service account. The tenant isn't part of the account; you enter it on the source in the next section.
- Go to Configuration > Service accounts and click Add service account.
- In Name, enter a unique name, for example
entra-access-analyzer-app. - In Service account type, select Client ID/secret.
- In Client (application) ID, paste the Application (client) ID from the registration.
- In Client secret, paste the secret value.
- Click Add account.
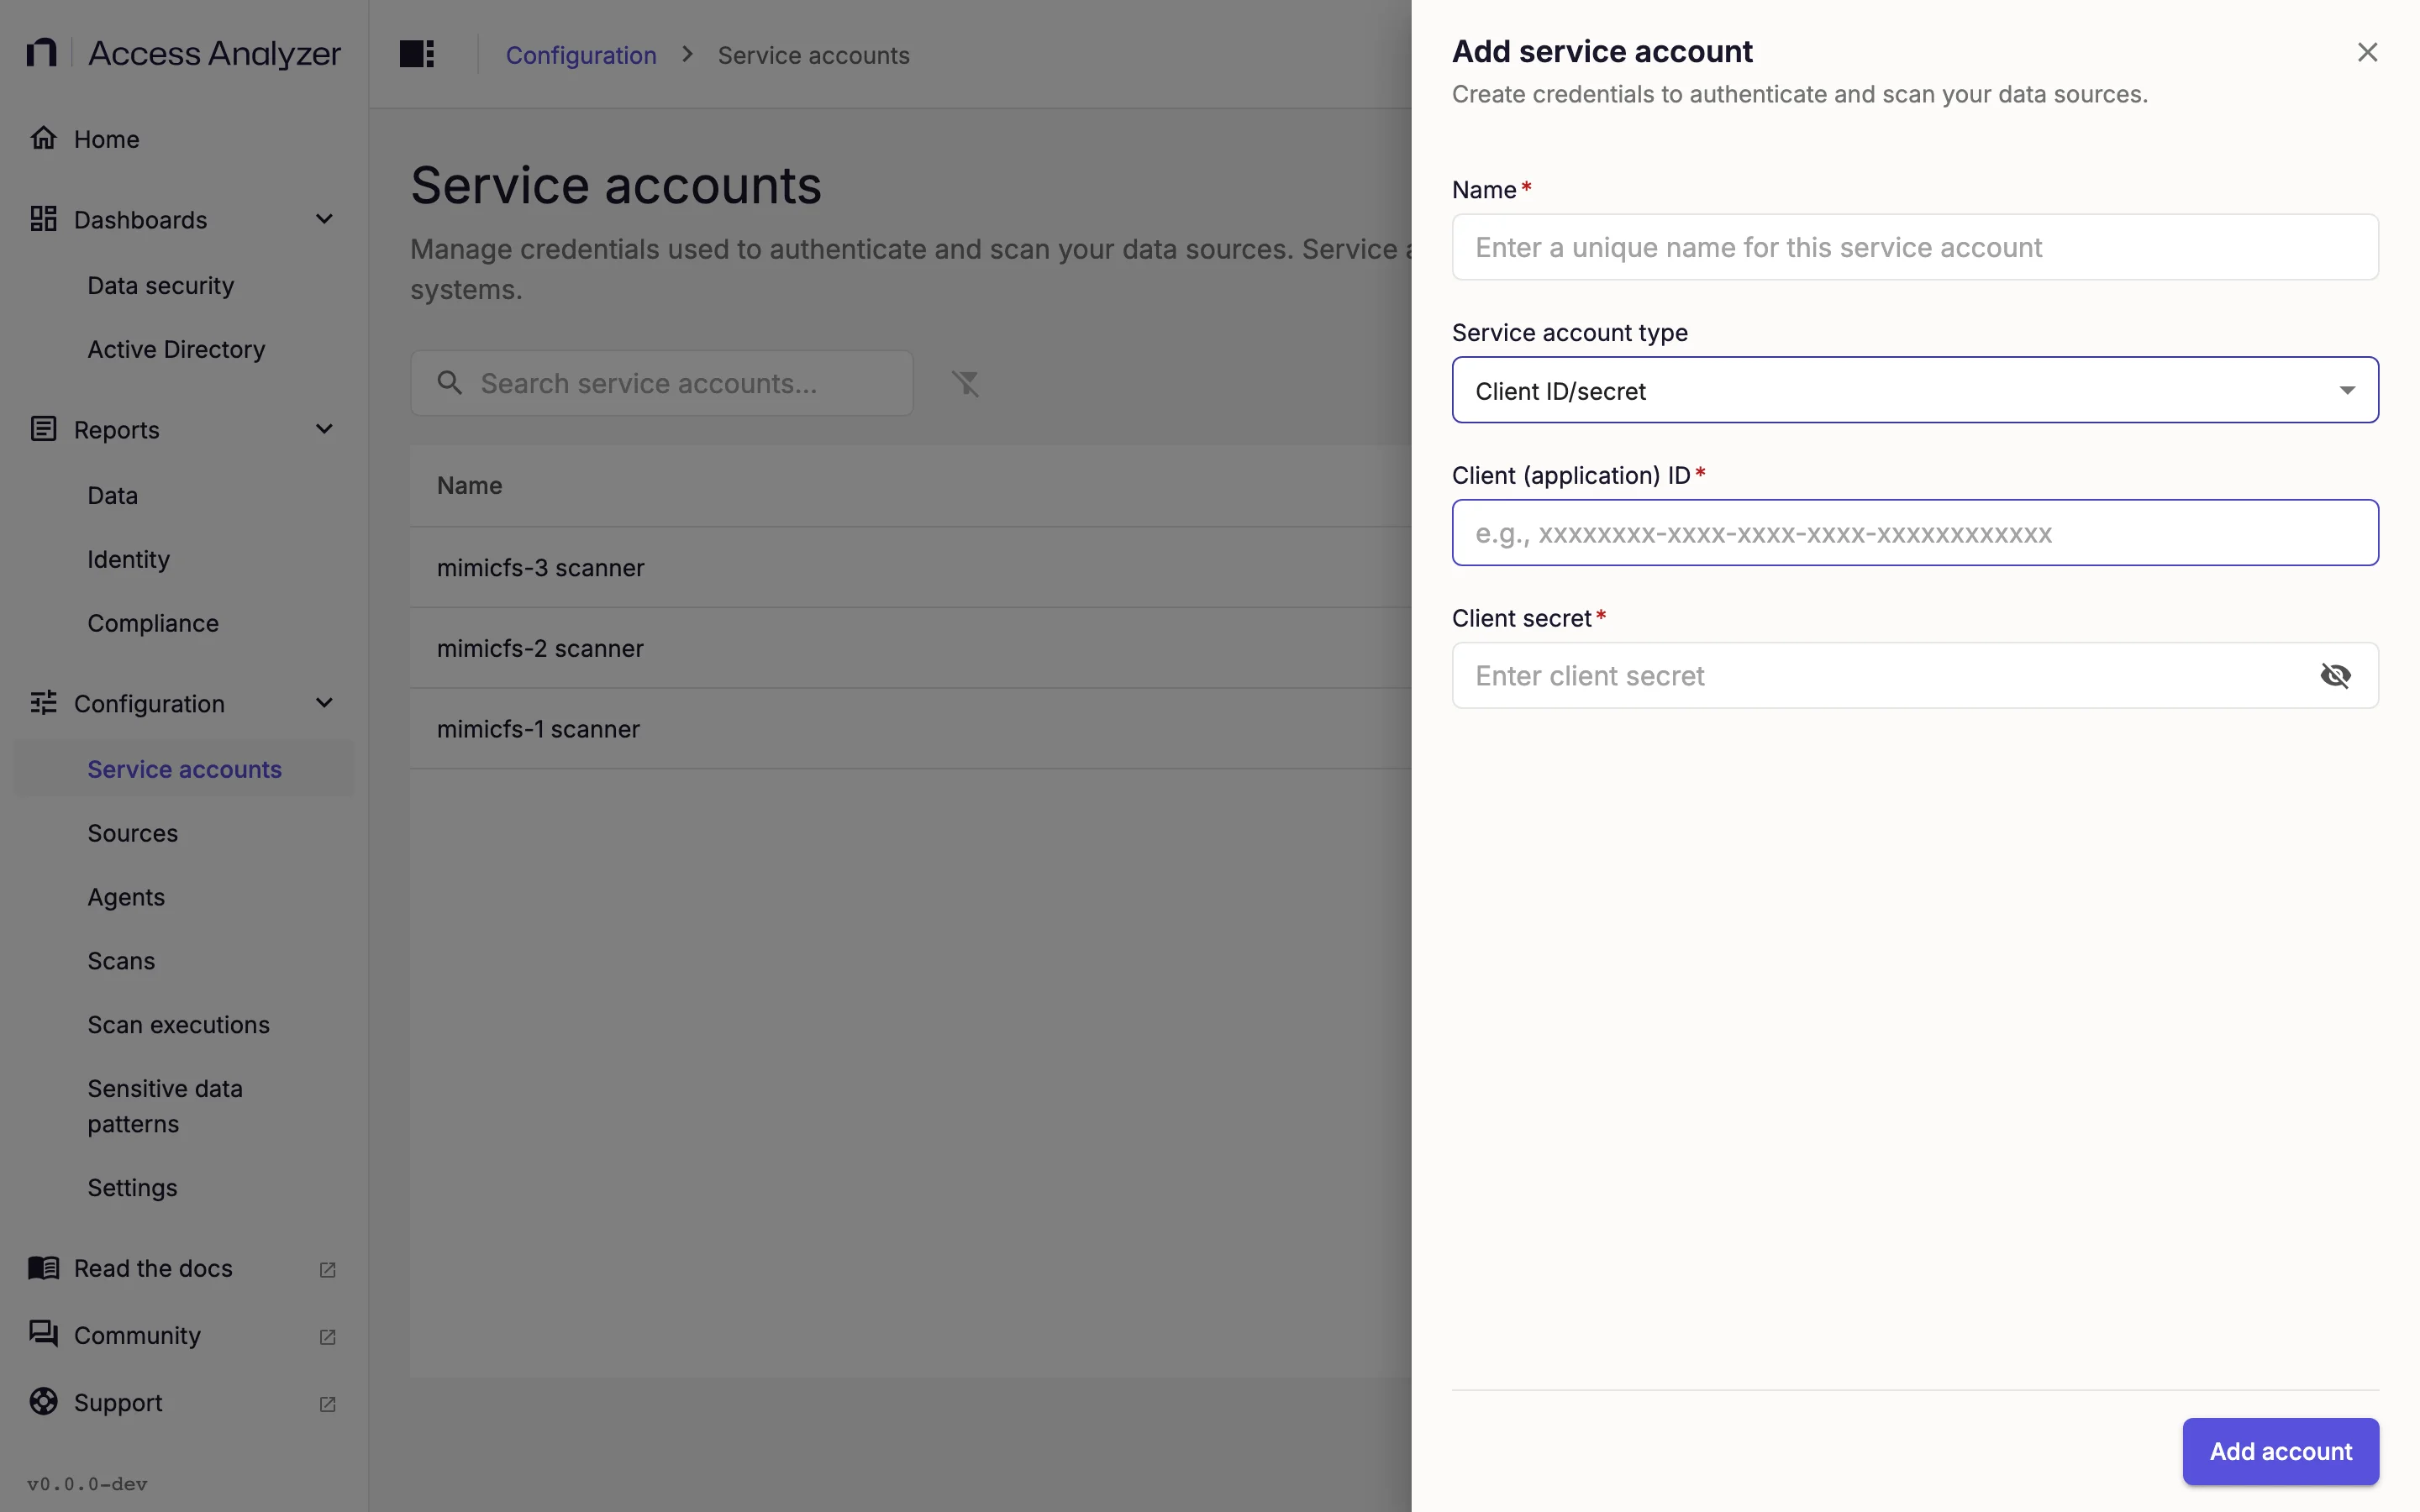
The Client ID and secret page covers editing the account when you rotate the secret.
3. Add the Source
- Go to Configuration > Sources and click Add source.
- In Source type, select Entra ID.
- Under Details, enter a Name, such as the tenant's primary domain.
- Under Connection, in Tenant ID, paste the Directory (tenant) ID.
- In Azure cloud, leave Azure (Commercial) selected. If the tenant is in a government or China cloud, select Azure Government (GCC), Azure Government (GCC High), Azure Government (DoD), or Azure China (21Vianet) instead.
- Under Access, in Service account, select the account you created in the previous section.
- Click Test connection. Access Analyzer signs in as the application and validates its permissions. Success shows a Connection successful message; failure shows a Connection failed alert with the reason.
- Click Add source.
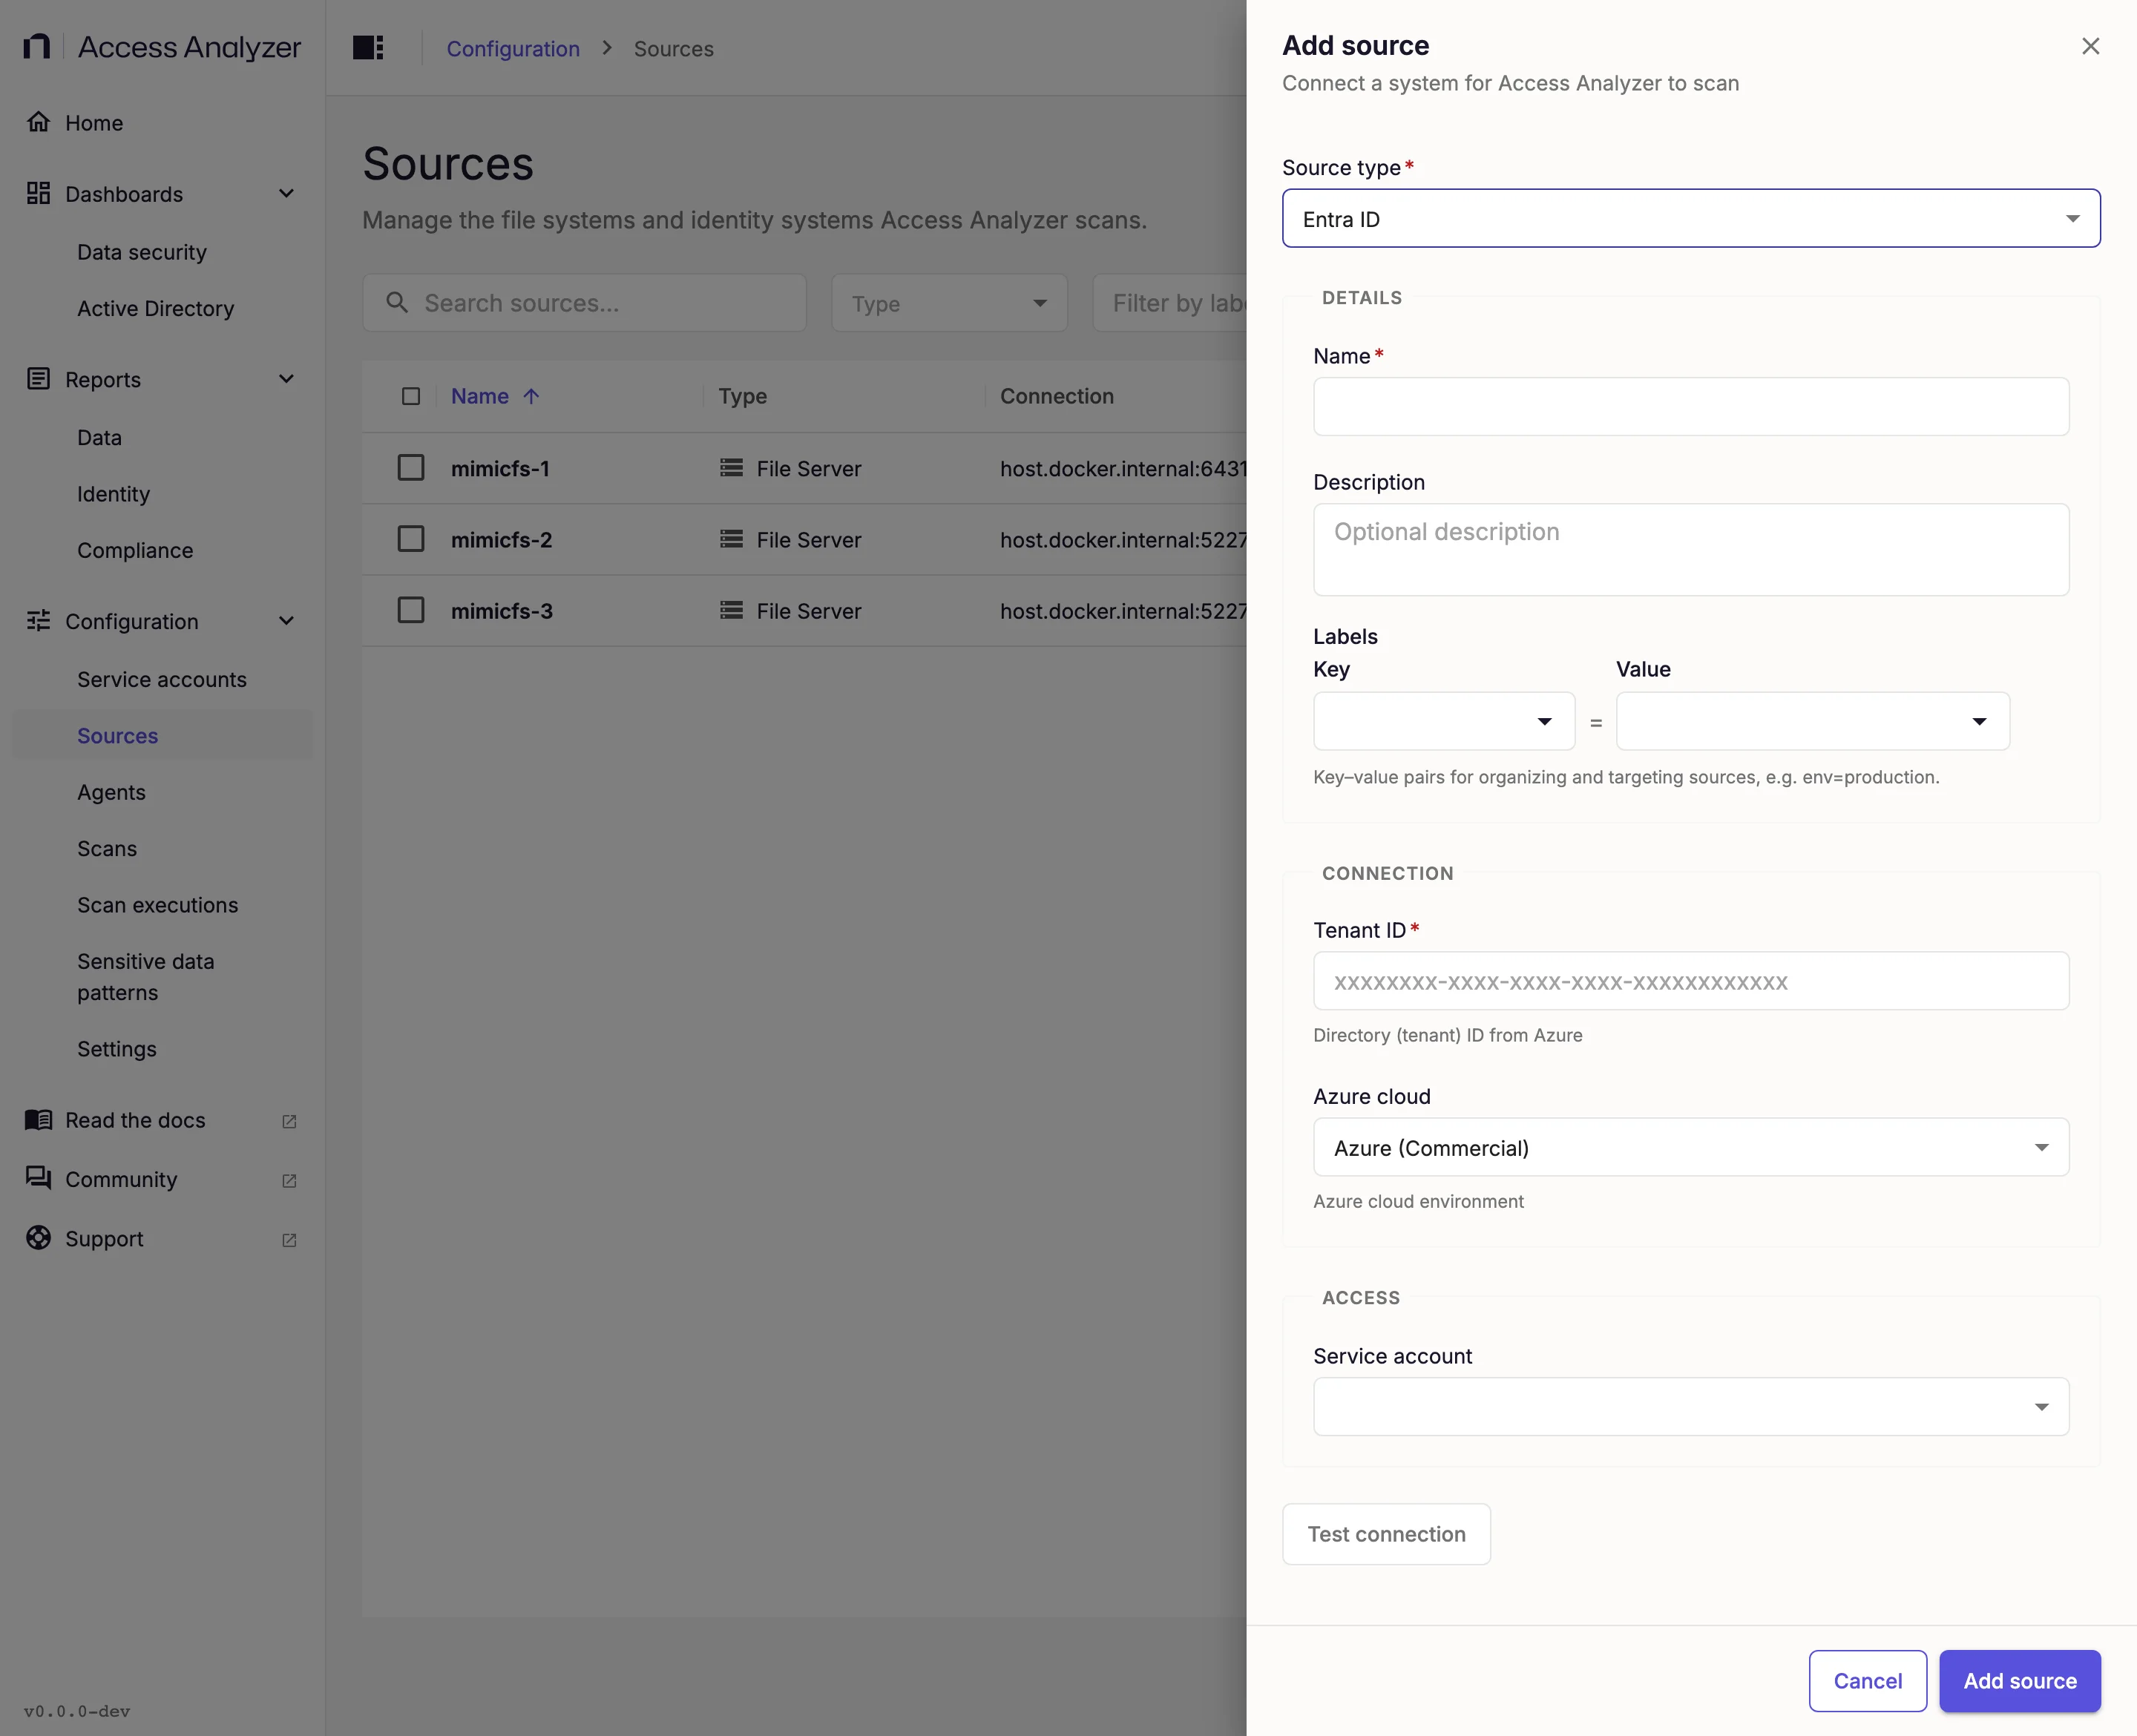
Field details are on the Entra ID source page.
4. Create the Identity Sync
Click Next to move from one step to the next.
-
Go to Configuration > Scans and click Create scan.
-
On the Type step, select Identity sync.
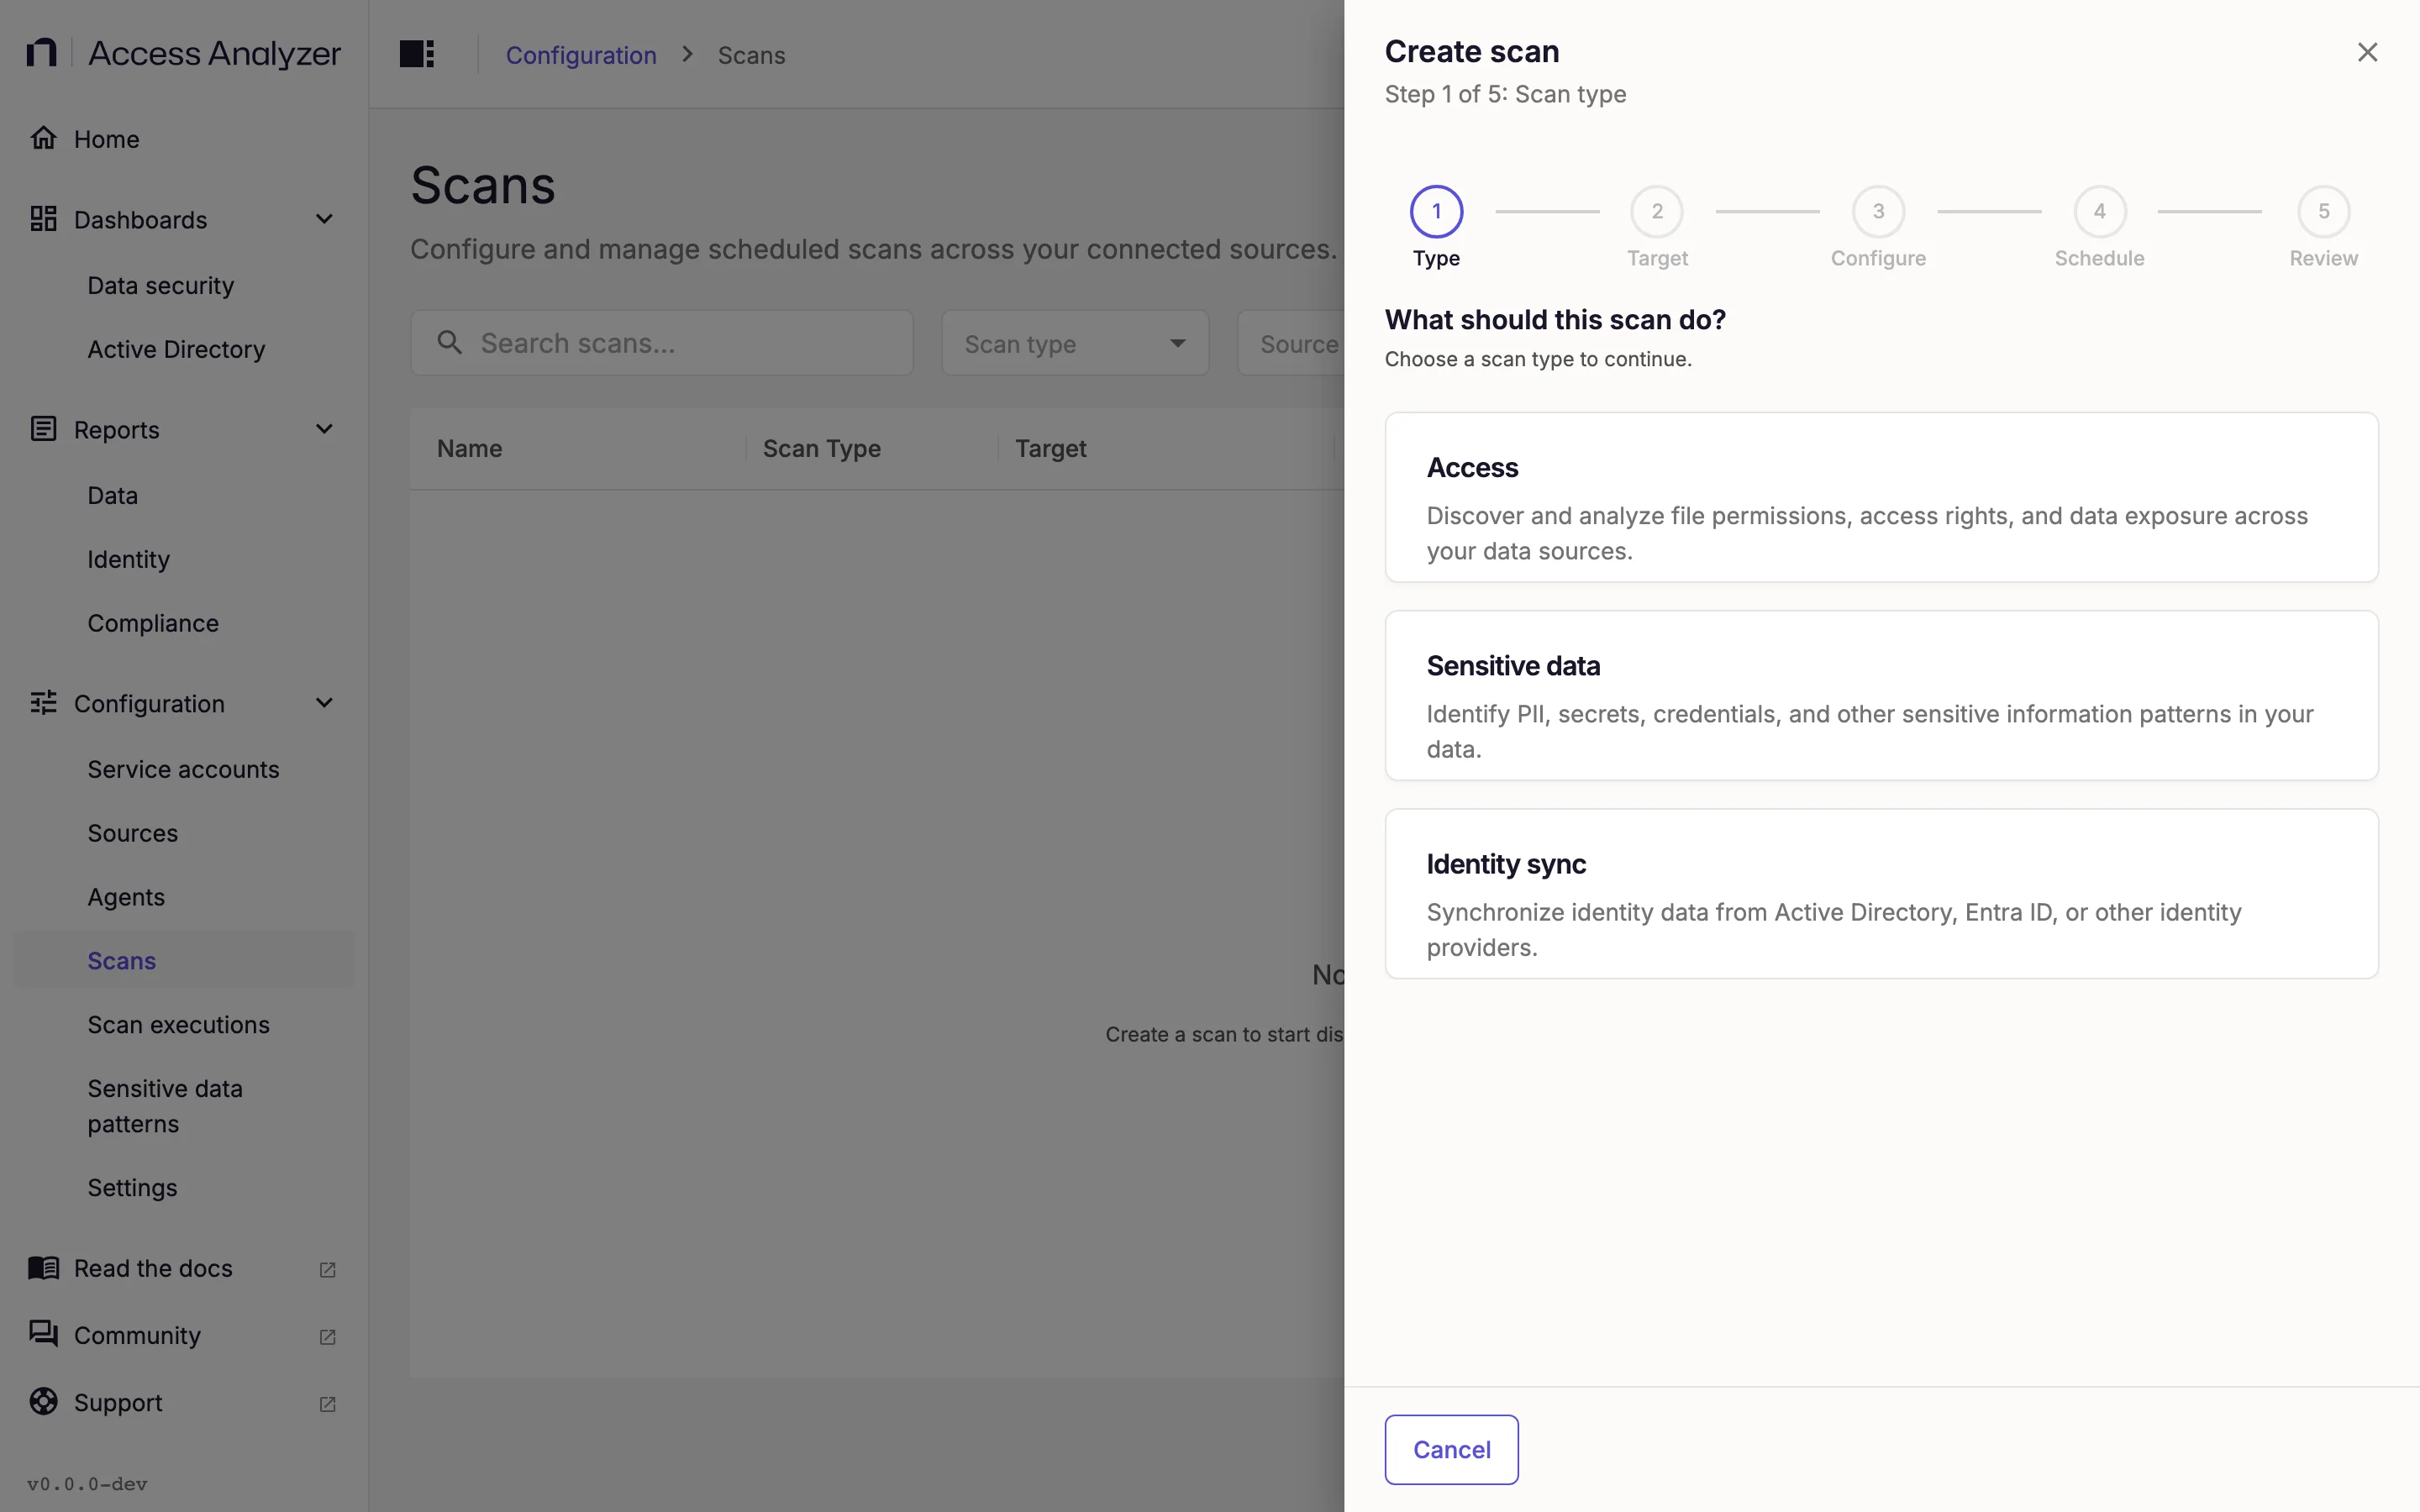
-
On the Target step, keep Specific sources and select the tenant's checkbox.
-
On the Configure step, click Next. Entra ID syncs have no settings to change.
-
On the Schedule step, select On a schedule.
-
Keep the default Daily at 02:00.
-
Leave the agent set to System agent.
-
On the Review step, enter a Name such as
contoso.onmicrosoft.com - identity sync. -
Click Create & run now.
5. Watch the Execution
Go to Configuration > Scan executions and find the new scan in the list. The list refreshes on its own; the status moves from Pending through Running to Completed, and Progress shows how many directory objects the sync read.
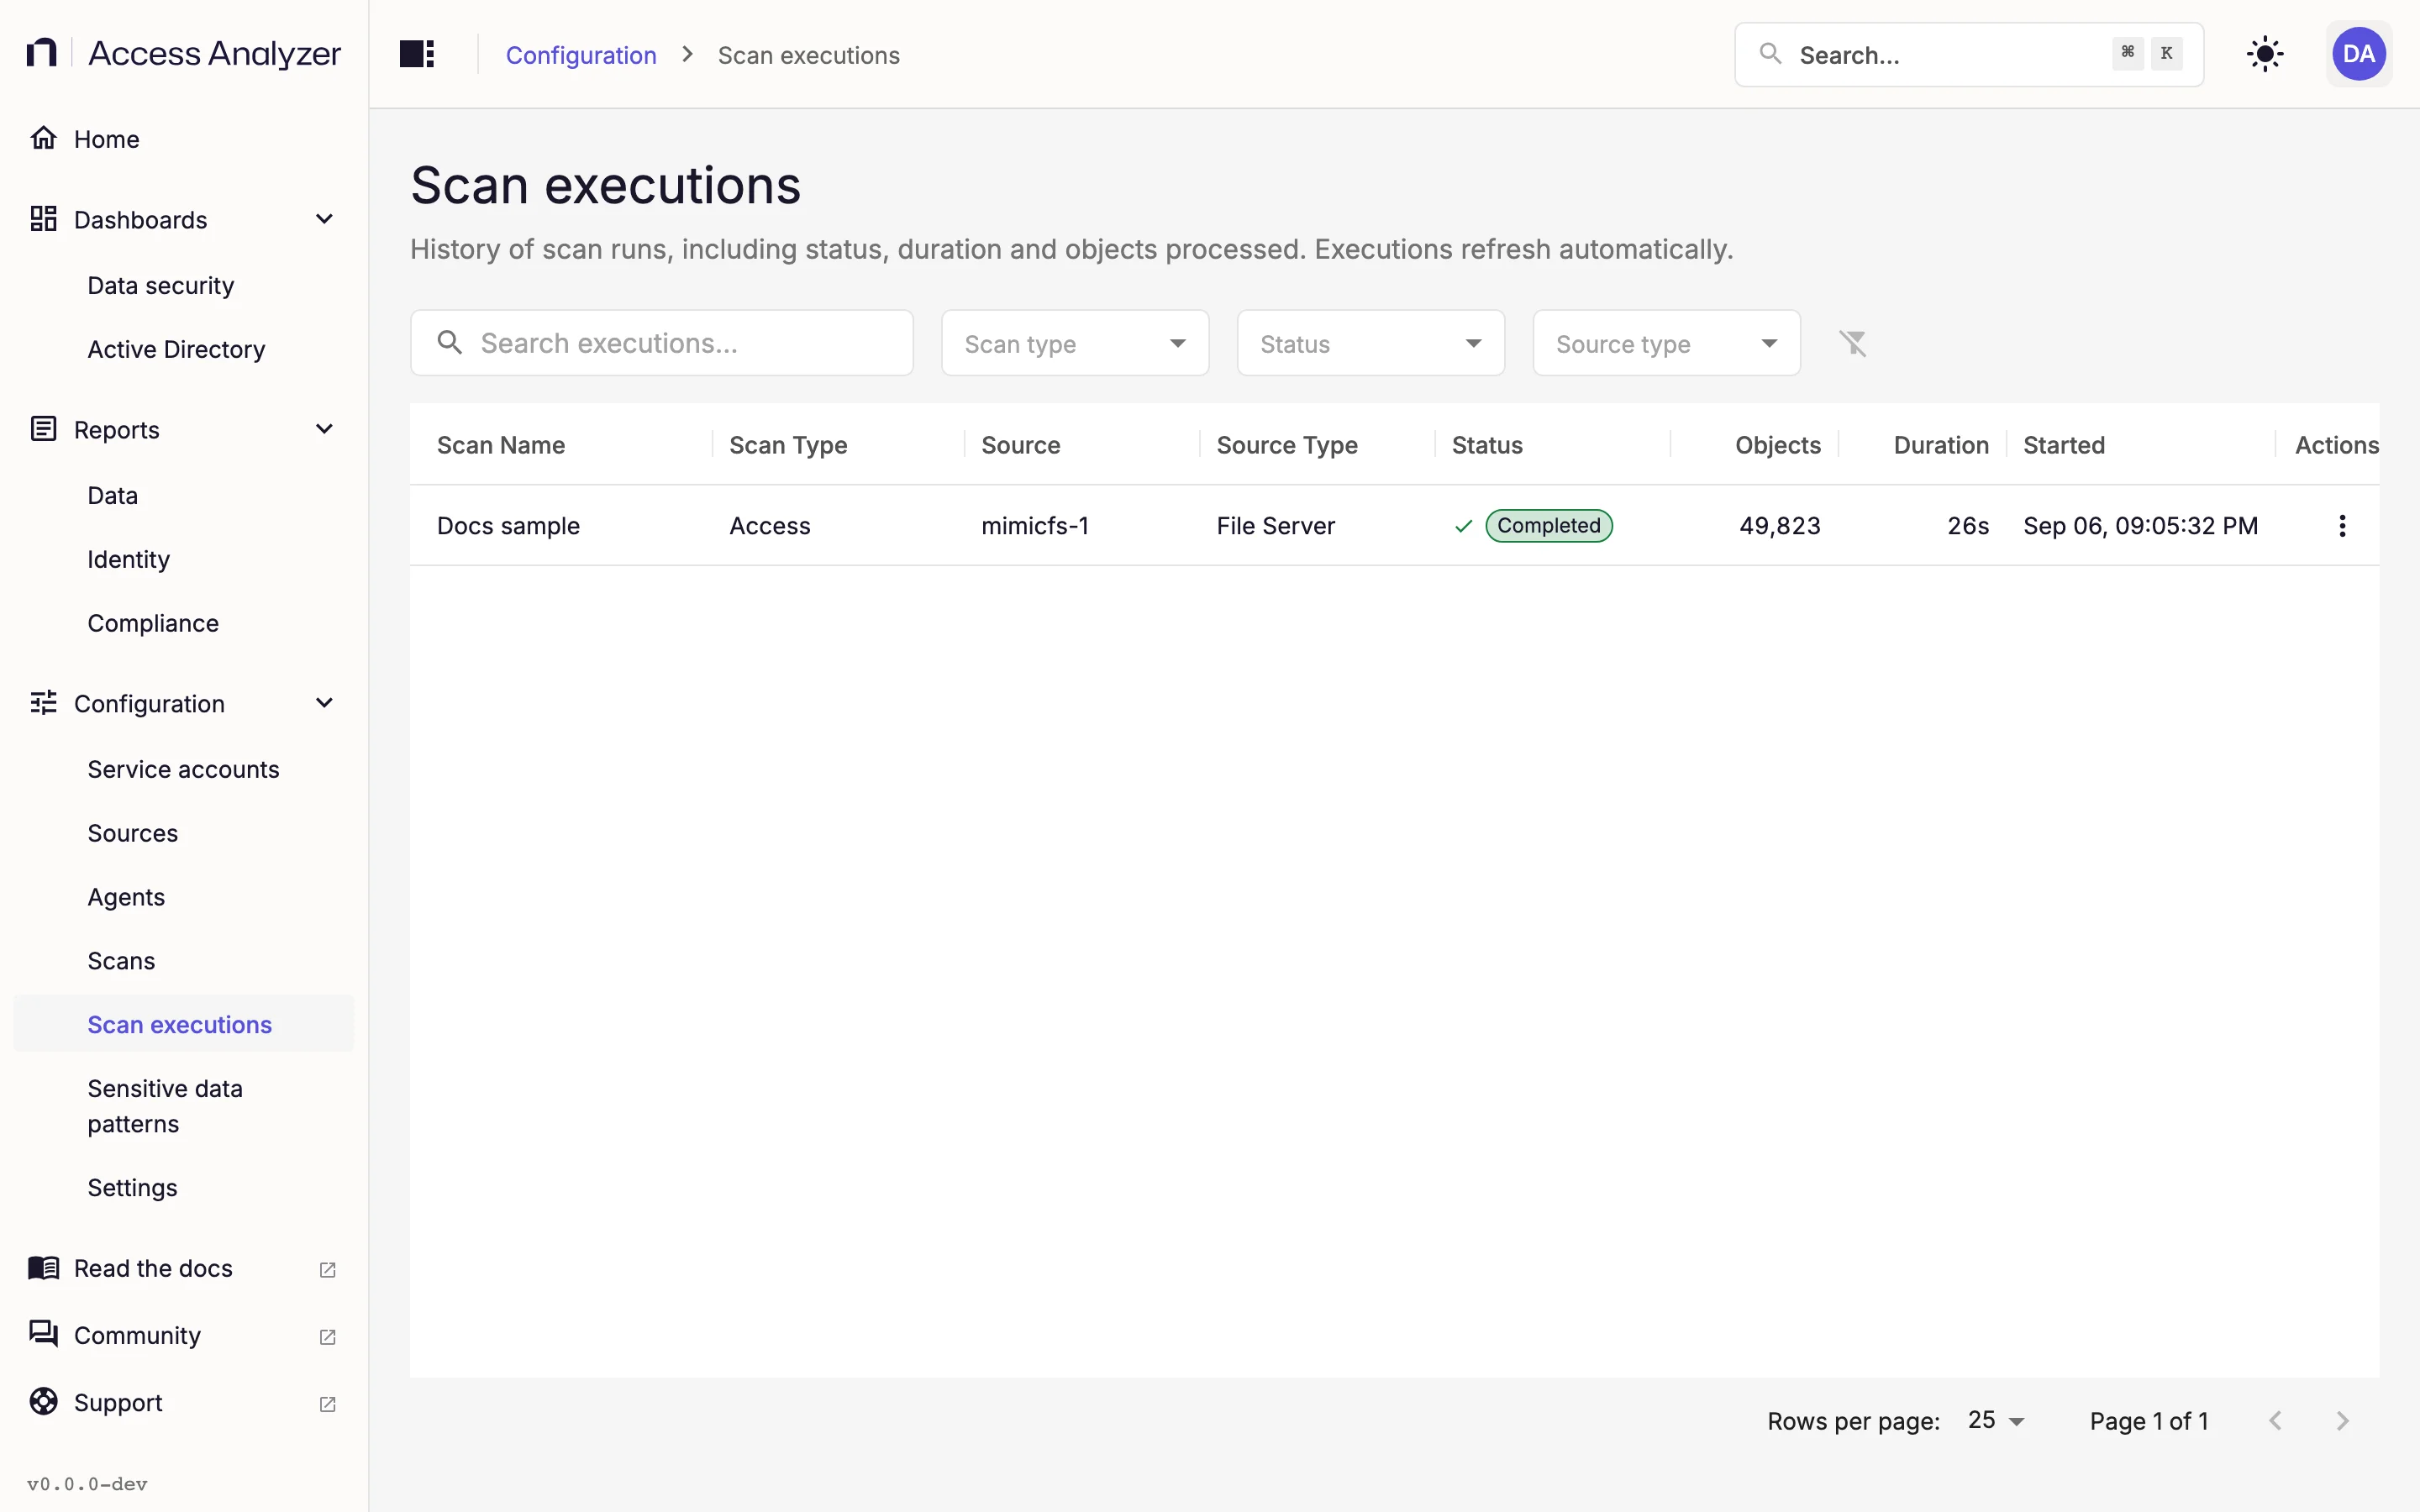
If the status is Failed, open the row's actions menu and click View logs, then check the Detailed logs tab. A sign-in error points at the client ID, secret, or tenant ID; a permission error means the app registration is missing a Graph permission or its admin consent. Scan executions lists every status.
6. Check the Reports
Go to Reports > Identity and open the Entra ID tab.
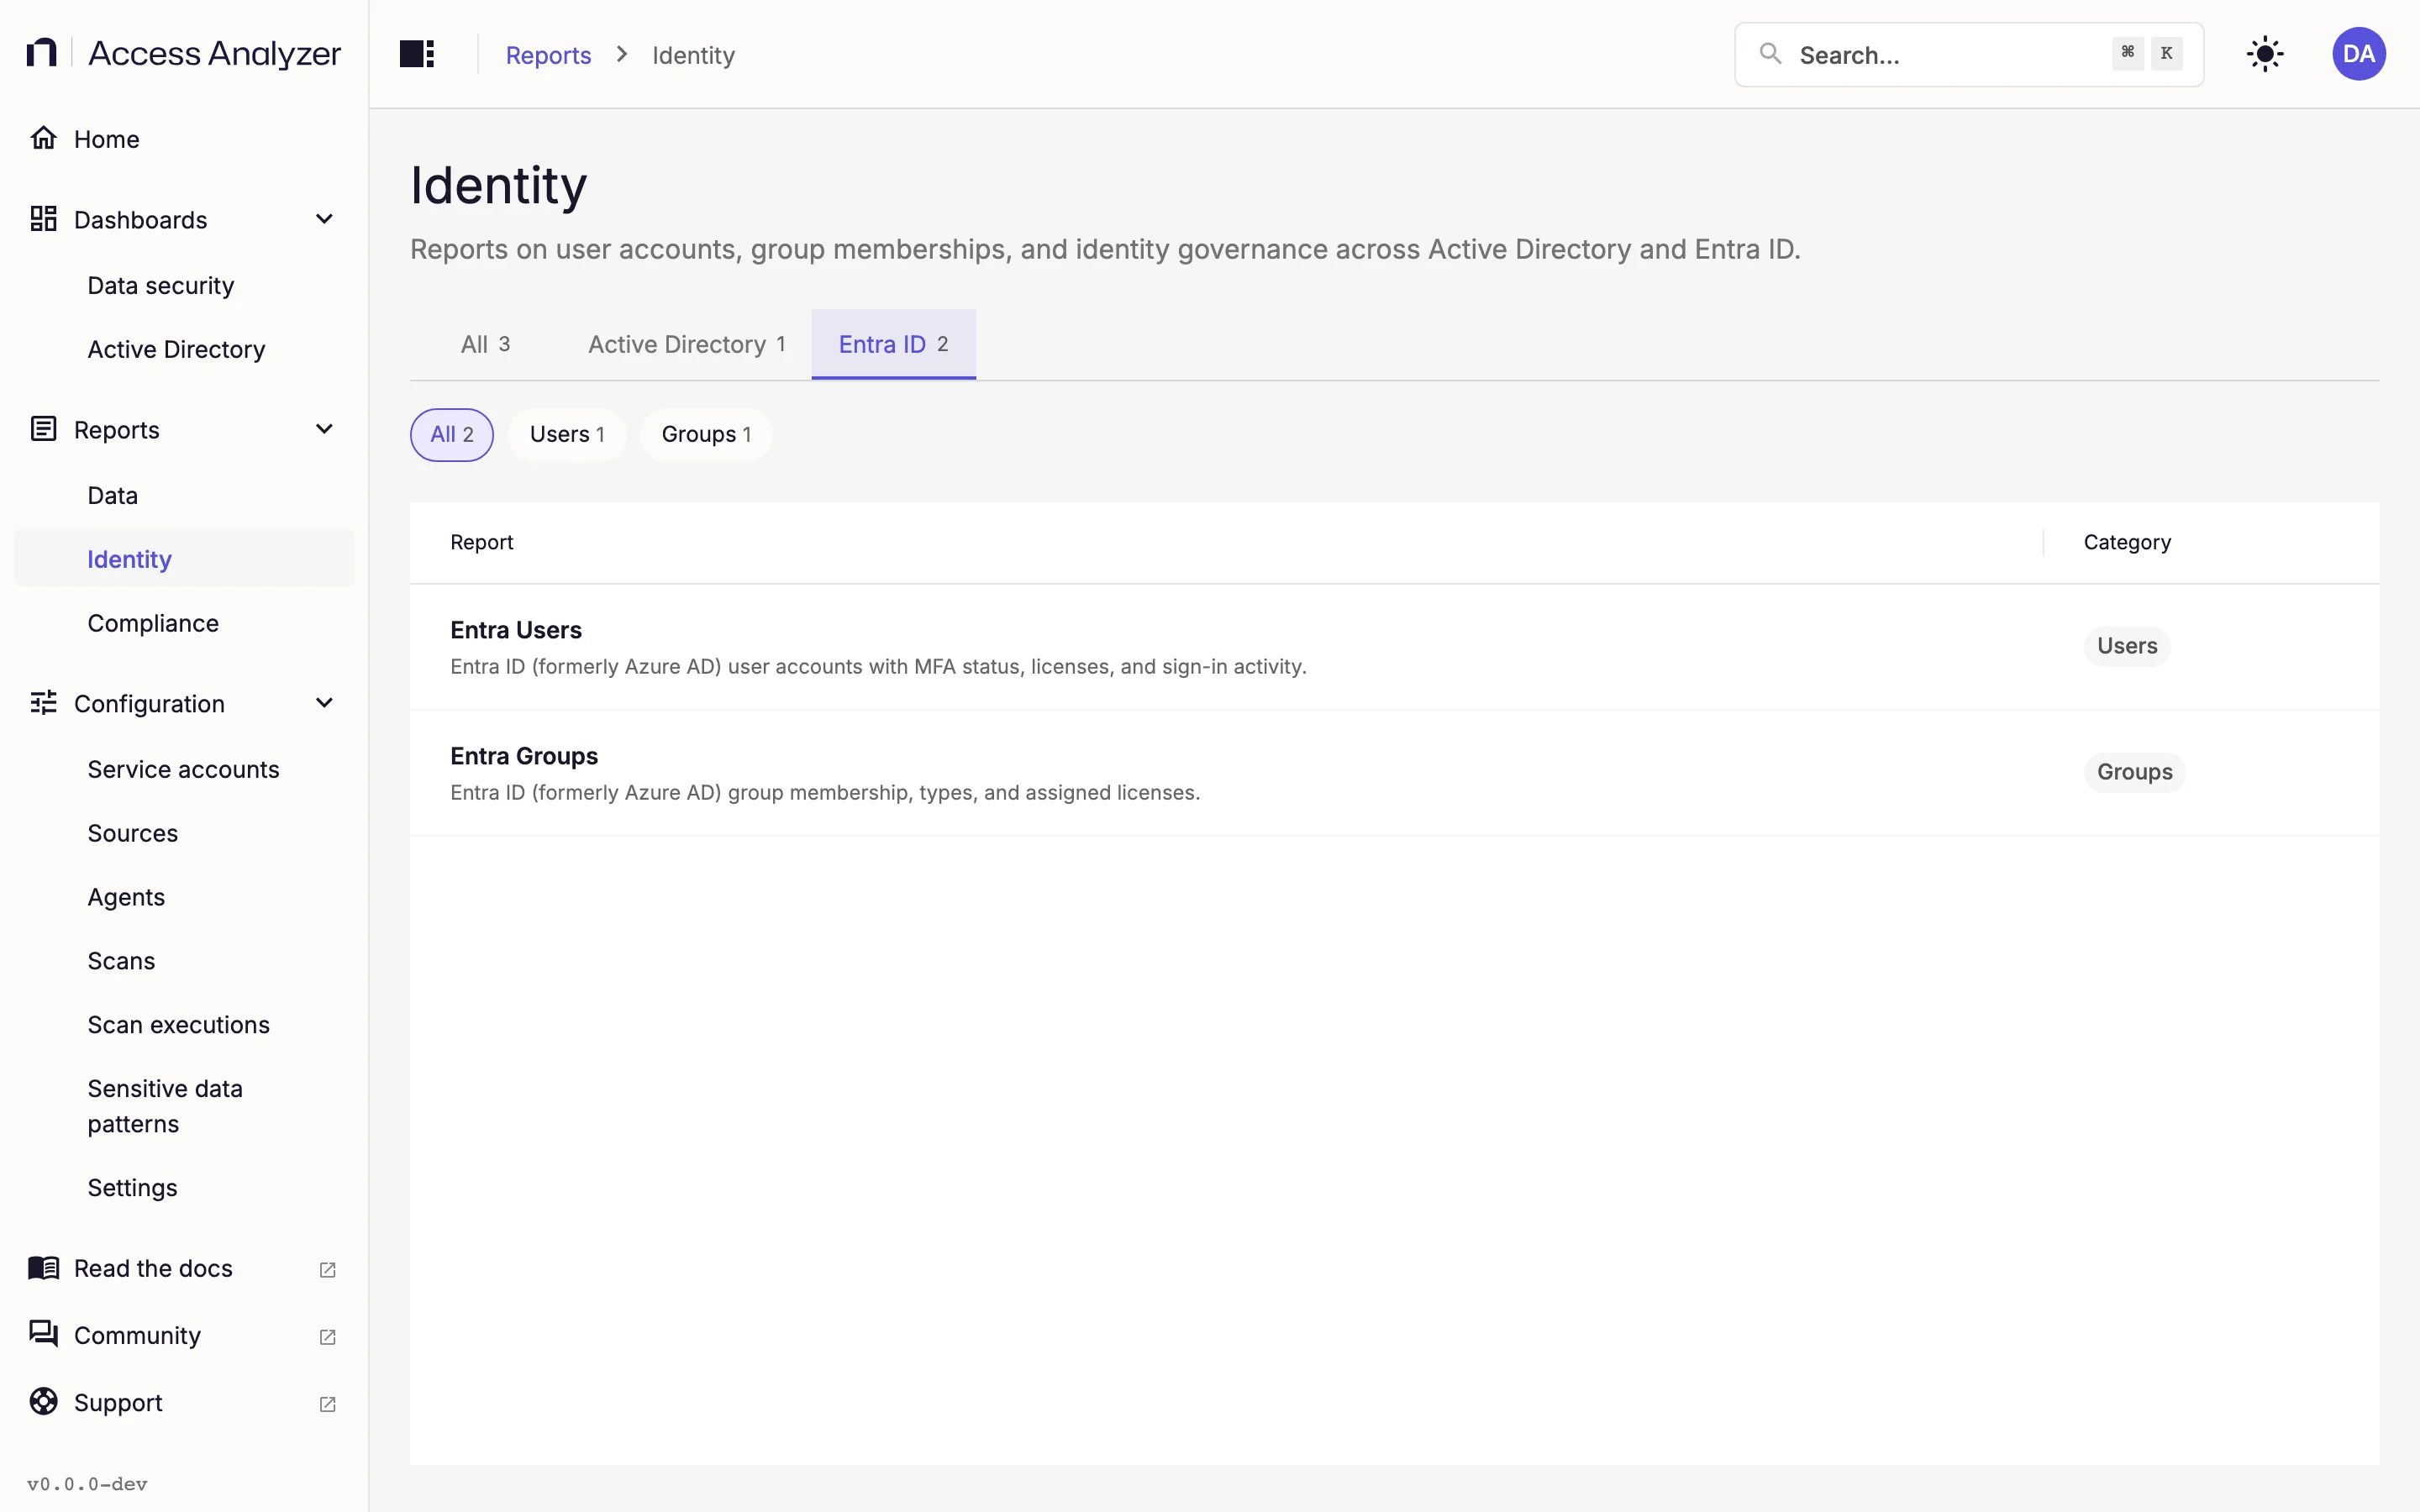
| Report | What it shows |
|---|---|
| Entra Users | User accounts with multi-factor authentication (MFA) status, licenses, and sign-in activity |
| Entra Groups | Groups with their membership, type, and assigned licenses |
Neither report has filters; open one and click Refresh to load the latest sync. Entra ID data has no dashboard of its own, and the Active Directory dashboard covers on-premises domains only.
If you plan to scan SharePoint Online, do it after this sync has completed at least once. The Scan SharePoint Online guide explains how the two fit together. Identity reports describes each report's columns.