Sign In for the First Time
The installer ends by printing a URL, a username, and a one-time password. The username is the email address you gave as the first administrator. Sign in with them once, and Access Analyzer walks you through replacing the password and deciding how everyone else signs in.
Sign In
- Open
https://<hostname>in a browser, using the hostname you gave the installer. - In Username, enter the first administrator's email address.
- In Password, enter the one-time password from the installer summary.
- Click Sign in.
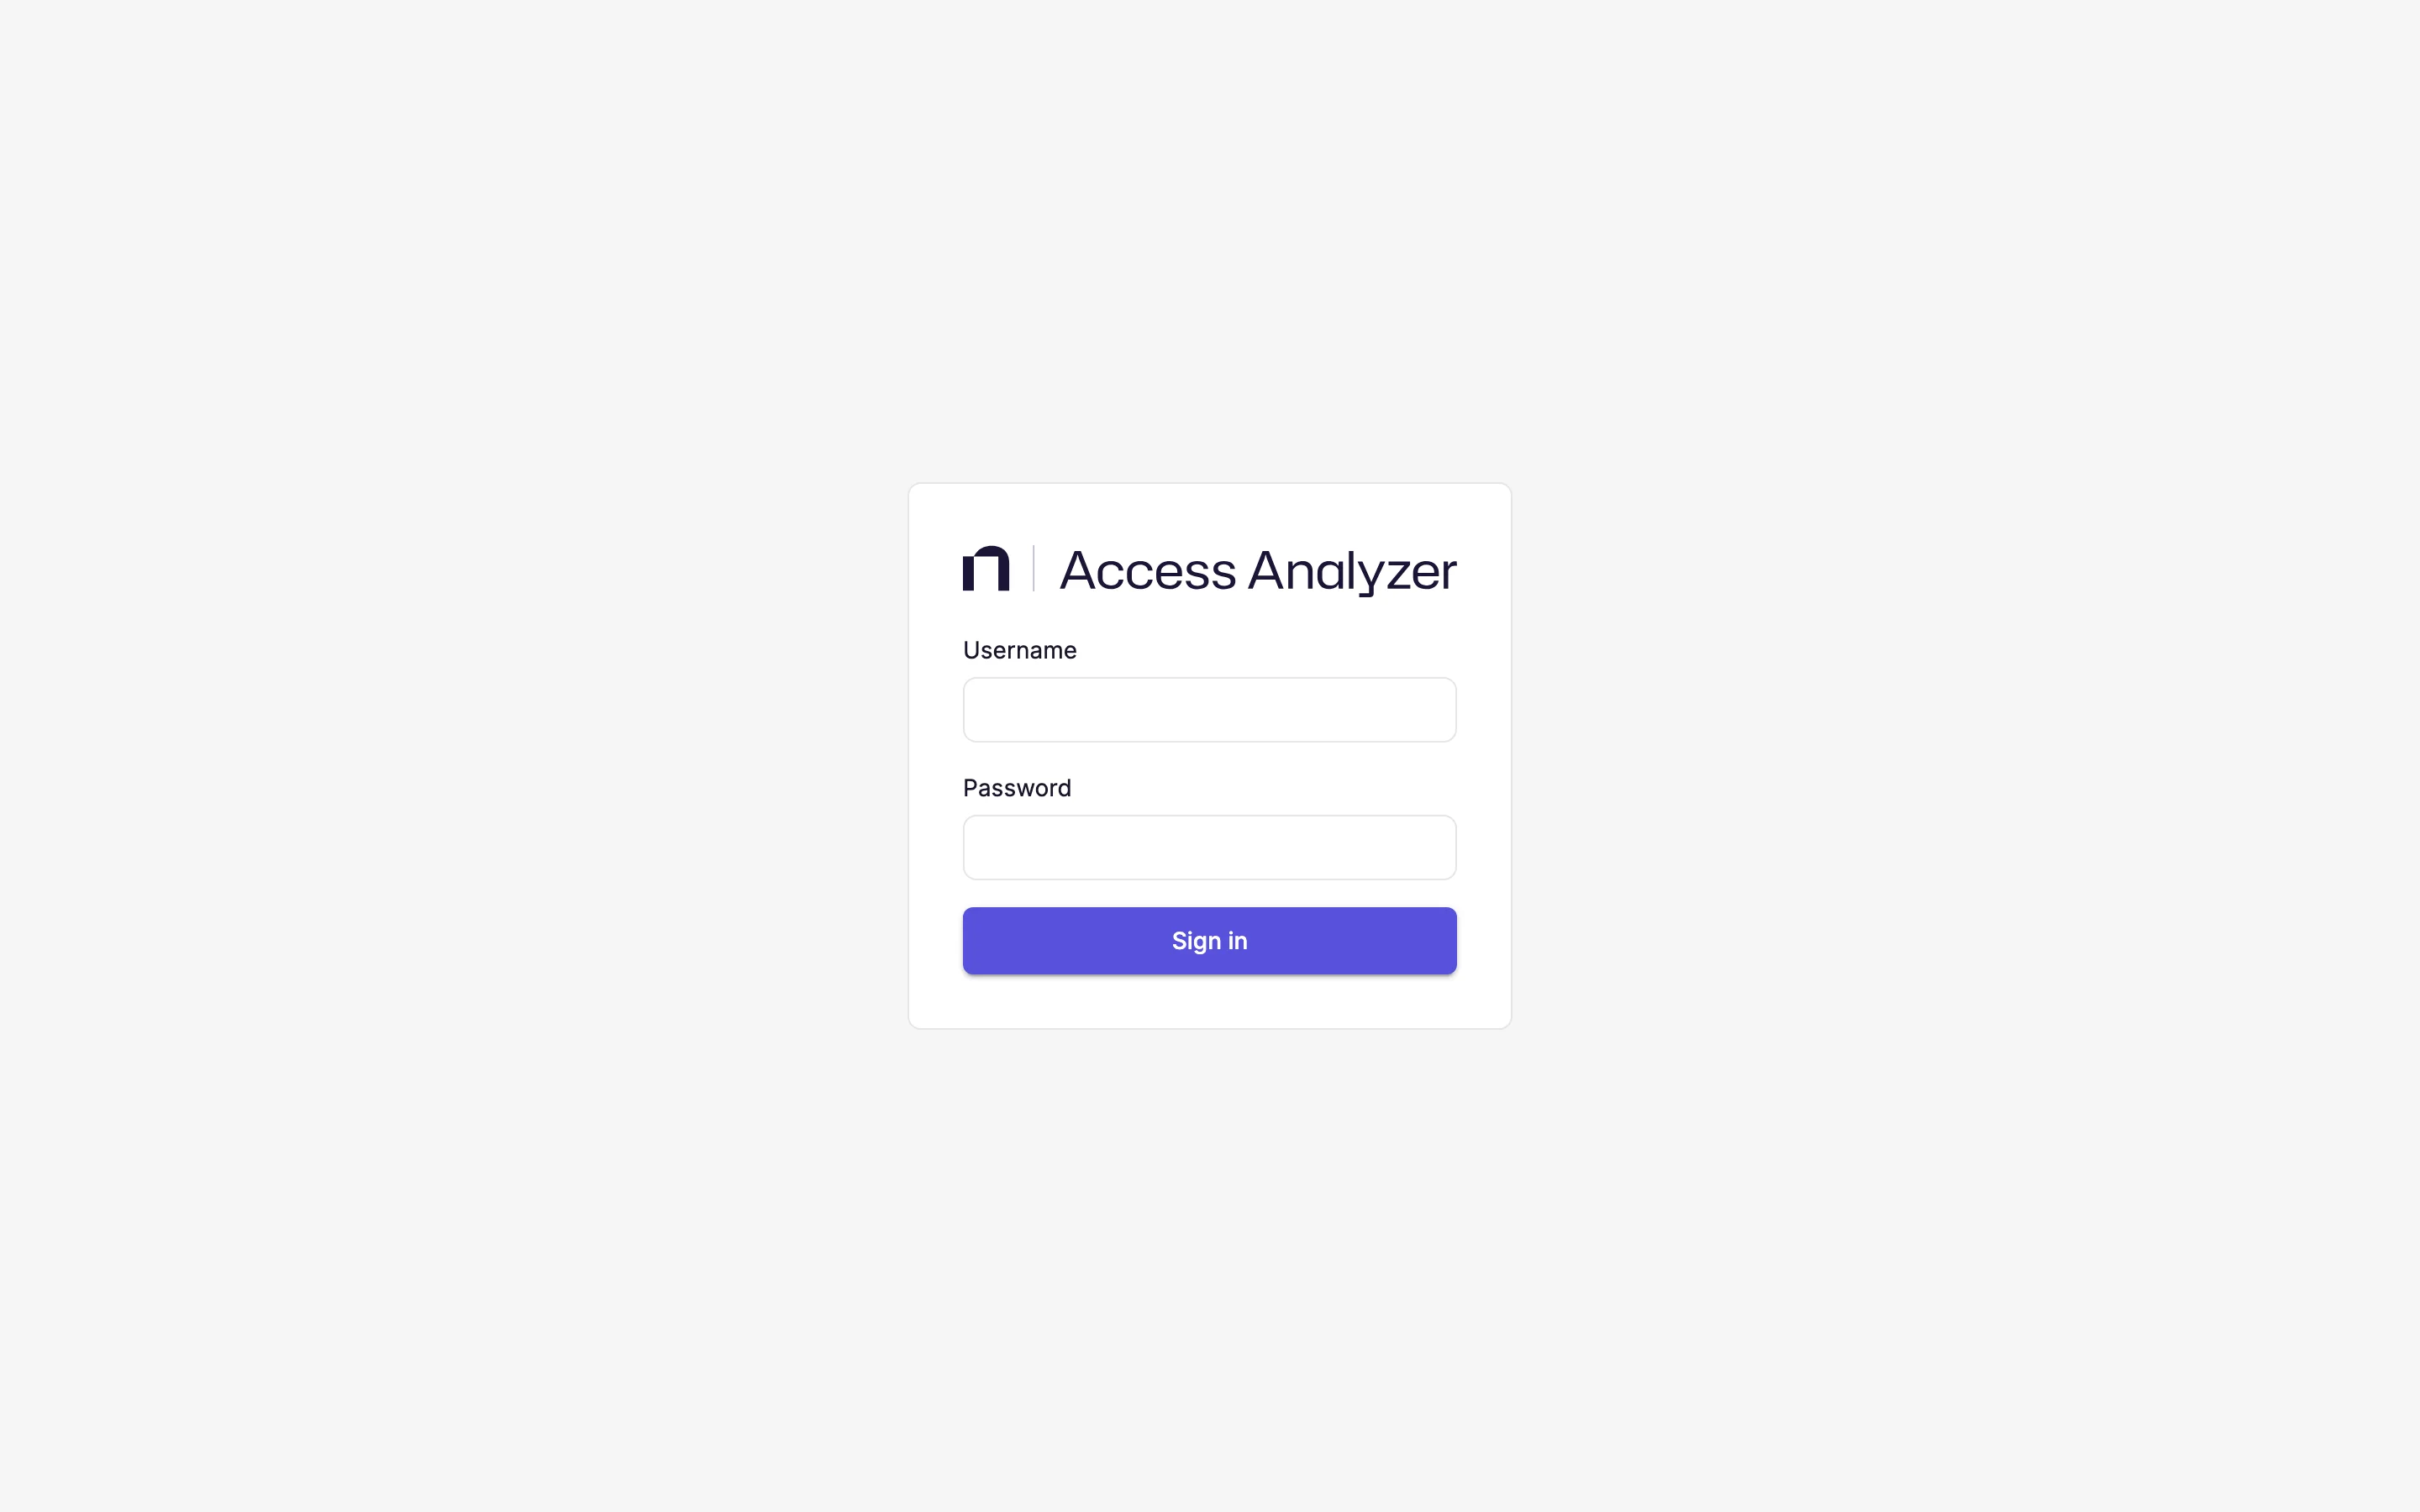
Three wrong passwords lock the account, and at this point no other administrator exists to unlock it. Paste the one-time password rather than retyping it. If you no longer have it, see Retrieve the one-time password again.
Set A New Password
The one-time password works only once, so Access Analyzer immediately asks for a new one, with the message "You must set a new password before continuing."
- In New password, enter a password of at least 12 characters. There are no other rules about which characters it must contain.
- In Confirm password, enter it again.
- Click Change password.
The page rejects a new password for one of these reasons:
| Message | Cause |
|---|---|
| Passwords don't match. | The two entries differ. |
| Password doesn't meet complexity requirements. | The password has fewer than 12 characters. |
| New password can't be the same as your current password. | You entered the one-time password again. |
Choose How to Set Up Sign-in
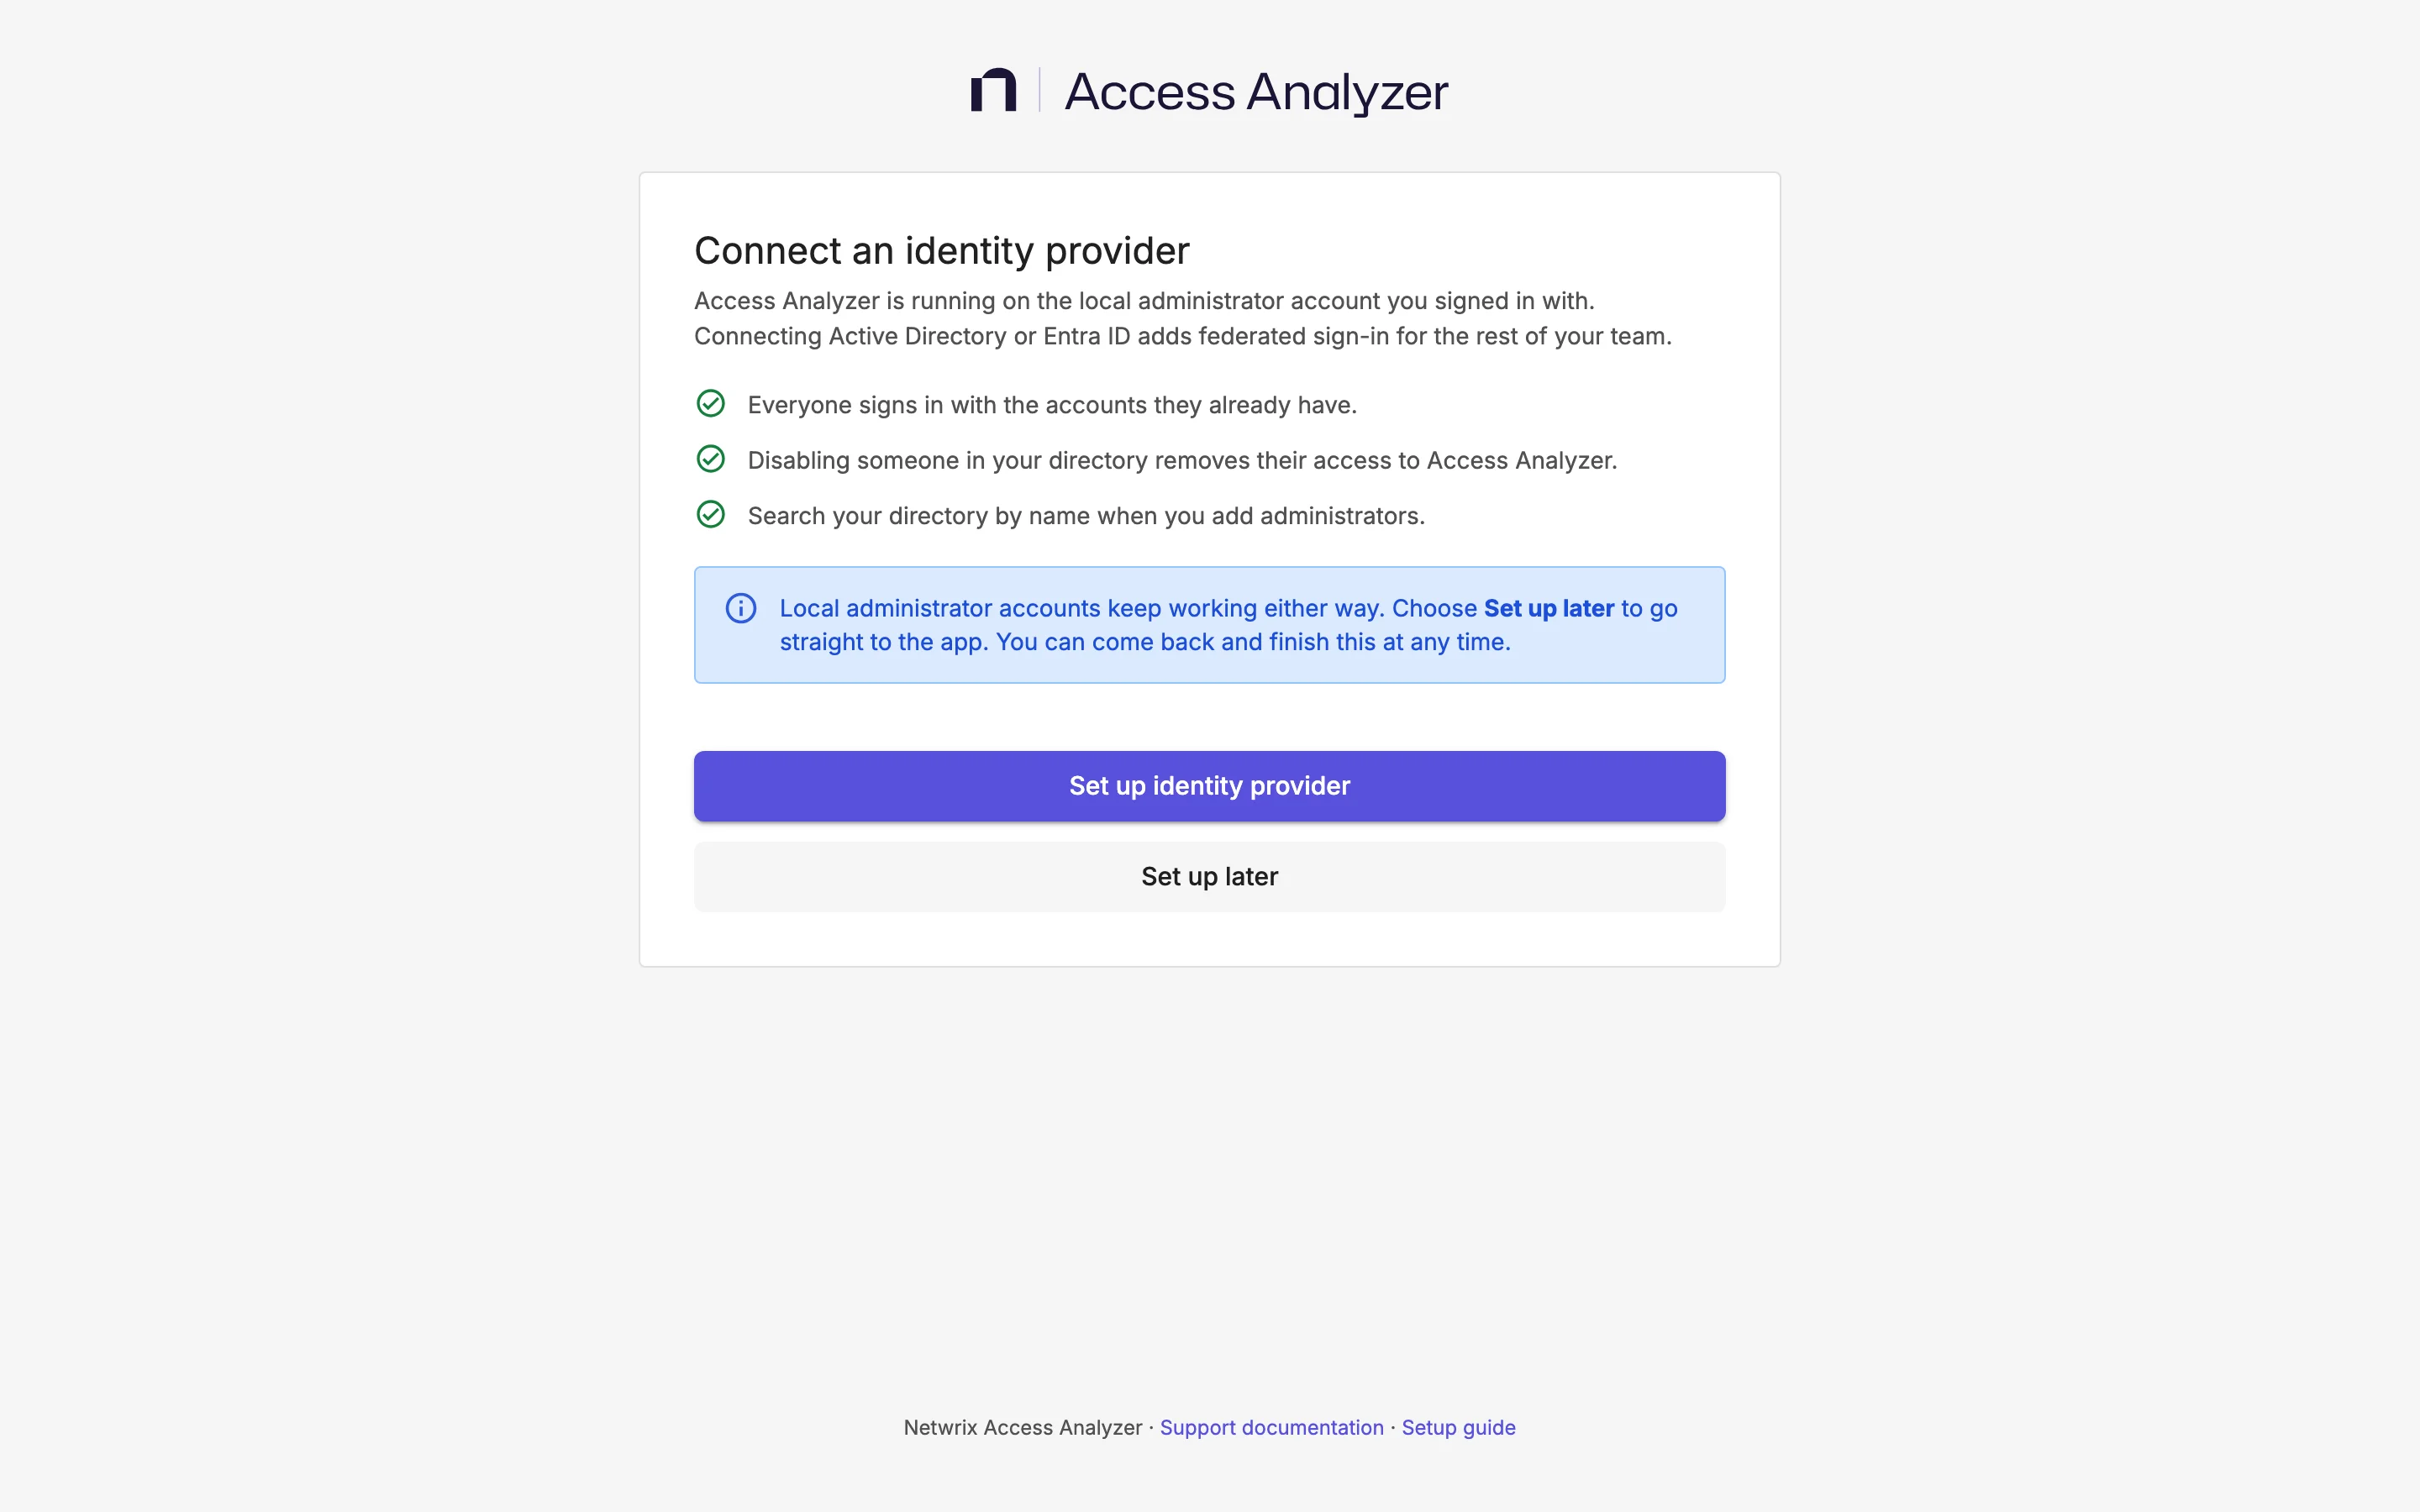
After the password change, Access Analyzer shows a page titled Connect an identity provider. It explains that you're signed in with the local administrator account, and that connecting Active Directory or Entra ID lets the rest of your team sign in with the accounts they already have. It offers two buttons.
Connect Your Identity Provider
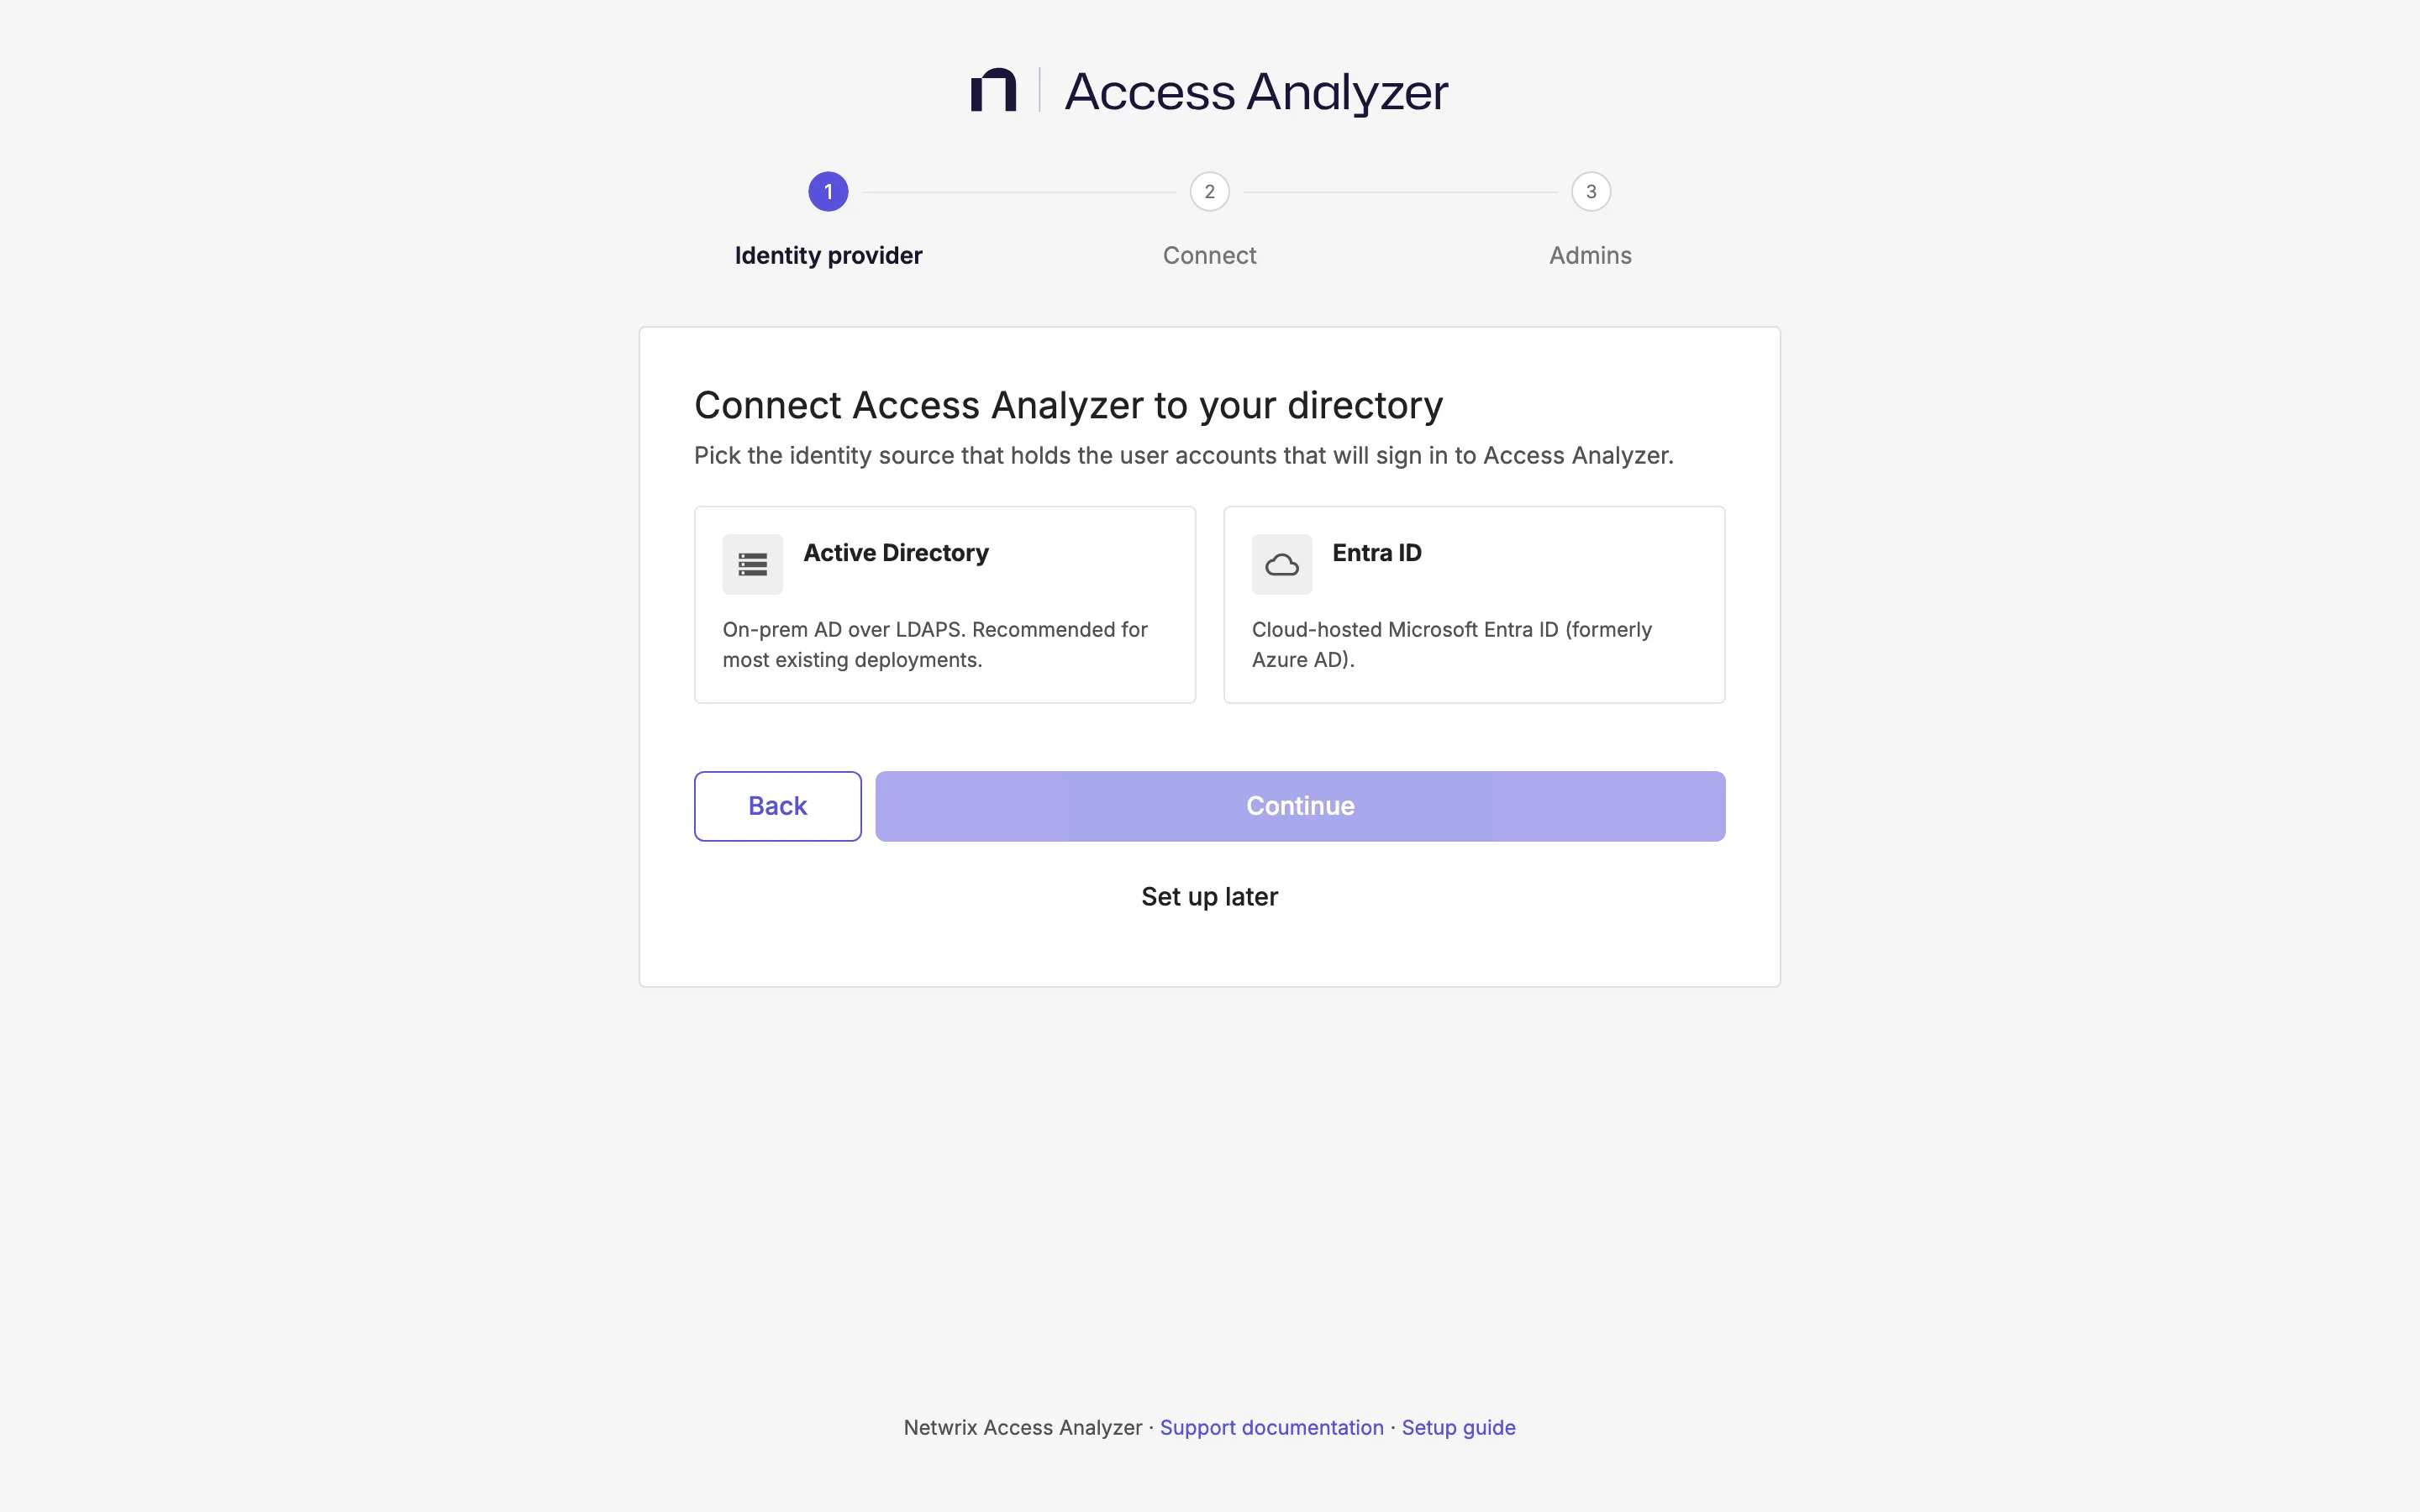
Click Set up identity provider to connect your directory right away. The setup runs in three steps, shown across the top of the page as Identity provider, Connect, and Admins.
-
On Identity provider, select Active Directory or Entra ID.
-
Click Continue.
-
On Connect, enter the connection details for the provider you chose. Active Directory needs a domain controller, a service account (Netwrix recommends a read-only account), and the certificate authority (CA) that issued the domain controller's certificate for Lightweight Directory Access Protocol over TLS (LDAPS). Entra ID needs an app registration and a one-time administrator consent. Single sign-on describes every field and what to prepare on the directory side.
-
Click Test connection and continue for Active Directory, or Sign in with Microsoft and continue for Entra ID.
-
On Admins, add the people who should hold the Admin role, or leave the list empty.
-
Click Finish setup. If you added nobody, the button reads Continue without admins instead.
-
Wait while Access Analyzer applies the configuration, then click log in to Access Analyzer.
That last click signs you out, because the setup has just changed the sign-in service. Sign in again with the local administrator account. Anyone you added on Admins signs in through the directory instead; if you connected Entra ID, the sign-in page also shows Sign in with Microsoft.
Set Up Later
Choose this if you don't have the directory details yet, or if you want to explore the application before inviting anyone else.
Click Set up later to skip straight to the application. The local administrator account keeps working, and Access Analyzer stops redirecting you to this page. You can run the same steps later: go to Settings > System and, under Single sign-on, click Go to set up.
Retrieve the One-Time Password Again
If you closed the terminal before copying the password, you can read it back from the server. The stored password works only until the first administrator replaces it. Run this command on the server as root:
kubectl get secret dspm-bootstrap-admin -n access-analyzer -o jsonpath='{.data.password}' | base64 -d
The command prints the password.
The Home Page
After you sign in, the Home page greets you by name and offers to connect your first source. The Guides walk through connecting a source and scanning it.