Install the Access Information Center
Once the prerequisites have been met, follow the steps to install the Access Information Center.
Step 1 – Run the AccessInformationCenter.exe executable and the Netwrix Access Information
Center Setup wizard opens.
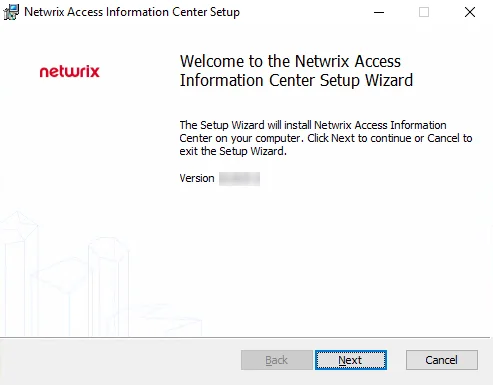
Step 2 – On the Welcome page, click the Next button to begin the installation process.
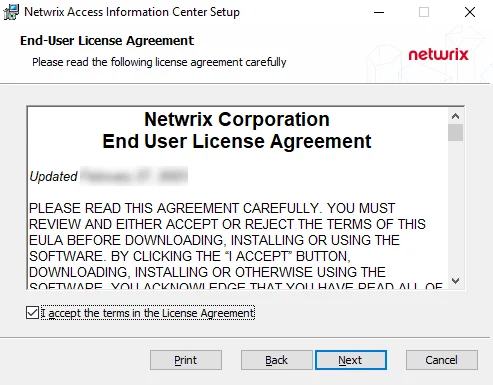
Step 3 – On the End-User License Agreement page, check the I accept the terms in the License Agreement box and click Next.
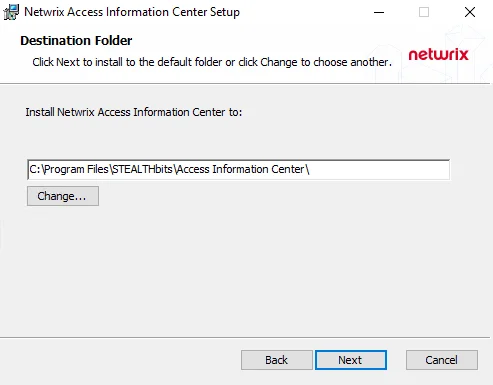
Step 4 – On the Destination Folder page, you can choose between the default destination folder and a custom folder. Click Change to browse for a different location. When the destination is set as desired, click Next.
The default location is C:\Program Files\STEALTHbits\Access Information Center\. There
are no specific requirements for changing the path.
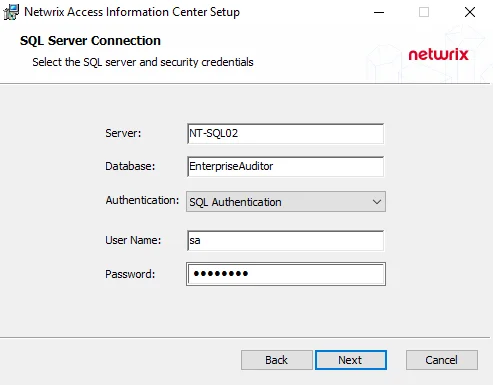
Step 5 – On the SQL Server Connection page, provide the required database information. Click Next to test the connection to the SQL Server. If there are no errors, the next wizard page will open.
-
Server — Enter the database server hostname (NetBIOS name, FQDN, or IP address) with the instance name or non-standard port, if applicable, in one of the following formats:
- No named instance, use [SQLHostName], e.g. NT-SQL02
- Named instance, use [SQLHostName][SQLInstanceName], e.g. NT-SQL02\Netwrix
- No named instance with non-standard port, use [SQLHostName],[PortNumber], e.g. NT-SQL02,72
- Named instance with non-standard port, use [SQLHostName][SQLInstanceName],[PortNumber], e.g. NT-SQL02\Netwrix,72
-
Database — Enter the name of the existing database
-
Authentication — Select the Database service account type from the drop-down menu. Then enter the account information in the User Name and Password fields.
- For Windows Authentication — User Name format must be [DOMAIN][username] , e.g. NWXTECH\ad.bruce
The Server and Database information are available in the Enterprise Auditor Console in the Settings > Storage node, and will be auto-populated if installing the Access Information Center on the same server as Enterprise Auditor. The Database settings can be modified after installation. See the Database Page topic for additional information.

Step 6 – On the Configure Web Server page, you can choose between the default port and a custom port on which the application will be accessible. To change the port, enter a new port number in the field. When the port is set as desired, click Next.
Step 7 – On the Ready to install page, click Install to begin the process.
Step 8 – Once the installation has successfully completed, click Finish to exit the wizard.
The installation wizard placed an Netwrix Access Information Center icon on the desktop. Now proceed to the First Launch topic for next steps.