Linux Agent Deployment
Understanding Linux File Activity Monitoring
The Activity Monitor can be configured to monitor the following:
- Ability to collect all or specific file activity for specific values or specific combinations of values
It also provides the ability to feed activity data to other Netwrix products:
- Netwrix Access Analyzer (formerly Enterprise Auditor)
- Netwrix Threat Manager
Prior to adding a Windows host to the Activity Monitor, the prerequisites for the target environment must be met. See the Linux Agent Server Requirements topic for additional information.
Deploy Linux Agent
Follow the steps to deploy the agent to the Linux host.
Step 1 – On the Agents tab, click Add agent to open the Add New Agent(s) window.
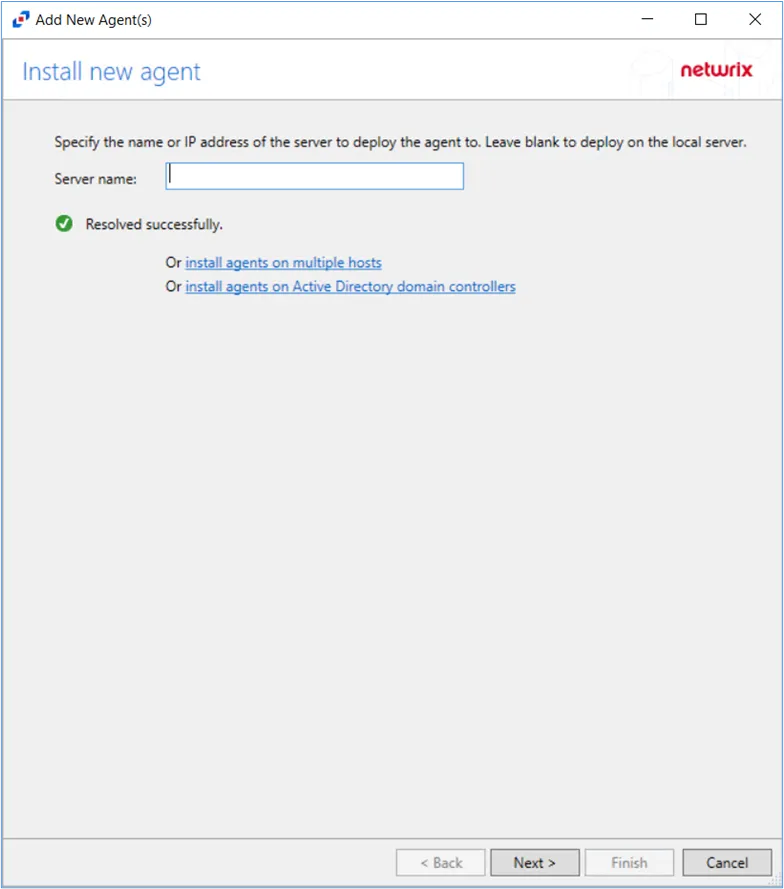
Step 2 – On the Install New Agent page, enter the server name for the Linux host. Click Next.

Step 3 – On the Agent Port page, specify the port to be used by the new agent. The default port is 4498. Click Next.
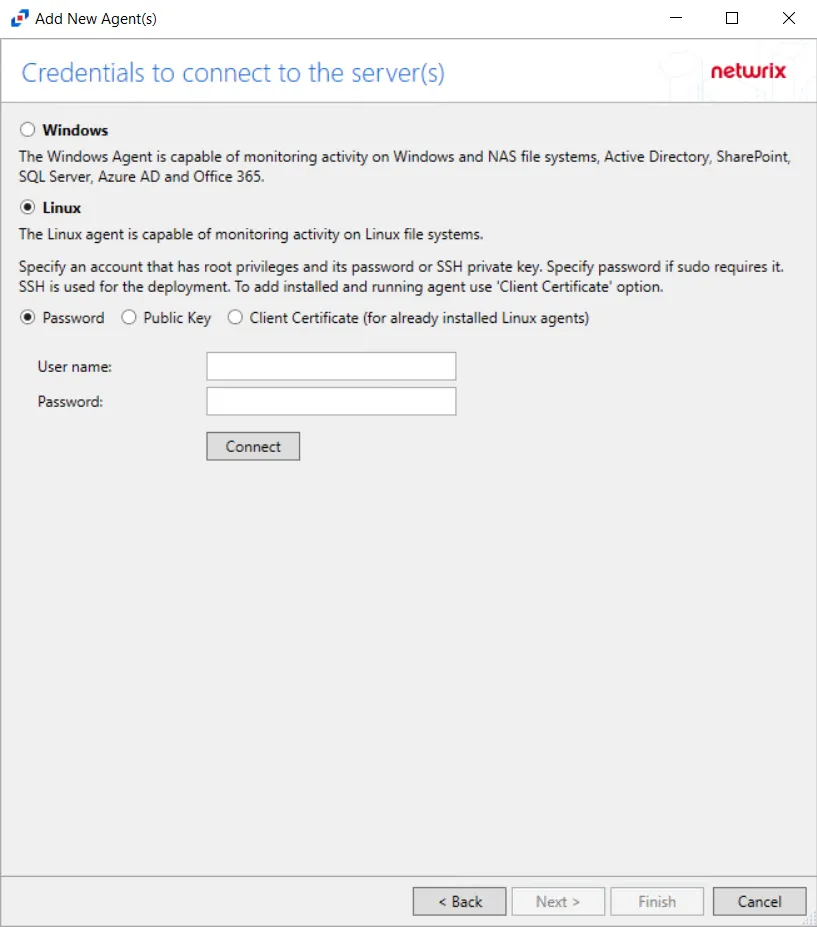
Step 4 – On the Credentials To Connect To The Server(s) page, connect to the Linux Server using either a User name and Password, or a Public Key.
The options for connecting with a Password are:
- User name
- Password
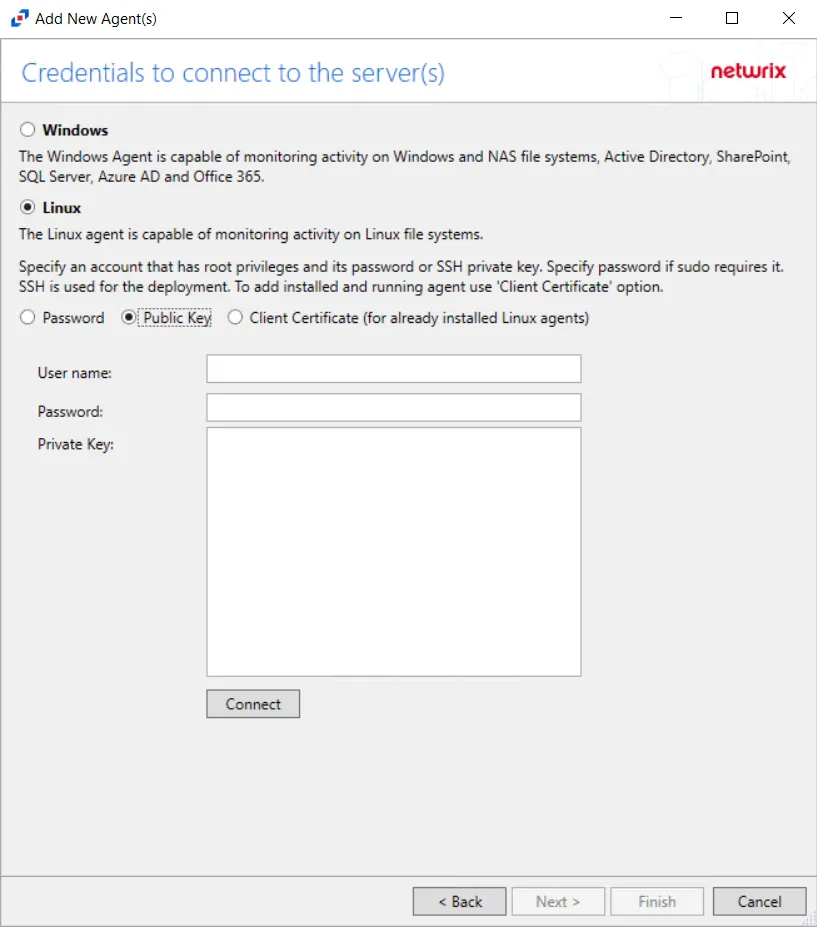
The options for connecting with a Public Key are:
- User name
- Private Key
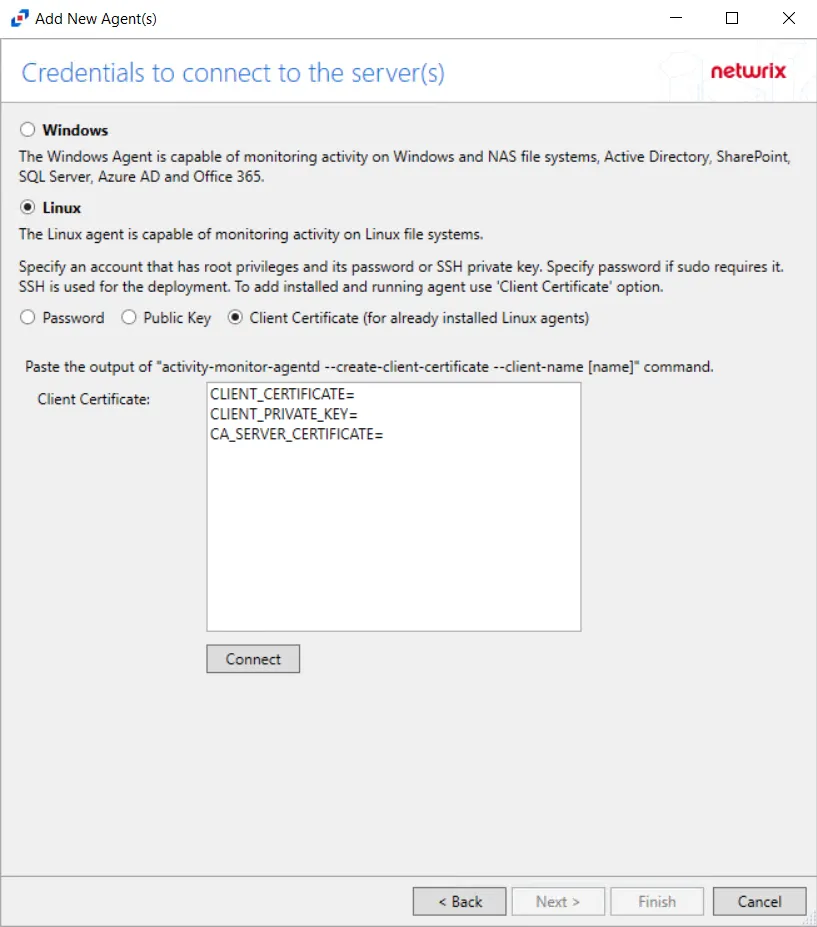
To connect with a Client Certificate, select the Client Certificate (for already installed agents) option. Run the following commands on the Linux machine:
cd /usr/bin/activity-monitor-agentd/
./activity-monitor-agentd create-client-certificate --name [name]
The Client Certificate option adds an already installed agent to the console without using SSH.
To connect with a public key, select the Public Key option. Copy the following command into a command prompt to generate ECDSA key for public key option:
ssh-keygen -m PEM -t ecdsa
Netwrix Activity Monitor requires to generate ECDSA Key with a blank passphrase
cat ~/.ssh/id_ecdsa.pub >> ~/.ssh/authorized_keys
NOTE: It is required to add public key to authorized keys for Activity Monitor. By default, a private key is generated at ~/.ssh/id_ecdsa location along with the public key (.pub file). A user can use a different file location. Copy the following command into a command prompt to generate a private key for Activity Monitorto use:
cat ~/.ssh/id_ecdsa
Step 5 – Click Connect to test the connection. If the connection is successful, click Next. If the connection is unsuccessful, see the status message that appears for information on the failed connection.
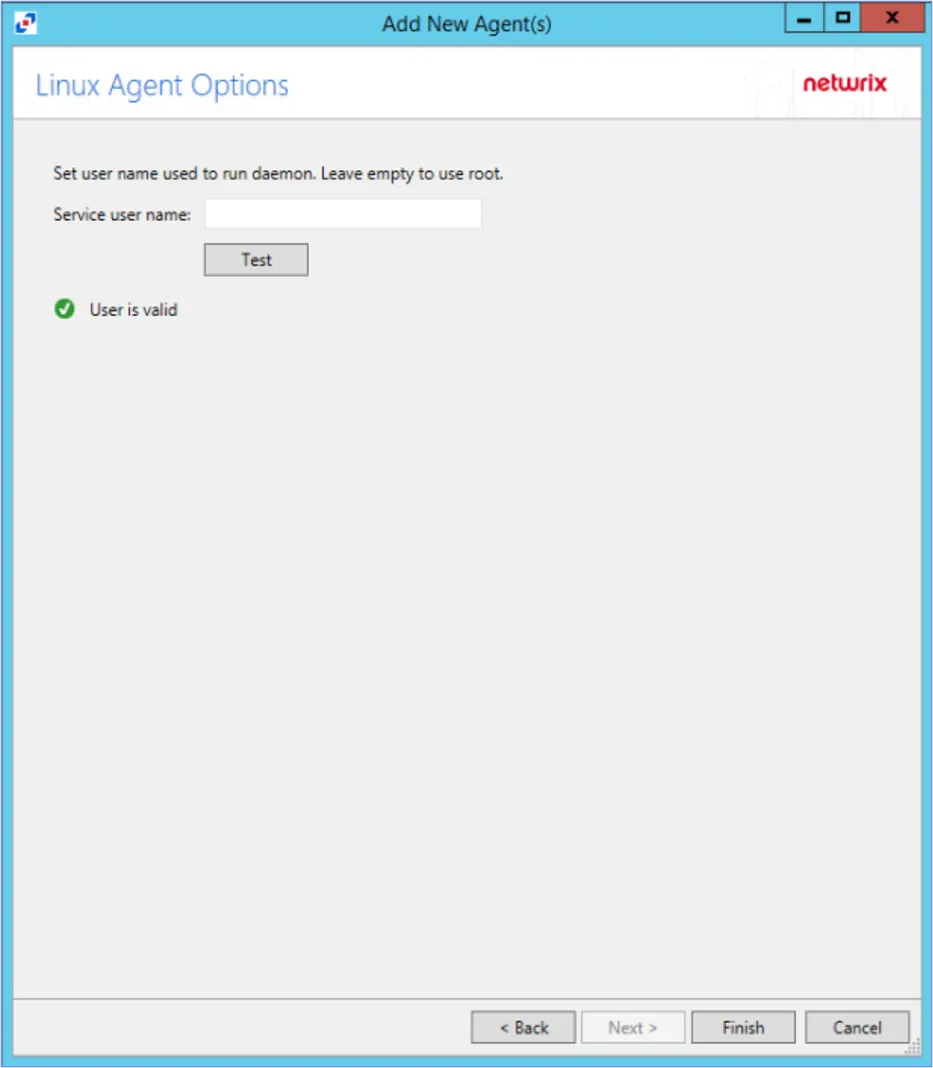
Step 6 – On the Linux Agent Options page, select which user name to use to run the daemon. To use root, leave the Service user name field blank. Click Test to test the connection.
Step 7 – Click Finish. The Add New Agent(s) window closes, and the activity agent is deployed to and installed on the target host.
During the installation process, the status will be Installing. If there are any errors, Activity Monitor stops the installation and lists the errors in the Agent messages box.
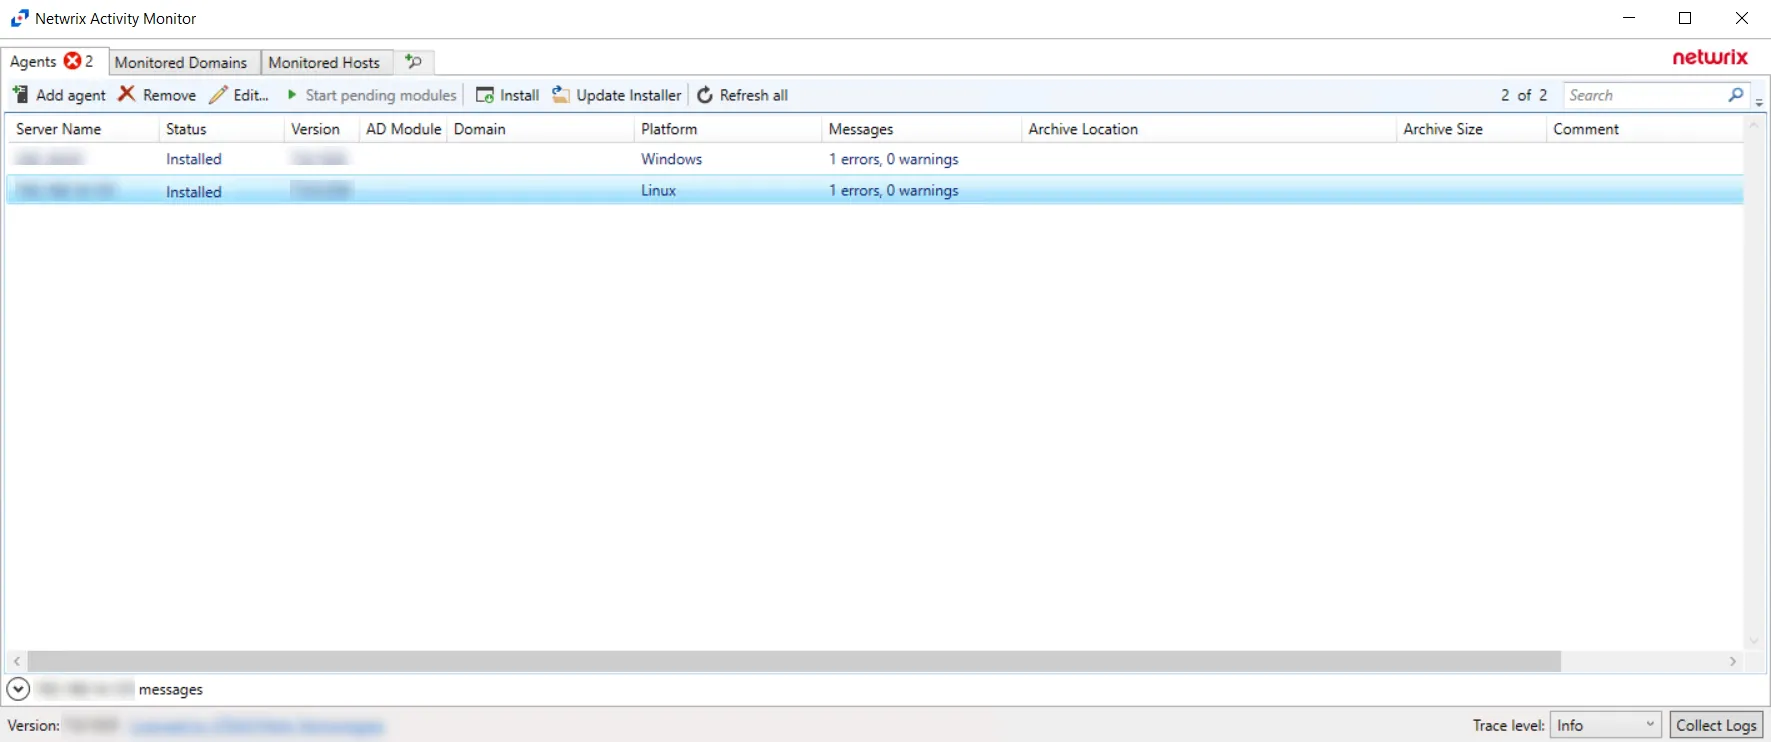
When the Linux agent installation is complete, the status changes to Installed. The Monitored Host is also configured, and the added Linux host is displayed in the monitored hosts table. See the Monitored Hosts Tab topic for additional information.
Once a host has been added for monitoring, configure the desired outputs. See the Output for Monitored Hosts topic for additional information.
Host Properties for Linux
Configuration settings can be edited through the tabs in the host’s Properties window. The configurable host properties are:
See the Host Properties Window topic for additional information.