Installation
This chapter provides step-by-step instructions on how to install Netwrix Auditor and its Compression Services. Refer to the following sections for detailed information:
It also includes advanced scenarios such as:
Install Netwrix Auditor
For instructions on upgrade procedures, refer to Upgrade to the Latest Version.
CAUTION: To keep your systems safe, Netwrix Auditor should not be exposed to inbound access from the internet.
Follow these steps to install Netwrix Auditor
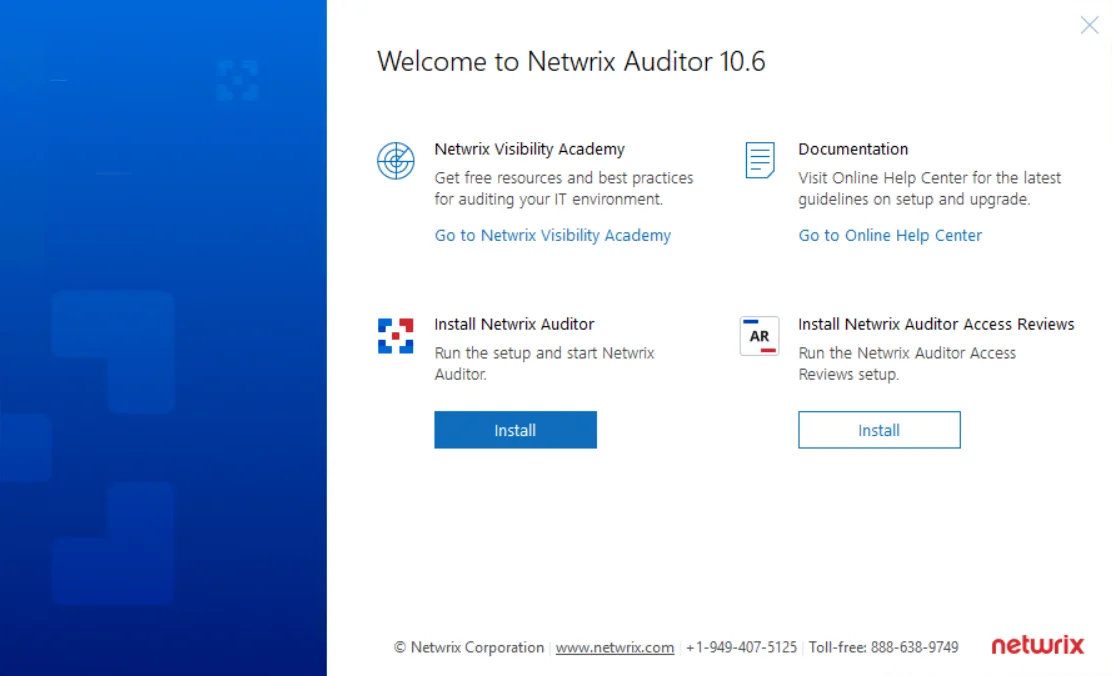
Step 1 – Download Netwrix Auditor 10.6 from Netwrix website.
NOTE: Before installing Netwrix Auditor, make sure that the Windows Firewall service is started. If you use a third-party firewall, see Protocols and Ports Required. Also, you must be a member of the local Administrators group to run the Netwrix Auditor installation.
Step 2 – Unpack the installation package. The following window will be displayed on successful operation completion:
Step 3 – Follow the instructions of the setup wizard. When prompted, accept the license agreement.
Step 4 – On the Select Installation Type step, you will be prompted to select the installation type:
- Full installation—Select if you are going to install Netwrix Auditor server and client on the same machine. In this case the main component called Auditor Server and the Auditor Client will be installed.
- Client installation—Select if you want to install a UI client to provide access to configuration and audit data.
Step 5 – On the Destination Folder step, specify the installation folder.
Step 6 – On the Netwrix Customer Experience Program step, you are invited to take part in the Netwrix Customer Experience Program. It is optional on your part to help Netwrix improve the quality, reliability, and performance of Netwrix products and services. If you accept, Netwrix collects statistical information on how the Licensee uses the product in accordance with applicable law. Select Skip if you do not want to participate in the program.
You can always opt-out of the Netwrix Customer Experience Program later. See the About Netwrix Auditor topic for additional information.
Step 7 – Click Install.
After a successful installation, Auditor shortcut will be added to the Start menu and screen and the product will start. See the First Launch topic for additional information on the product navigation.
Netwrix looks beyond the traditional on-premises installation and provides Auditor for cloud and virtual environments. For example, you can deploy Auditor on a pre-configured Microsoft Azure virtual machine or install it as a virtual appliance on your VMware vSphere or Hyper-V virtualization server. For more information on additional deployment options, visit Virtual Appliance page.
Installing Core Services
To audit SharePoint farms and user activity, Netwrix Auditor provides Core Services that must be installed in the audited environment to collect audit data. Both Core Services can be installed either automatically when setting up auditing in Netwrix Auditor, or manually.
Refer to the following sections below for manual installation instructions: