Create a New Monitoring Plan
To create monitoring plans, user account must be assigned the Global administrator in Auditor. Users with the Configurator role can create plans only within a delegated folder. See the Role-Based Access and Delegation topic for additional information.
To start creating a plan, do any of the following:
- On the main Auditor page, in the Quick Start section, click the tile with a data source of your choice, e.g., Active Directory. If you need a data source that is not listed on the main page, click All data sources.
- On the main Auditor page, in the Configuration section, click the Monitoring Plans tile. On the Monitoring Plans page, select Add Plan.
Then follow the steps of the Monitoring Plan Wizard:
- Choose a data source for monitoring
- Specify an account for collecting data
- Specify default SQL Server instance and configure the Audit Database to store your data
- Configure notification settings
- Specify the recipients who will receive daily activity summaries
- Specify a plan name
Settings for Data Collection
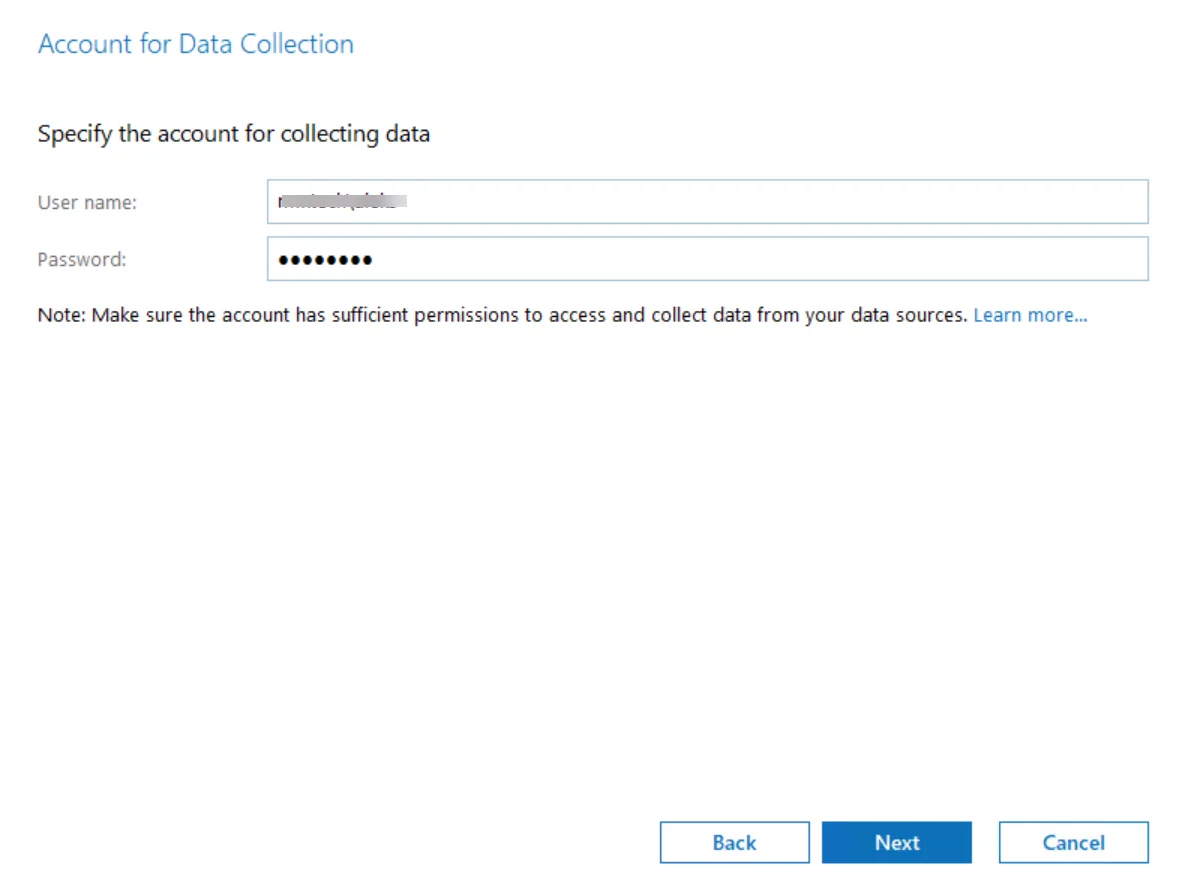
At this step of the wizard, specify the account that Auditor will use to access the data source, and general settings for data collection.
| Option | Description |
|---|---|
| Specify the account for collecting data | If applicable, you can create a data collecting account in the following ways: - Not specified – Select this option if you want to choose the Netwrix Privilege Secure as the data collecting account for the Monitoring Plan. See the Netwrix Privilege Secure topic for additional information. - User/password – Provide a username and password for the account that Auditor will use to collect data. By default, the user name is prepopulated with your account name. - gMSA – Use the group Managed Service Account (gMSA) as data collecting account. For more details about gMSA usage, see the Use Group Managed Service Account (gMSA) topic. NOTE: If you want to audit network devices or Microsoft Entra ID (formerly Azure AD) or Microsoft 365 infrastructure, you need to use not specified account. Make sure the account has sufficient permissions to collect data. For a full list of the rights and permissions, and instructions on how to configure them, refer to theData Collecting Account. Netwrix recommends creating a special service account with extended permissions. If you want to audit network devices or Microsoft Entra ID (formerly Azure AD)/Office 365 infrastructure, you can use any account here. When you configure a monitoring plan for the first time, the account you specify for data collection will be set as default. |
| Enable network traffic compression | If selected, this option instructs Auditor to deploy a special utility that will run on the audited computers and do the following: - collect and pre-filter audit data - compress data and forward it to Auditor Server. This approach helps to optimize load balance and reduce network traffic. So, using this option can be recommended especially for distributed networks with remote locations that have limited bandwidth. See the Network Traffic Compression topic for additional information. |
| Adjust audit settings automatically | Auditor can configure audit settings in your environment automatically. Select Adjust audit settings automatically. In this case, Auditor will continually check and enforce the relevant audit policies. For some data sources (currently, Active Directory and Logon Activity) you will be offered to launch a special utility that will detect current audit settings, check them against requirements and then adjust them automatically. See the Audit Configuration Assistant topic for additional information. You may also want to apply audit settings via GPO (for example, for Windows Servers). Auditor has certain limitations when configuring audit settings for NetApp and Dell Data Storage. See the File Servers topic for additional information. If any conflicts are detected with your current settings, automatic audit configuration will not be performed. Select this option if you want to audit file shares on NetApp Data ONTAP 7 and 8 in 7-mode. For NetApp Clustered Data ONTAP 8 and ONTAP 9, only audit settings for file shares can be configured automatically, other settings must be applied manually. If you plan to monitor Dell Isilon, clear the checkbox. Currently, Auditor cannot configure audit on Dell Isilon appliances automatically. If you want to audit Dell VNX/VNXe, select Adjust audit settings automatically, but only audit settings for file shares will configured, the rest of settings must be configured manually. For a full list of audit settings and instructions on how to configure them manually, see the Supported Data Sources for additional information. |
| Launch Audit Configuration AssistantConfiguration Assistant | Click to launch a specially intended utility that will assess your environment readiness for monitoring and adjust audit settings, if necessary. The tool will be launched in a new window. See the Audit Configuration Assistant topic for additional information. |
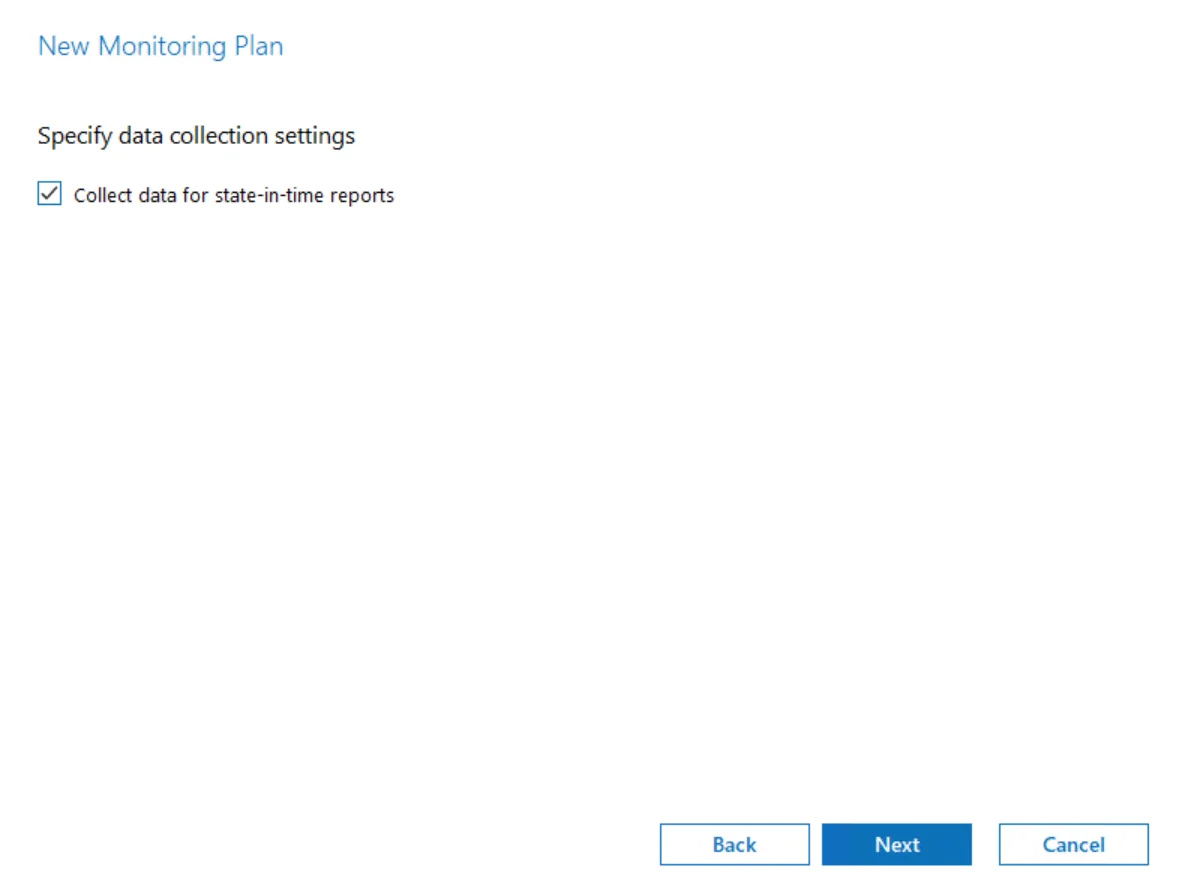
| Collect data for state-in-time reports | State-in-time reports are based on the daily configuration snapshots of your audited systems; they help you to analyze particular aspects of the environment. State-in-time configuration snapshots are also used for IT risks assessment metrics and reports. This data collection option is available if you are creating a monitoring plan for any of the following data sources: - Active Directory - File Servers - Windows Server - Group Policy - SharePoint - SharePoint Online - Exchange Online - SQL Server - VMware See the State–In–Time Reports and IT Risk Assessment Overview topics for additional information. |
Default SQL Server Instance
To provide searching, alerting and reporting capabilities, Auditor needs an SQL Server where audit data will be stored in the databases. To store data from the data sources included in the monitoring plan, the wizard creates an Audit Database for each plan. At this step, you should specify the default SQL Server instance that will host Auditor databases. See the Requirements for SQL Server to Store Audit Data topic for additional information.
Alternatively, you can instruct Auditor not to store data to the databases but only to the repository (Long-Term Archive) – in this scenario, you will only be able to receive activity summaries. Reporting and alerting capabilities will not be provided.
Auditor skips this step if you have already configured Audit Database settings for other monitoring plans.
Select one of the following options:
-
Disable security intelligence and make data available only in activity summaries — select this option if you do not want audit data to be written to the Audit Database. In this case, data will be available only in Activity Summary emails. Alerts, reports and search capabilities will not be supported.
If you later clear this option to start saving data to the database, consider that already collected audit data will not be imported in that database.
-
Install a new instance of Microsoft SQL Server Express automatically — this option is available at the first run of the wizard. It allows you to deploy SQL Server 2016 SP2 Express with Advanced Services on the local machine. This SQL Server will be used as default host for Auditor databases.
It is strongly recommended that you plan for your databases first, as described in Requirements for SQL Server to Store Audit Data section. Remember that database size in SQL Server Express edition may be insufficient for your audited infrastructure.
-
Use an existing SQL Server instance — select this option to use an existing SQL Server instance.
Local SQL Server instance is detected automatically, and input fields are pre-populated with its settings.
Complete the following fields:
Option Description SQL Server instance Specify the name of the SQL Server instance to store audit data. If you have more than one Auditor Server running in your network, make sure to configure them to use different SQL Server instances. The same SQL Server instance cannot be used to store audit data collected by several Auditor Servers. Authentication Select the authentication type you want to use to connect to the SQL Server instance: - Windows authentication - SQL Server authentication User name Specify the account to be used to connect to the SQL Server instance. This account must be granted the database owner (db_owner) role and the dbcreator server role. Password Enter a password. NOTE: If you want to use Group Managed Service Account (gMSA) to access the SQL Server instance hosting the database, consider that in this case Netwrix Auditor will not be able to generate SSRS-based reports (due to the following Microsoft article: Configure the Unattended Execution Account (Report Server Configuration Manager).
Database Settings
At this step, you need to specify a database where Netwrix Auditor will store data collected from the data sources included in this monitoring plan.
It is strongly recommended to target each monitoring plan at a separate database.
You can use default settings for your SQL Server instance or modify them (e.g., use a different authentication method or user). You can also change these settings later. See the Audit Database topic for additional information.
Configure the following:
| Setting | Description |
|---|---|
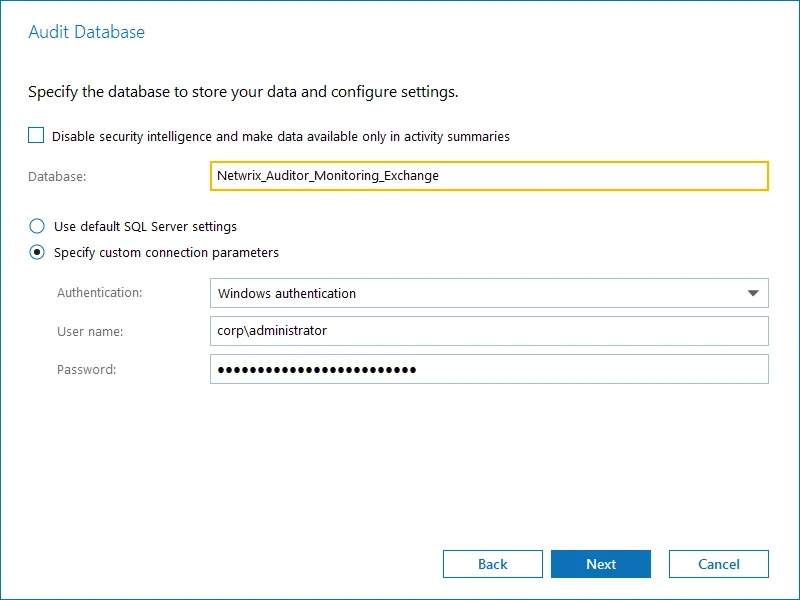
| Disable security intelligence ... | Only select this option if you do not want your data to be stored in the database. In this case, you will only be able to receive activity summaries. Reporting and alerting capabilities will not be provided. To store data to the database, leave this check box cleared. |
| Database | Default database name is Netwrix_Auditor<monitoring_plan_name>. It is recommended that you enter a meaningful name for the database here. It may include the data source type (e.g. _Exchange_Audit_Data or OracleSrv02_Audit_Data), or so. If you decided to use the existing SQL Server instance instead of dedicated, you may want to use Netwrix_Auditor prefix to distinguish Netwrix Auditor databases from others. |
| Use default SQL Server settings | Select this option if you want Auditor to connect to the SQL Server instance using the default settings you specified at the Default SQL Server Instance step. |
| Specify custom connection parameters | Select this option to use custom credentials when connecting to SQL Server. Specify authentication method and the account that Auditor will use. Make sure this account has sufficient rights to connect to SQL Server and work with the databases. |
Auditor will connect to the default SQL Server instance and create a database with the specified name on it.
Global settings that apply to all databases with audit data (including retention period and SSRS server used for reporting) are available on the Audit Database page of Auditor settings. See the Audit Database topic for additional information.
SMTP Server Settings
When you create the first monitoring plan, you are prompted to specify the email settings that will be used for activity and health summaries, reports and alerts delivery. For the monitoring plans that follow, Netwrix Auditor will automatically detect SMTP settings; however, for your first plan you should provide them manually. See the Notifications topic for additional information.
You can skip this step if you do not want to receive email notifications, or configure SMTP settings later, as described in the related section.
Email Notification Recipients
Specify who will receive daily emails: Activity Summary Email on changes in the monitored infrastructure, and Health Summary Email on Auditor operations and health.
Click Add Recipient and provide email address.
RECOMMENDED: click Send Test Email. The system will send a test message to the specified email address and inform you if any problems are detected.
Monitoring Plan Summary
At this step of the wizard, to provide a meaningful name and optional description for your monitoring plan.
To start collecting data, you should specify the objects (items) that belong to the target data source and should be processed according to the settings of this monitoring plan. For example, for Exchange data source the item will be your Exchange server, for Windows Server data source - computer, IP range or AD container, and so on. To add items right after finishing the monitoring plan wizard, select the Add item now checkbox. See the Add Items for Monitoring topic for additional information.
A monitoring plan cannot collect data until at least one item is specified.
Some data sources require additional system components and updates to be installed on your computer. In this case, Auditor will inform you and prompt you to check data source prerequisites instead of adding an item.
Once you complete the wizard, you can:
- Add items to your plan
- Add more data sources
- Customize data source's scope and settings (e.g., enable read access auditing)
- Fine-tune or modify plan settings
- Delegate control of the plan configuration or collected data to other users.