Create Review Wizard
The Create Review wizard is opened with the Create button on the Entitlement Reviews interface. See the Manage Reviews Page topic for additional information.
It contains three pages:
-
- Review Type
-
Review Name — Visible only to Review Administrators
-
Select the type of review to be created:
- Membership – Review group membership
- Access – Review user access rights to resources
-
- Resources — Select resources to be included in the review
-
- Summary
- Preview of the review selections
- Provides a status of the action being committed. Action includes creating the review and sending notifications to owners.
See the Create a Review topic for additional information.
Create a Review
Follow the steps to create a review.
Step 1 – On the Manage Reviews page, click Create. The Create Review wizard opens.
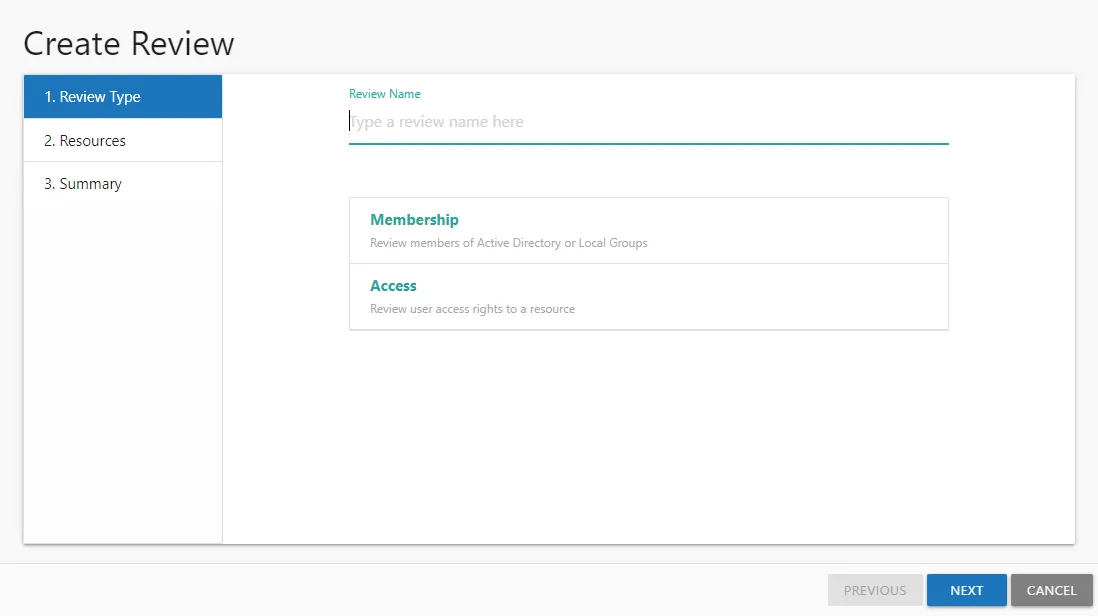
Step 2 – On the Review Type page, provide the following information and click Next:
-
Review Name — Enter a unique, descriptive name for the review. The review name is only visible to Review Administrators.
-
Select Type — Reviews are limited to one type. Select the type of review from the buttons provided:
- Membership – Review group membership
- Access – Review user access rights to resources
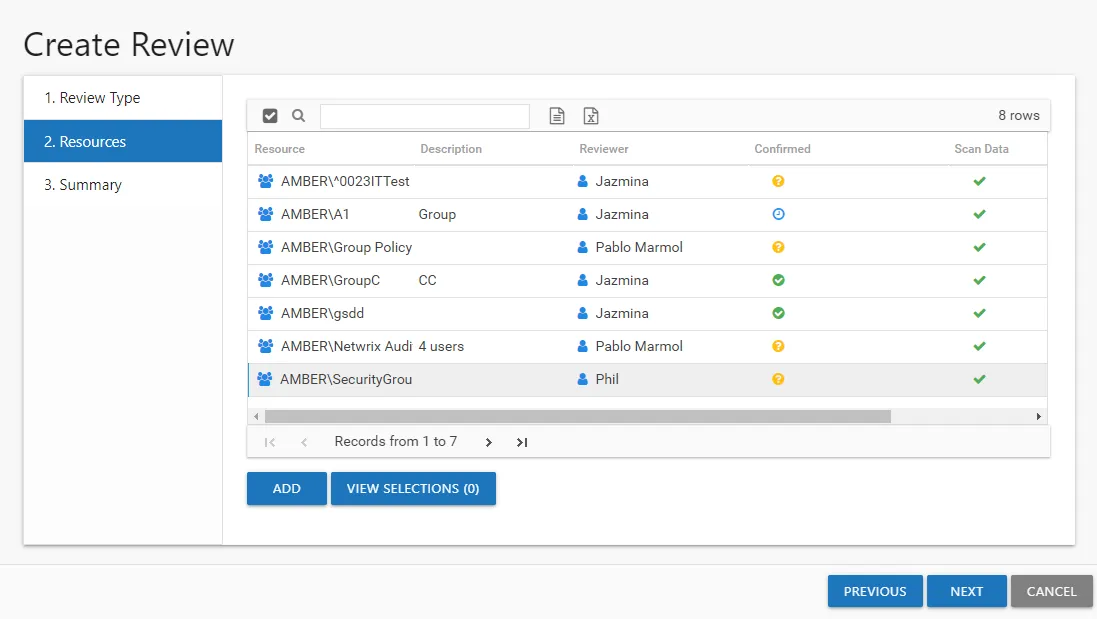
Step 3 – On the Resources page, select the resources to be included in the review. The Search feature is available to filter the list of available resource that match the type of review being created.
-
The table displays the following information:
- Resources — The icon indicates the type of resource. The resource name includes its location, such as the UNC path for a file system resource, the URL for SharePoint resource, or Group name (e.g., [Domain][Group]).
- Description — Description or explanation of the resource as supplied by either the Ownership Administrator or the assigned owner
- Reviewer — Primary owner assigned to the resource
- Confirmed — Indicates whether or not the assigned owner has confirmed ownership of that resource. Tool-tips display when hovering over the icons indicating whether the resource ownership has been confirmed, declined, pending response, or that a confirmation has not been requested.
- Scan Data — A checkmark indicates the resource has been scanned. Only resources with scan data can be included in a review.
-
Select the desired resource(s) and click Add. The View Selections button indicates how many resources have been selected. Click the button to open the Selected Resources window, where you can view and modify the selections. See the Selected Resources Window topic for additional information.
-
Once the desired resources have been selected, click Next.
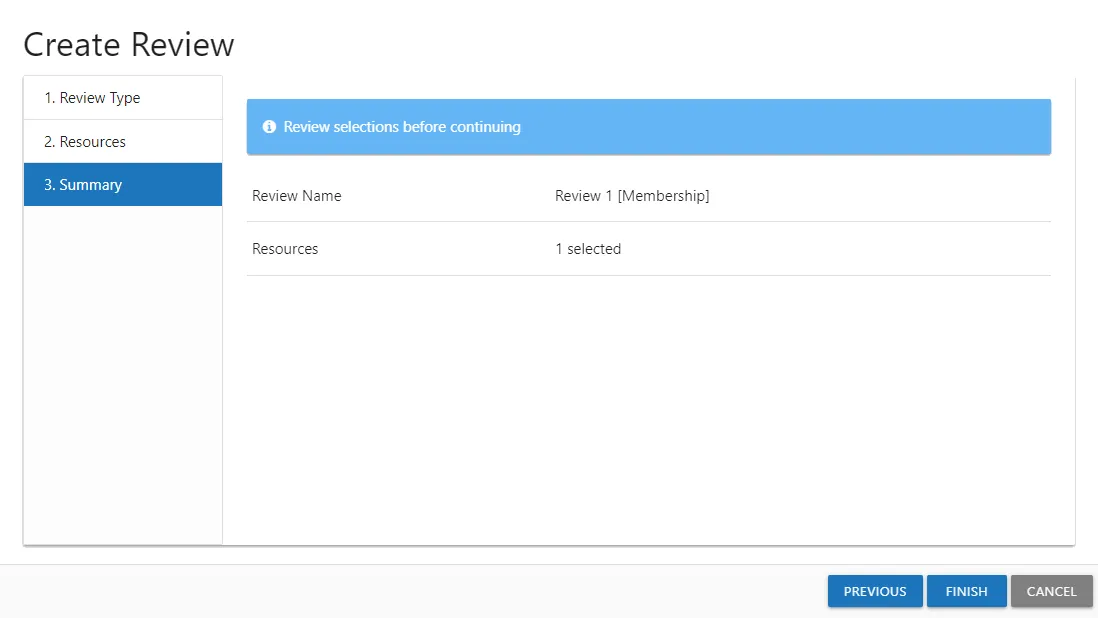
Step 4 – On the Summary page, review the settings and click Finish. The Access Reviews begins to create the review. Action status displays on the page. When the update has completed (100%), click Close. The Create Review wizard closes.
The new review displays in the table on the Manage Reviews page. An email was sent to the primary owner assigned to the resource(s) in this review. By default, the application is configured to send notifications only to the primary owner. However, this can be customized on the Configuration > Notifications page to send notifications to all assigned owners. See the Notifications Page topic for additional information.