Install
Once the prerequisites have been met, follow the steps to install the Access Reviews application.
Step 1 – Run the AccessReviews.exe executable, and the Netwrix Auditor Access Reviews Setup
wizard opens.
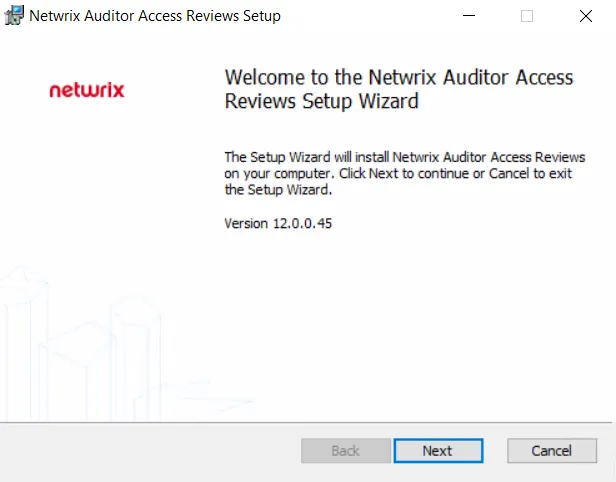
Step 2 – On the Welcome page, click Next to begin the installation process.
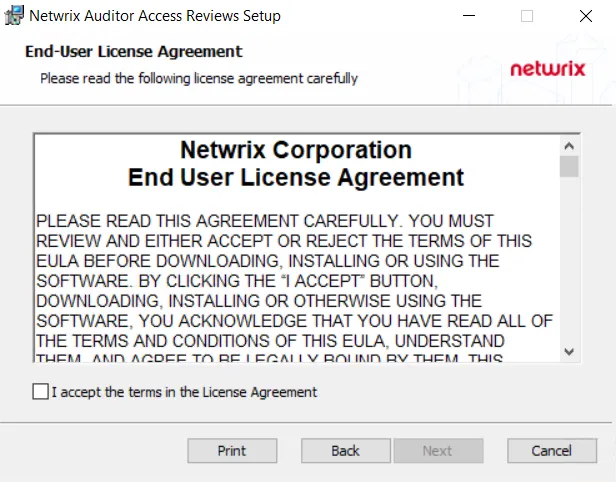
Step 3 – On the End-User License Agreement page, select the I accept the terms in the License Agreement checkbox and click Next.
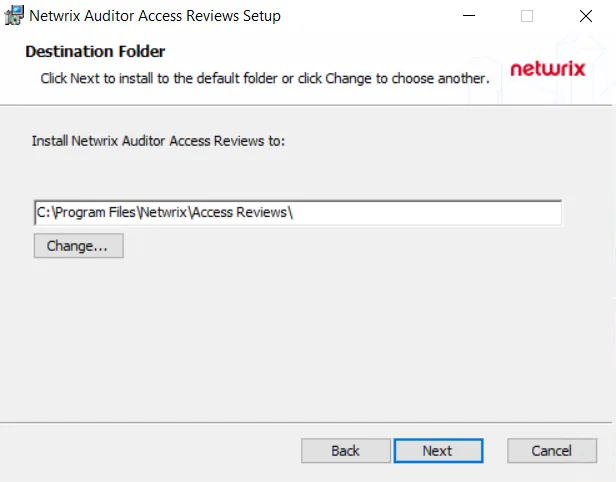
Step 4 – On the Destination Folder page, you can choose between the default destination folder and a custom folder. Click Change to browse for a different location. When the destination is set as desired, click Next.
NOTE: The default location is C:\Program Files\Netwrix\Access Access Reviews\. There are no
specific requirements for changing the path.
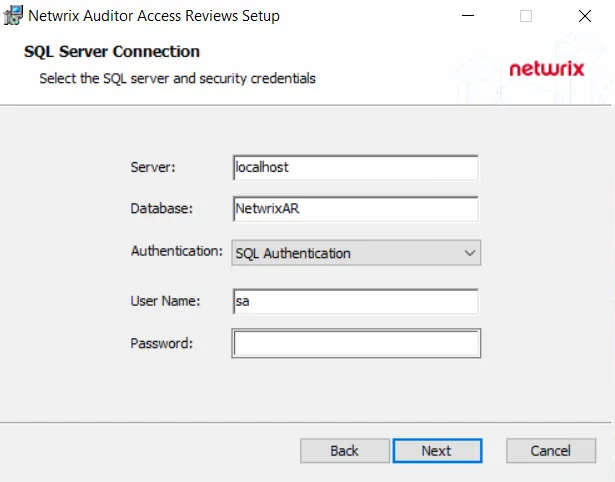
Step 5 – On the SQL Server Connection page, provide the required database information. Click Next to test the connection to the SQL Server.
-
Server — Enter the database server hostname (NetBIOS name, FQDN, or IP address) with the instance name or non-standard port, if applicable, in one of the following formats:
- No named instance, use
[SQLHostName], for exampleNT-SQL02 - Named instance, use
[SQLHostName]\[SQLInstanceName], for exampleNT-SQL02\Netwrix - No named instance with non-standard port, use
[SQLHostName],[PortNumber], for exampleNT-SQL02,72 - Named instance with non-standard port, use
[SQLHostName]\[SQLInstanceName],[PortNumber], for exampleNT-SQL02\Netwrix,72
- No named instance, use
-
Database — Enter the name of the database. By default, this is set to NetwrixAR.
-
Authentication – Select the Database service account type from the drop-down menu. Then enter the account information in the User Name and Password fields.
- For Windows Authentication – User Name format must be
[DOMAIN]\[username], for exampleNWXTECH\ad.bruce
- For Windows Authentication – User Name format must be
NOTE: See the Database Page topic for additional information.

Step 6 – If there are no errors, you will be asked to confirm creation of the new database. Click Yes.
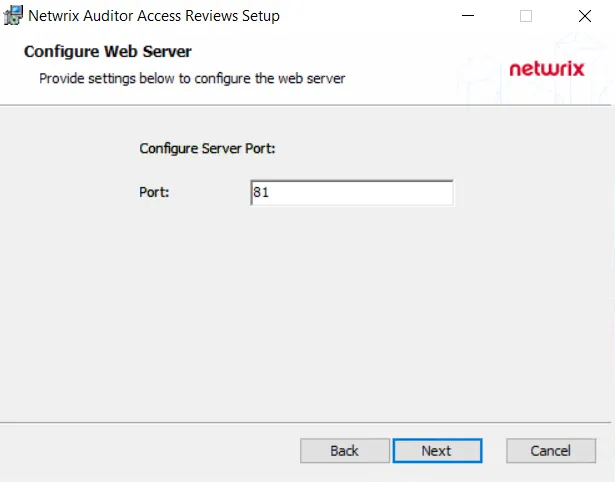
Step 7 – On the Configure Web Server page, you can choose between the default port and a custom port on which the application will be accessible. To change the port, enter a new port number in the field. When the port is set as desired, click Next.
NOTE: The default port is 81.
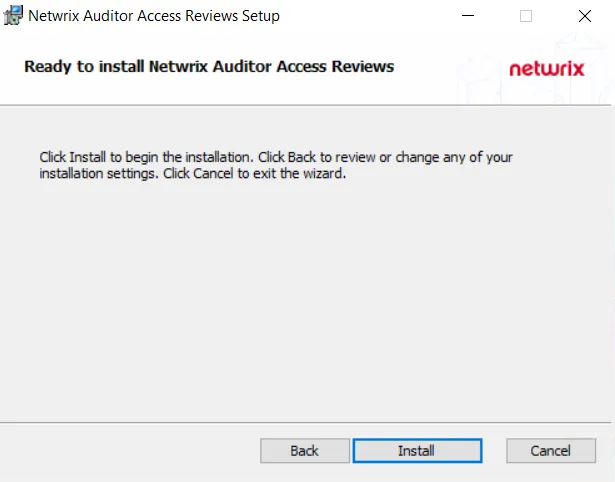
Step 8 – On the Ready to install page, click Install to begin the process.
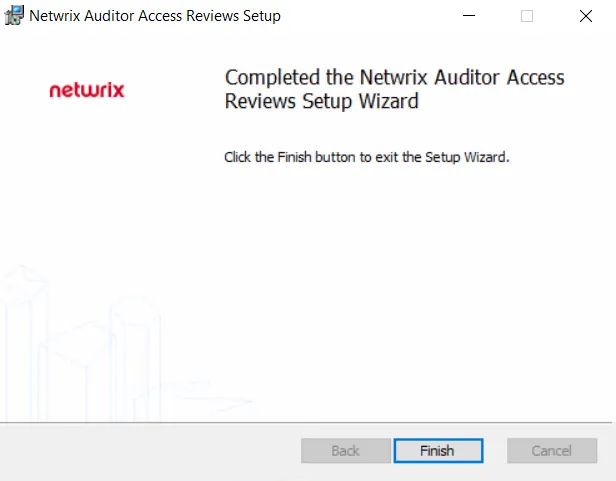
Step 9 – Once the installation has successfully completed, click Finish to exit the wizard.
The installation wizard placed a Netwrix Auditor Access Reviews icon on the desktop. Now proceed to the First Launch topic for next steps.