Configuring Tagging
For a SharePoint source, tagging means the automatic population of managed metadata fields with classification attributes from SharePoint Term Sets that were registered as taxonomies within Netwrix Data Classification.
To configure tagging for your SharePoint source, you should first check the prerequisites and take preparatory steps described below. Then you will be able to launch a specially designed SharePoint Tagging Wizard.
To check the prerequisites
- Make sure you have set up the necessary term sets as described in this Microsoft article.
- Configure one or more managed metadata columns with the libraries that you plan to apply auto-classification to. See this Microsoft article for details.
- Ensure that the desired term sets are registered as taxonomies within the Netwrix Data Classification console. See Importing Taxonomies - SharePoint section in for details.
- Ensure that the appropriate SharePoint product is installed in your SharePoint environment
(typically, the provider-hosted add-In named conceptClassifierApp; see the procedure below for
details).
This add-on provides a specially designed Wizard that assigns taxonomies to Content Types in SharePoint. It also creates the necessary event handlers to keep the classification up to date as new documents are added and existing documents are edited.
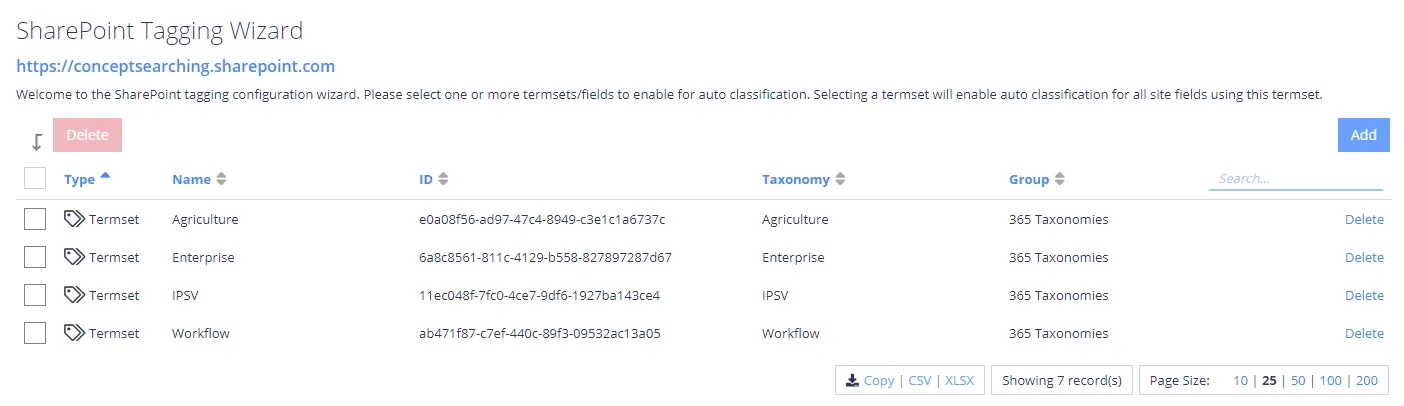
To configure tagging using the wizard
- Click on the app to start the SharePoint Tagging wizard.
-
Configure the Term Sets that you wish to auto-classify. For that, click the Add button and then select the required Term Sets or fields:

-
If needed, select the specific site/list columns you wish to restrict auto-classification to.
-
Confirm the selection.
-
Finally, having configured the desired tagging, you should re-classify the appropriate content — for the tags to be written back to SharePoint.