Upgrade to the Latest Version
Netwrix recommends that you upgrade from the older versions of Netwrix Data Classification to the latest version available in order to take advantage of the new features.
Upgrade Prerequisites
Before you start the upgrade, it is strongly recommended to take the following steps:
Step 1 – Make sure you have .NET Framework 4.7.2 installed on the computer where Netwrix Data Classification resides. If not, download it from Microsoft website: Download .NET Framework 4.7.2.
Step 2 – Back up NDC SQL database. It is recommended to do the following:
- Start Microsoft SQL Server Management Studio and connect to SQL Server instance hosting this database.
- In the Object Explorer, right-click the database and select Tasks > Back Up.
- Wait for the process to complete.
Step 3 – Back up the Index files. It is recommended to do the following:
- On the computer where Netwrix Data Classification is installed, start the Netwrix Data Classification Service Viewer tool. Select Stop next to each service.
- Locate the folder containing index files (default location is C:\Program Files\ConceptSearching\ConceptDB) and back it up.
Step 4 – Confirm that the NDC services and IIS Application pool are running as the same service account on all NDC servers. That account also needs to be a domain account.
Upgrade Process
Seamless upgrade to Netwrix Data Classification 5.7 is supported for versions 5.5 and newer.
To upgrade your deployment, after taking the preparatory steps described above, run the product setup and follow the wizard steps. When finished, all solution components will be up and running.
If you need to upgrade from an earlier version, you should perform a staged upgrade, first upgrade to version 5.5, then perform a second upgrade to version 5.7.
After the Upgrade
During the seamless upgrade from previous versions, Netwrix Data Classification preserves its configuration, so you will be able to classify your data right after finishing the upgrade. However, there are several steps you may need to take after upgrading.
Follow the steps to update taxonomies manually.
Step 1 – In administrative web console, navigate to Taxonomies > Global Settings.Settings.
Step 2 – Click Update in the right corner next to each taxonomy.
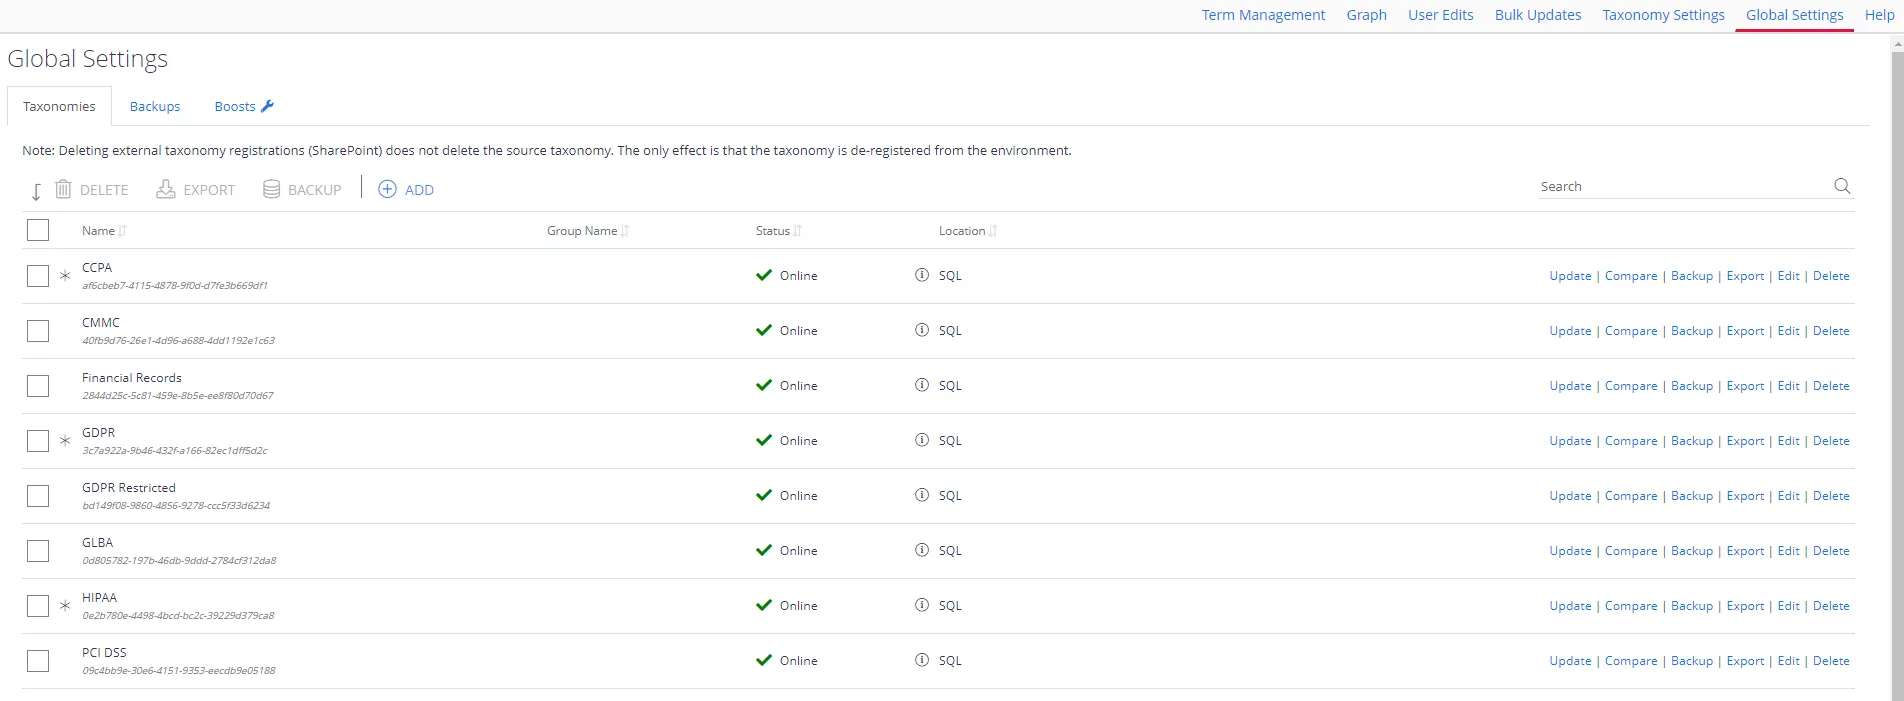
The upgrade is now complete.