Create a Workflow using Add Workflow Wizard
To create an automated workflow for certain type of documents, you can use the Add Workflow wizard or Advanced dialogs.
To launch the Add Workflow wizard:
- In the administrative web console, select Workflows from the top menu.
- Click the Workflows tab.
- Click the Add button in the upper right corner.
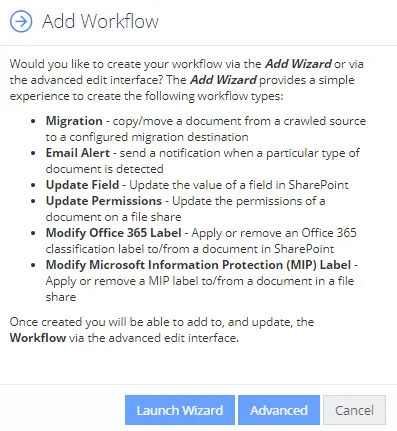
- In the dialog displayed, click the Launch Wizard button.
See next:
- Step 1. Select Content Type
- Step 2. Select Action
- Step 3. Specify Conditions for Processing
- Step 4. Enter Name and Review Settings
NOTE: Once created you will be able to modify the workflow using the Advanced dialog.
Alternatively, take steps 1-3 from the procedure above, then in the Add Workflow dialog click Advanced. See Configure a Workflow using Advanced dialog