Installation Tool
Installing GroupID is a simple process; it asks you to agree to the license agreement then it installs GroupID on the default location:
C:\Program Files\Imanami\GroupID 11.0\
To install GroupID:
-
Run directorymanagerInstallTool.exe from the GroupID
<version #>folder in the GroupID Installation package. It launches the Installation Tool.
-
Read the welcome message and click Next.
-
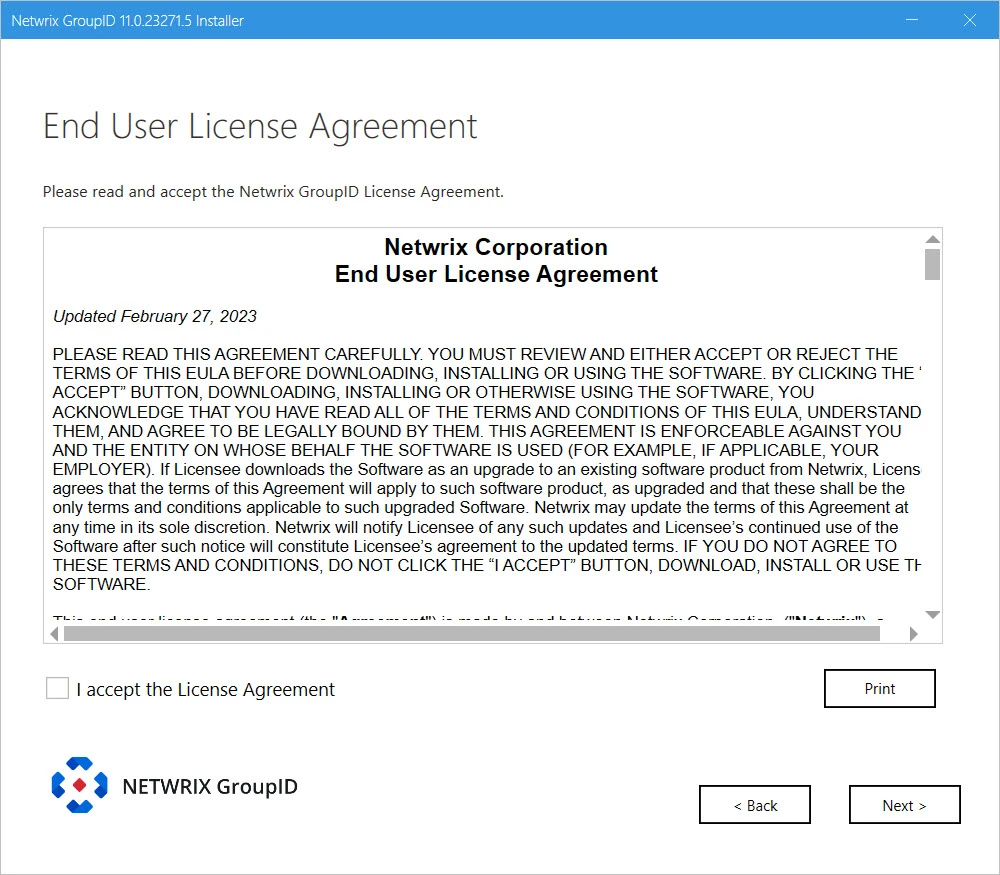
On the End User License Agreement page, review and accept the licensing agreement and click Next.
-
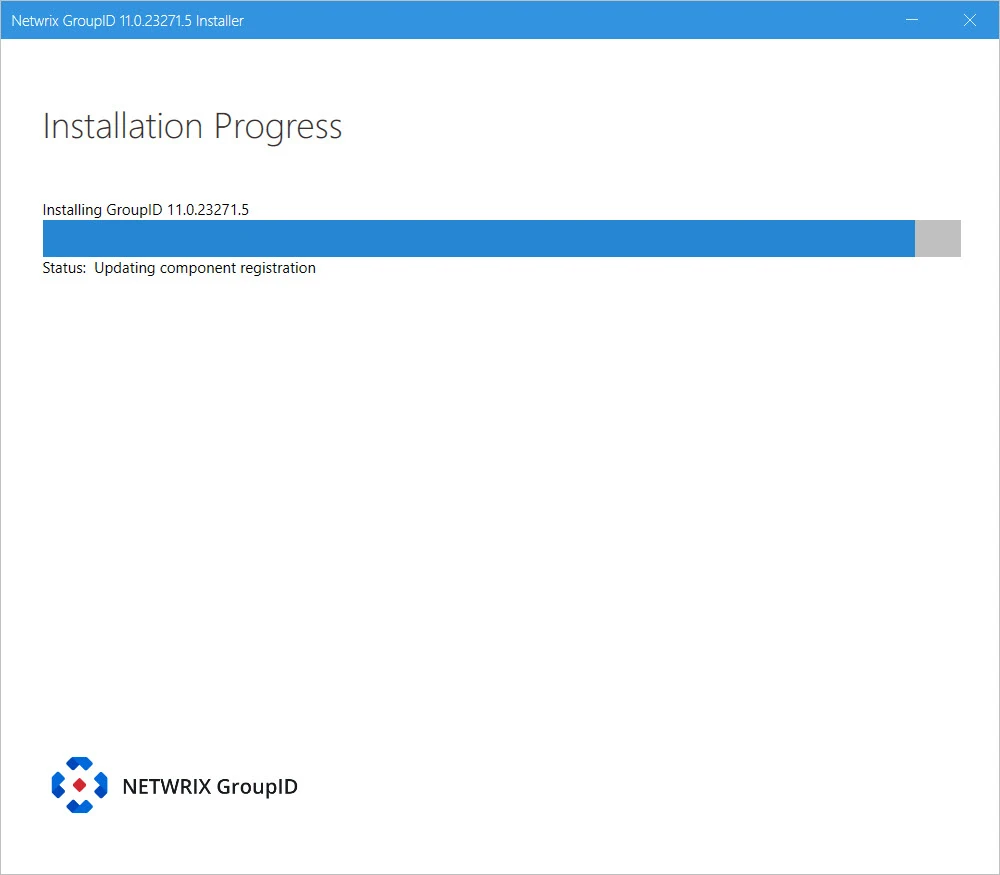
The progress bar shows the installation progress while all files are copied and GroupID is installed.
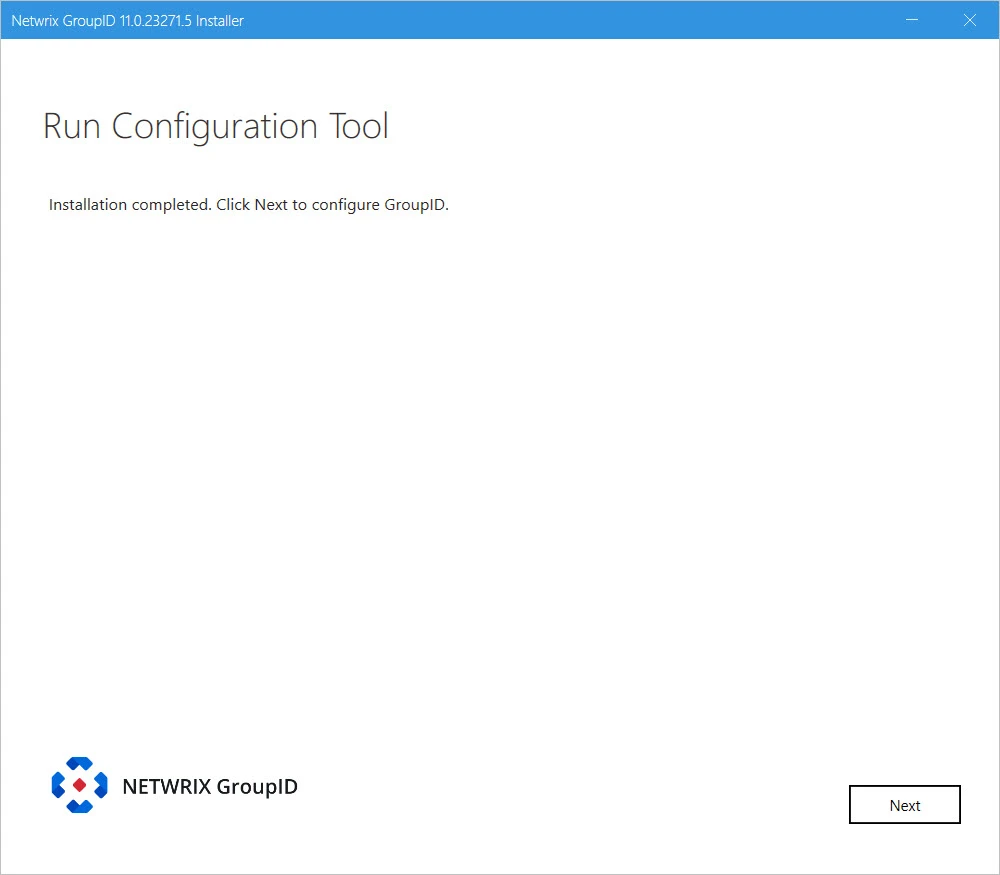
On successful installation, the Run Configuration Tool page is displayed.
-
Click Next to proceed with configuring GroupID.
OR
Click Close on the title bar to close the GroupID Installer and configure GroupID later.
See the Configuration Tool topic to configure GroupID.
See Also
Installer
To install GroupID, you have to run the following tools in the given order:
-
Preparation Tool - Detects and instals the prerequisite software and Windows features that GroupID requires.
-
Installation Tool - Installs GroupID.
-
Configuration Tool - Configures GroupID services, database, and other components.
GroupID Installation Package
The GroupID installation package consists of:
- GroupID 11 Prerequisites Tool (file folder)
- GroupID
<version #>(file folder)
Who can install GroupID
Before installing GroupID, make sure that the logged-in user is a member of the local Administrators group on that machine.
NOTE: (1) There should be a dedicated server for GroupID.
(2) Do not install GroupID on the domain controller.
(3) Do not install GroupID and Microsoft Exchange Server on the same machine.
Installation Cases
Choose one of the four installation cases for GroupID 11:
-
Case # 1: GroupIDID 11 to co-exist with GroupID 10 on the same machine
-
Case # 2: GroupID 11 to co-exist with GroupID 10.0 / 9.0 in the same environment
-
Case # 3: In-place installation of GroupID 11 on the same machine
-
Case # 4: In-place installation of GroupID 11 in the environment
The GroupID 11 installation and configuration process is the same for all four cases. You must create a copy of the database being used with the previous GroupID version and bind the copy with GroupID 11.
Next, run the Upgrade wizard to make the copied database compatible with GroupID 11. Once upgraded, the database schema changes, making it incompatible with the previous GroupID version.
NOTE: When GroupID 11 co-exists with a previous GroupID version (case # 1 and 2), the two must have separate databases. Data is not replicated between these databases.
NOTE: This section does not apply to a fresh GroupID installation.
See Also