Update Signing Key
While configuring the Directory Manager machine, the Configuration Tool checks the application’s signing key status. The following scenarios are possible for the application’s Signing Key:
- Single Directory Manager instance
- Multi Directory Manager instances with a single cluster
- Multi Directory Manager instances with multiple clusters
Single Directory Manager instance
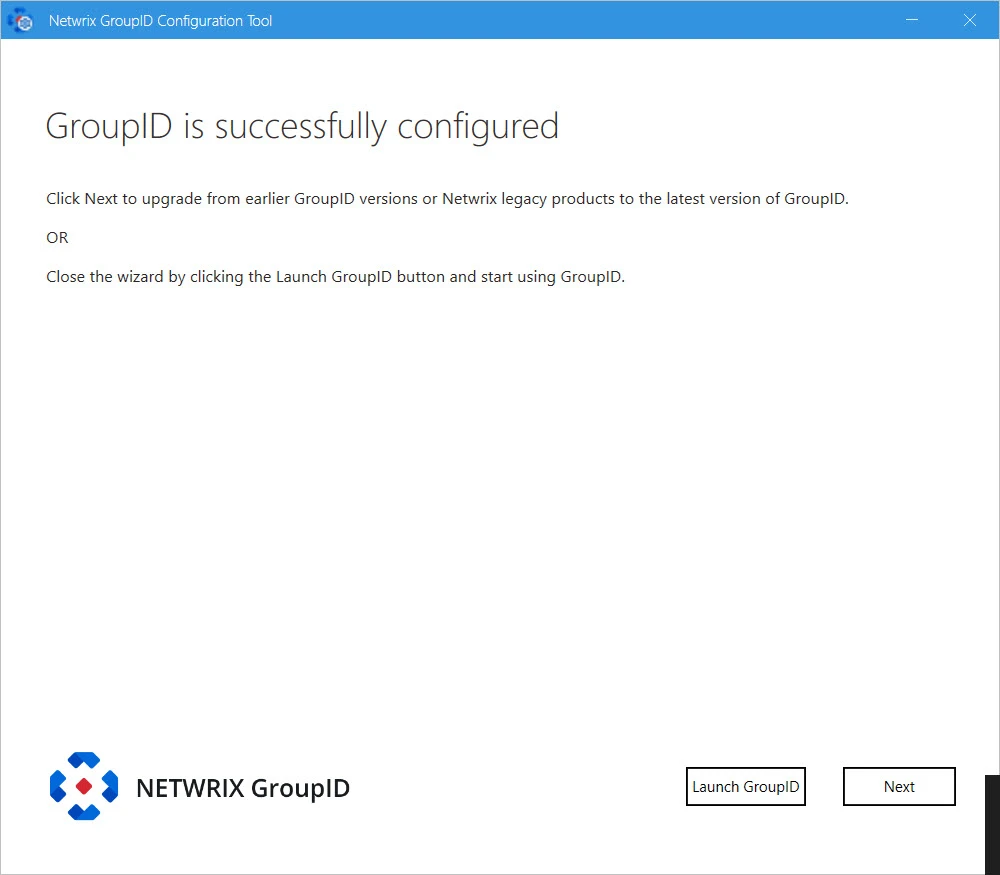
If you are running the Configuration Tool on a machine that had a prior Directory Manager version and the Signing Key utility is not applied on that Directory Manager on that machine. The Configuration Tool will change the Signing Key and displays a disclaimer message on the Directory Manager is successfully configured page as follows:

Remember, after the Signing Key update, your existing schedules will not work as their authentication mechanism will no longer be considered valid. Therefore, the authentication mechanism must be updated for schedules using one of the following way:
- Signing Key Utility – See the Signing Key utility guide for information on how to download the utility and update the schedules.
- Admin Center – See the Schedules topic and go to the respective schedule page to update its Authentication information.
Multi Directory Manager instances with a single cluster
In the multi Directory Manager instances environment with a single cluster ( i.e. with a master node and a slave node) and the instances had a prior Directory Manager version and without the Signing Key utility applied to them, follow the steps to change the Signing Key on all the instances.
Step 1 – Run the Configuration Tool on the master node of the cluster. It will change the Signing Key on the master node and display a disclaimer message on the Directory Manager is successfully configured page as shown in the Single Directory Manager instance section.
Step 2 – Export the Signing Key so that the slave node also has the same Signing Key as of the master node. See the Export a Signing Key section of the Signing Key Utility topic for information on how to export the Signing Key.
Step 3 – On the slave node copy the exported Signing Key file into a folder.
Step 4 – Run the Configuration Tool on the slave node until you reach the Import Signing Key page of the wizard:
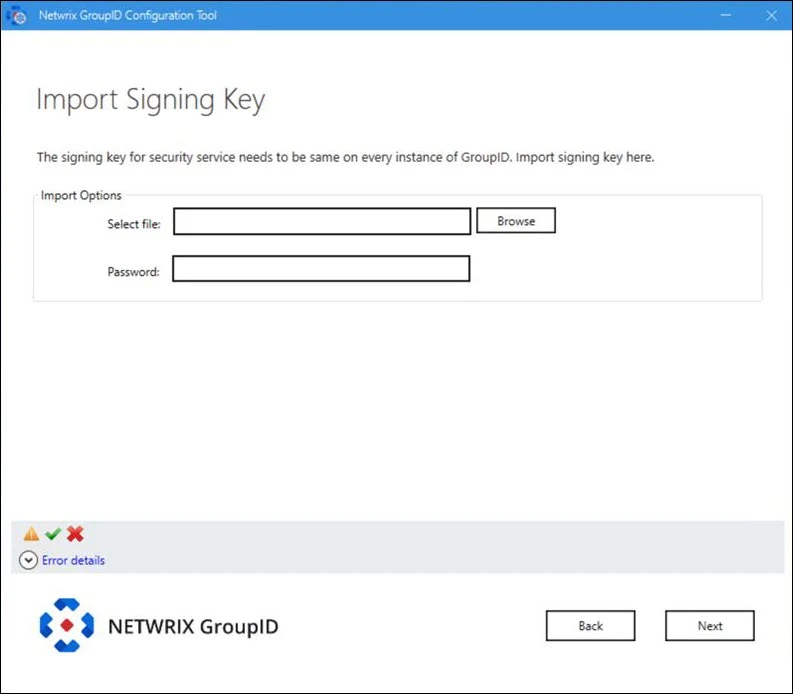
- Click Browse next to the Select file box to browse to the folder where you have copied the Signing Key file.
- Provide the password of the Signing Key file in the Password box.
- Click Next.
Step 5 – The Configuration Tool displays the Directory Manager is successfully configured page without the disclaimer.
Remember, after the Signing Key update, your existing schedules will not work as their authentication mechanism will no longer be considered valid. Therefore, the authentication mechanism must be updated for schedules using one of the following way:
- Signing Key Utility – See the Signing Key utility guide for information on how to download the utility and update the schedules.
- Admin Center – See the Schedules topic and go to the respective schedule page to update its Authentication information.
Multi Directory Manager instances with multiple clusters
Let’s say you have a multi Directory Manager instances environment with multiple clusters (i.e. a master node in each cluster and a slave node in each cluster), for example:
-
Cluster A (instance 1: a master node and instance 2: a slave node)
-
Cluster B (instance 3 : a master node and instance 4 : a slave node)
Follow the steps to change the Signing Key on all four Directory Manager instances.
Step 1 – Run the Configuration Tool on the master node of Cluster A (i.e. instance 1). It will change the Signing Key on the master node and display a disclaimer message on the Directory Manager is successfully configured page as shown in the Single Directory Manager instance section.
Step 2 – Export the Signing Key so that the slave nodes of both the clusters also have the same Signing Key as of the master node of cluster A. See the Export a Signing Key section of the Signing Key Utility topic for information on how to export the Signing Key file.
Step 3 – On the slave nodes of Cluster A and Cluster B (i.e. instances 2 and 4) copy the exported Signing Key file into a folder.
Step 4 – Run the Configuration Tool on instance 2 and 4 until you reach the Import Signing Key page of the wizard.
- Click Browse next to the Select file box to browse to the folder where you have copied the Signing Key file.
- Provide the password of the Signing Key file in the Password box.
- Click Next.
Step 5 – The Configuration Tool displays the Directory Manageris successfully configured page without the disclaimer.
Step 6 – Run the Configuration Tool on the master node of cluster B (i.e. instance 3). The Configuration Tool displays the Directory Manager is successfully configured page with the disclaimer as shown in the Single Directory Manager instance section.
Step 7 – On the master node of Cluster B (i.e. instance 3), run the Signing Key Utility and import the copied Signing Key file using the commandlet given in the Import a Signing Key section of the Signing Key Utility topic for information on how to import the Signing Key.
Remember, after the Signing Key update, your existing schedules will not work as their authentication mechanism will no longer be considered valid. Therefore, the authentication mechanism must be updated for schedules using one of the following way:
- Signing Key Utility – See the Signing Key utility guide for information on how to download the utility and update the schedules.
- Admin Center – See the Schedules topic and go to the respective schedule page to update its Authentication information.
All Directory Manager instances now have the same Signing Key.