Install Credential Provider
You can install Directory Manager Credential Provider in one of the following ways:
- Install Credential Provider Manually
- Install Credential Provider via a Group Policy Object (GPO)
Install Credential Provider Manually
Browse to the folder where you have copied the package:
-
Click the NetwrixdirectorymanagerCredentialprovider.msi file. The wizard opens and installs Credential Provider.
-
After the installation, it asks you to restart your machine.
-
After the restart, the Windows logon screen appears as follows:
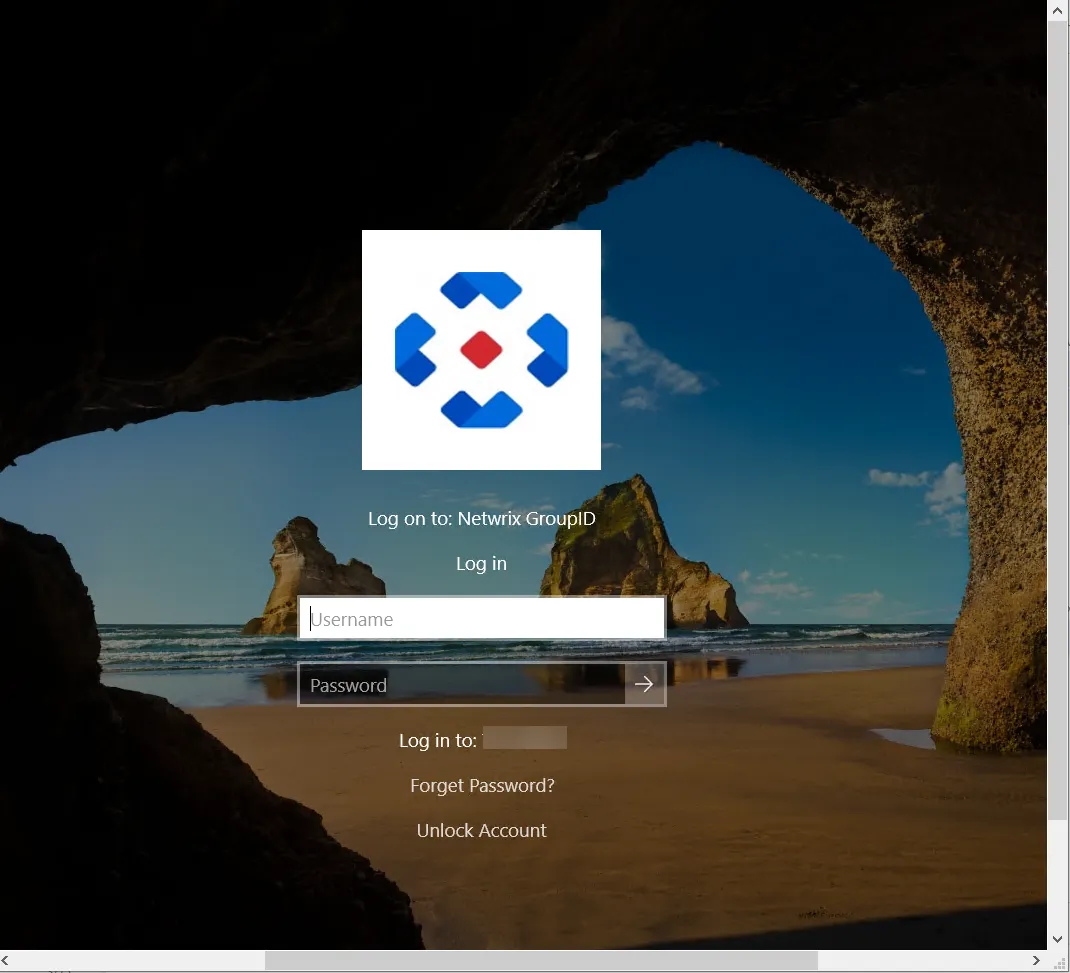
The Forgot Password and Unlock Account options are now available on the Windows logon screen. They route you to the URLs provided for these options in the CPSettings.xml file. You can modify the URLs as well as the text of these options.
Let’s have a look at the settings which are available in the CPsettings.xml file:
-
<ForgetPasswordText value="Forget Password?" />Provide the text for the ForgotPasswordText key. This text will appear on the Windows logon screen for the Forgot Password option.
-
<UnlockAccountText value="Unlock Account" />Provide the text for the UnlockAccountText key. This text will appear on the Windows logon screen for Unlock Account option.
-
<ResetMyPasswordUrl value="https://MachineName:port/Portalname" />Provide the URL to which you want to redirect the user to reset his/her forgotten password.
- For GroupID 10:
https://MachineName:port/portalname - For GroupID 11:
https://Machniename:port/portalname/Home/PasswordReset
- For GroupID 10:
-
-
<UnlockMyAccountUrl value="https://MachineName:port/Portalname" />Provide the URL to which you want to redirect the user to unlock his/her locked account.
- For GroupID 10:
https://MachineName:port/Portalname - For GroupID 11:
https://Machinename:port/portalname/Home/UnlockAccount
- For GroupID 10:
-
<CPTitle value="Log on to: Netwrix GroupID" />Provide the text for the CPTitle key. This text will appear as title under the Netwrix logo on the Windows logon screen.
Install Credential Provider via a Group Policy Object (GPO)
Instead of installing Credential Provider manually on each individual client workstation, you can distribute it for automatic installation using a GPO, for substantial time savings (especially with larger networks). The GPO can be defined for an organizational unit or applied on the entire domain. Credential Provider is installed automatically at the next Windows startup.
Installing Credential Provider is a two-step process:
- Install Orca
- Deploy Credential Provider via a GPO
Install Orca
Before Credential Provider’s installation via GPO, Orca software is to be installed:
-
Browse to the folder where you have copied the Credential Provider package.
-
Go to the MST Guide folder and run the Orca-x86_en-us.msi application. The Orca console opens:
-
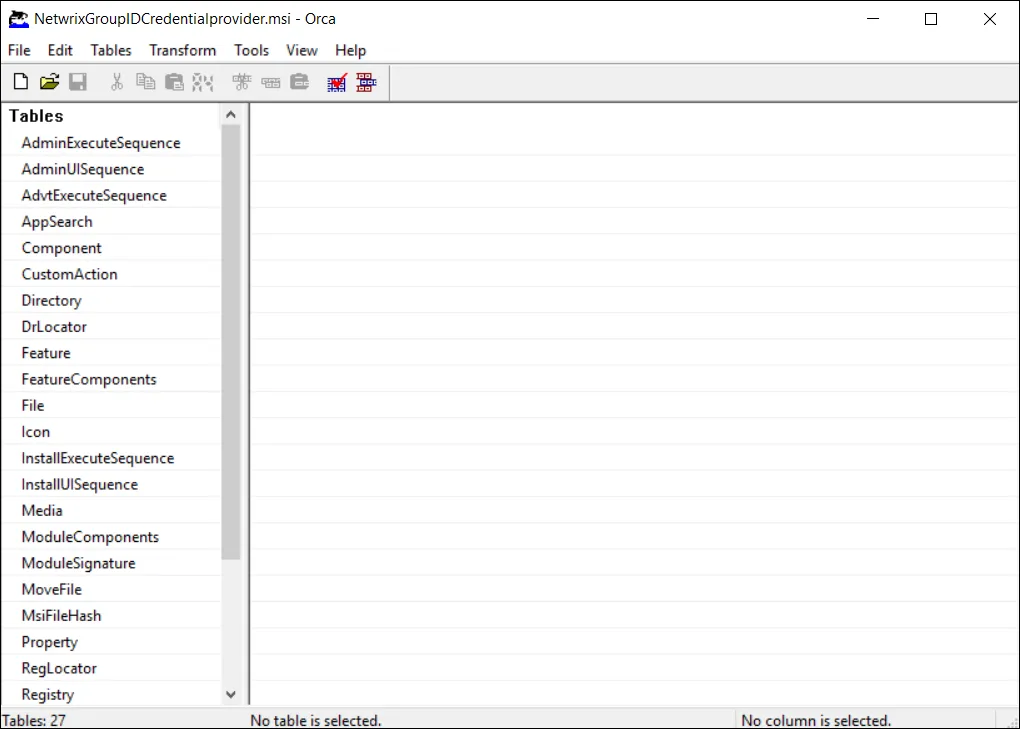
In Orca, click File > Open. Browse to the Credential Provider folder and load the NetwrixdirectorymanagerCredentialprovider.msi in Orca.
-
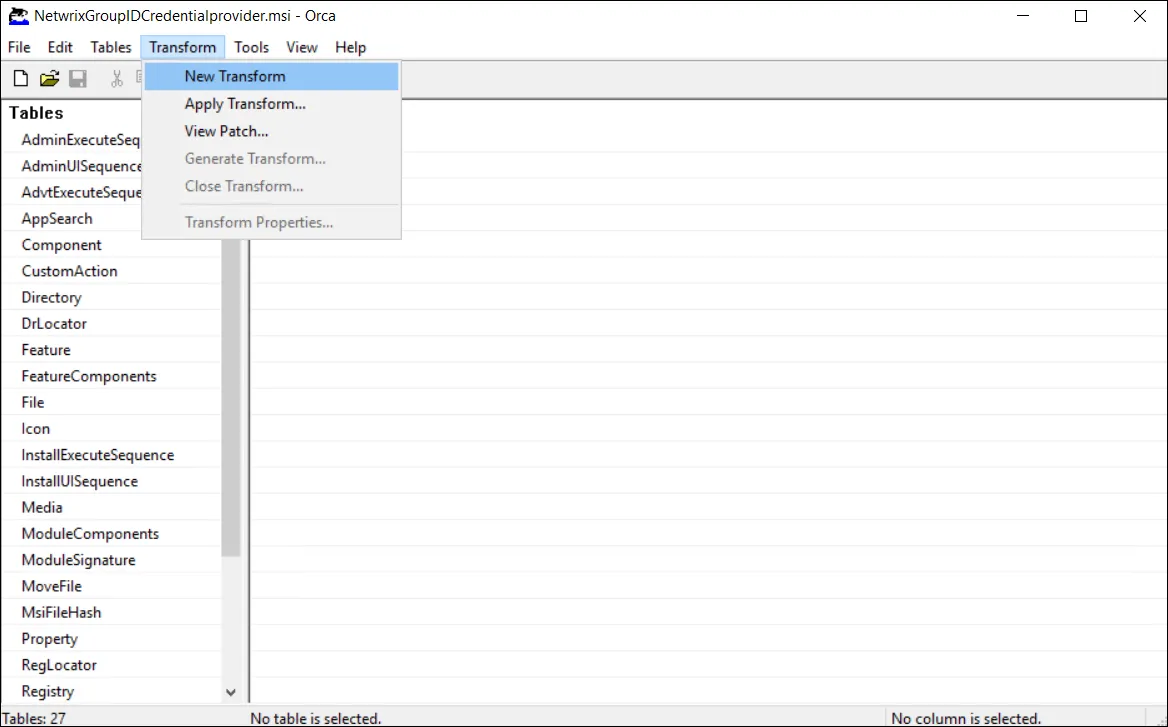
From the menu, select Transform > New Transform:
-
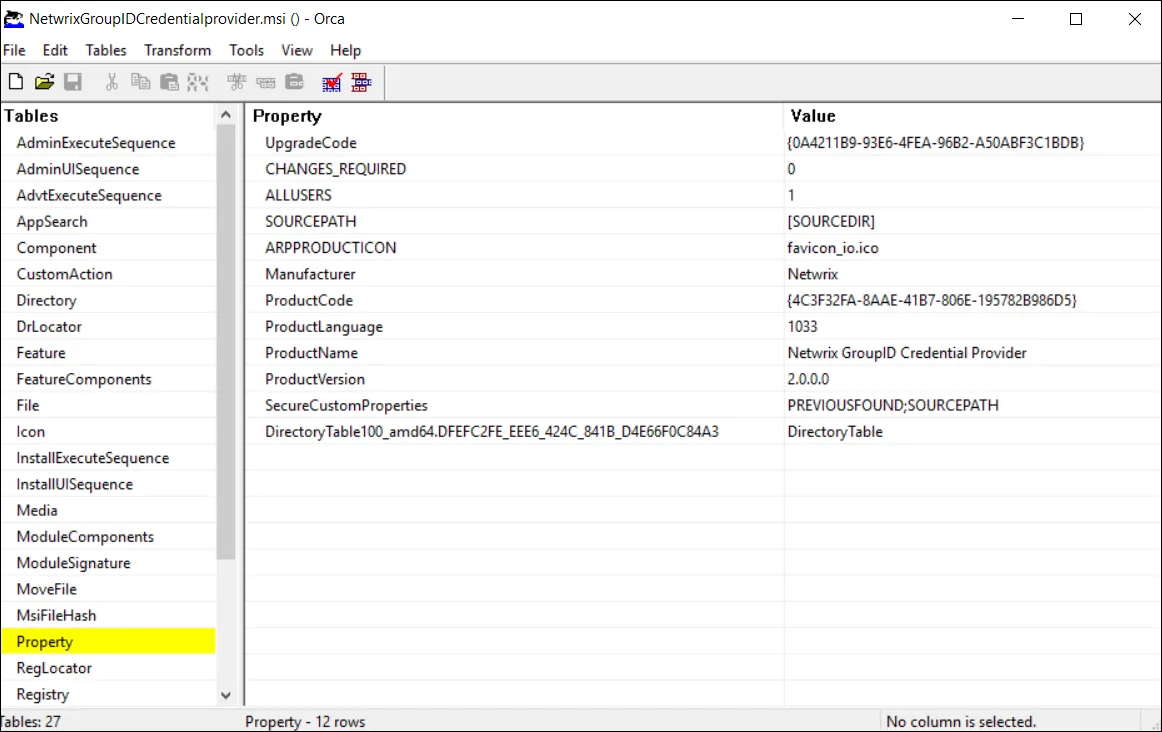
Click Property in the left pane, list of the properties are displayed in the Property main window:
-
On your machine, create a new folder and copy the following files to it:
- CPsettings.xml
- NetwrixdirectorymanagerCredentialprovider.msi
-
Share the folder with the Everyone group with Read permission.
-
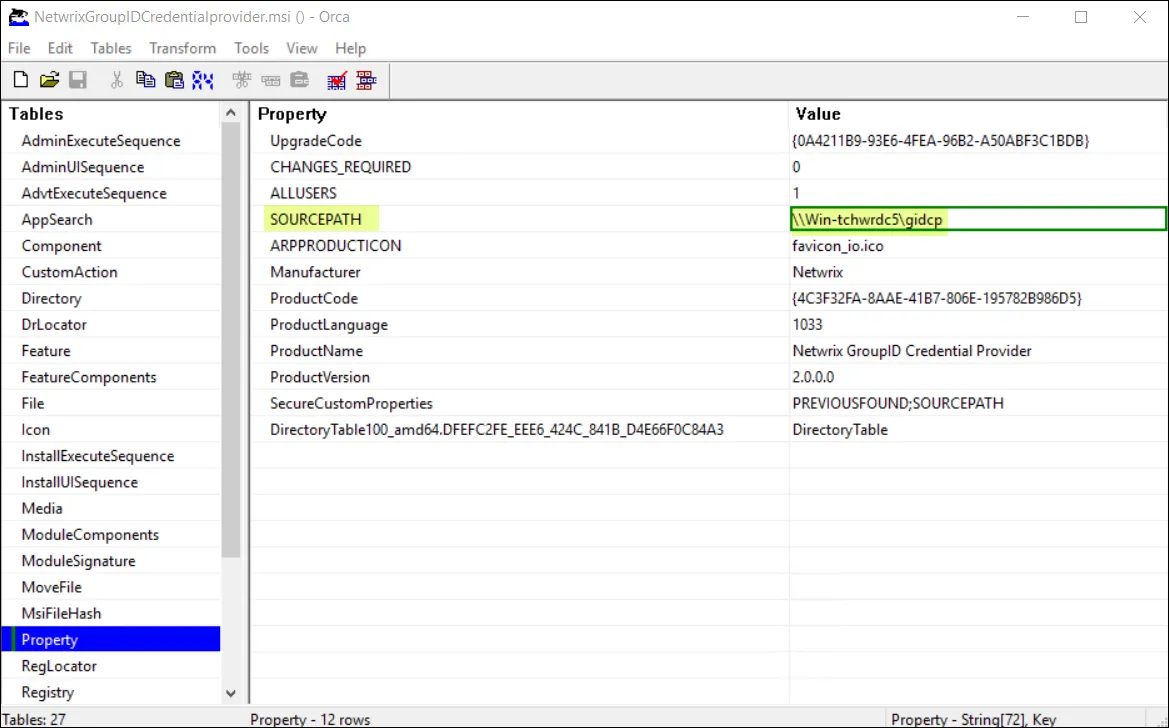
Provide the path of this newly created folder in the SOURCEPATH box.
-
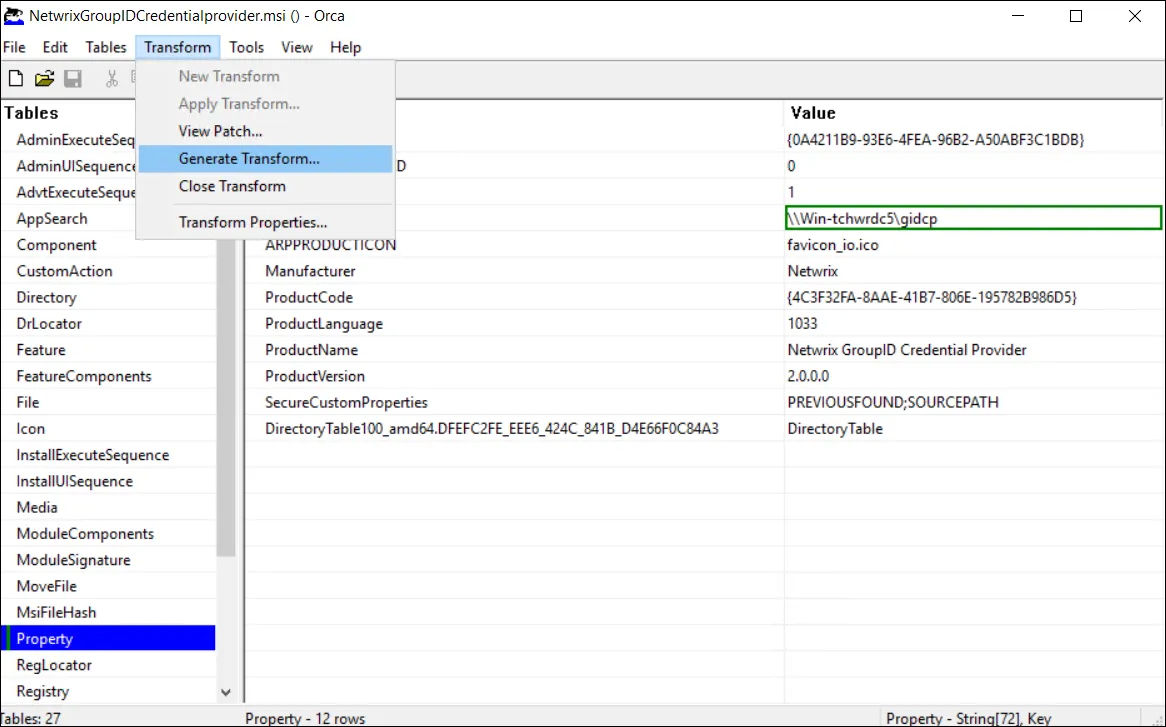
From the menu, select Transform > Generate Transform:
-
Type a filename for the generated .mst file and save it into the shared folder you just created.
-
Close Orca.
Deploy Credential Provider via a GPO
Having Orca successfully installed, follow these steps to deploy Credential Provider via a GPO.
-
Launch Group Policy Management console by typing gpmc.msc in the Run box and clicking OK. The Group Policy Management Editor opens.

NOTE: Group Policy Management console is available if the Group Policy Management feature has been installed.
-
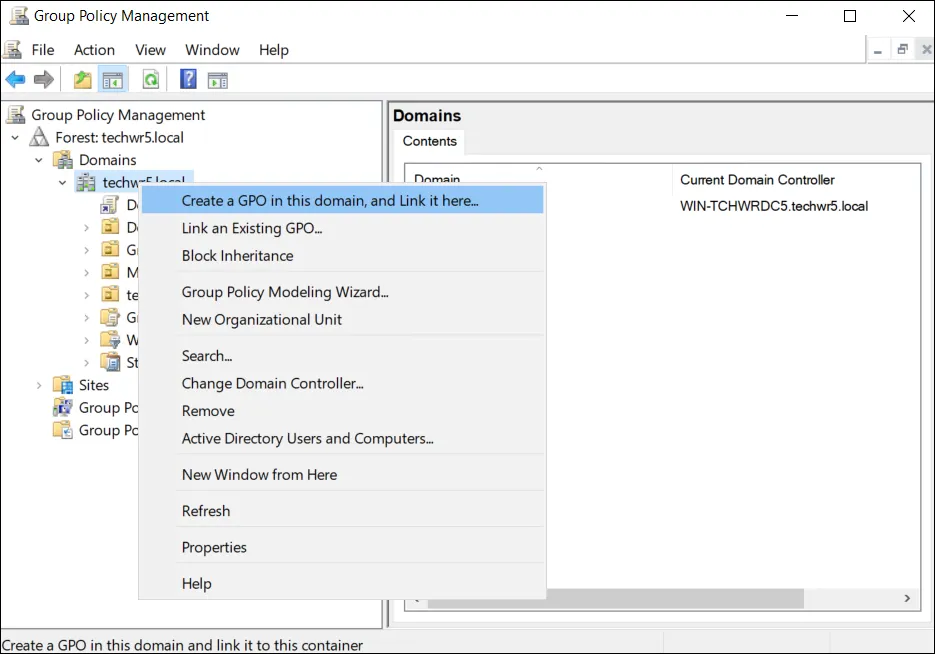
Right-click the domain or organizational unit for the computers that you want the Credential Provider installed on. Select Create a GPO in this domain, and link it here...:
Or
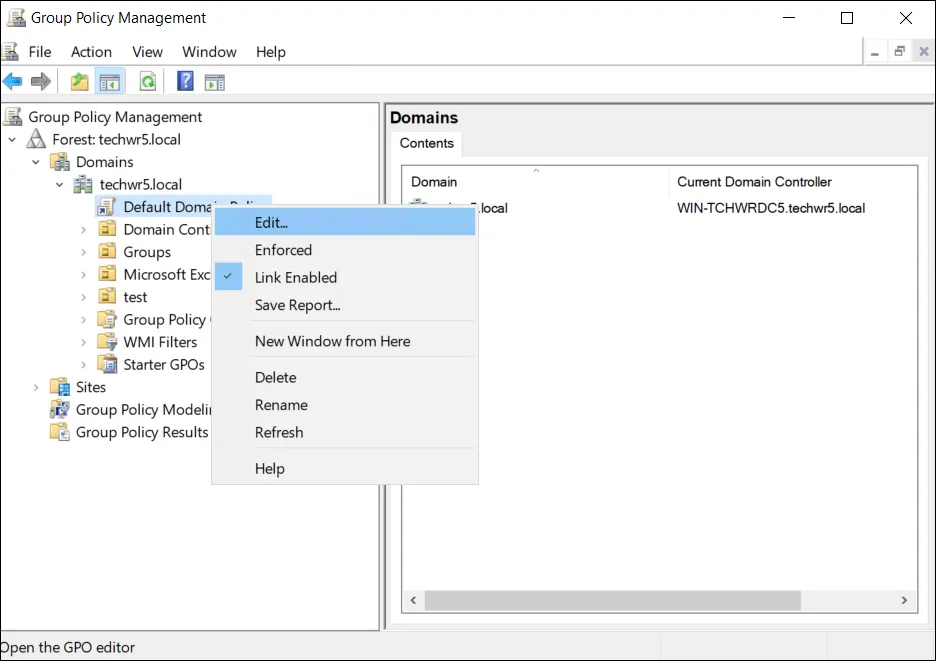
Right-click the Select Default Domain Policy and select Edit:
-
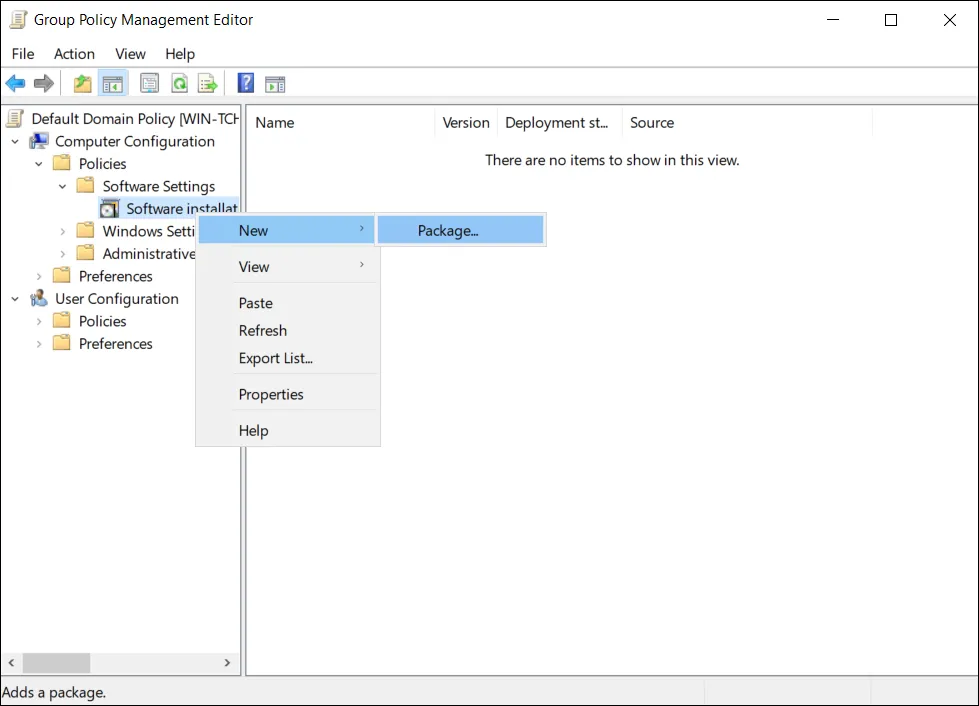
In the Group Policy Management Editor, click Computer Configuration > Policies > Software Settings > Software installation > New > Package.
NOTE: This documentation describes steps for editing the default policy.
-
Browse to the shared folder. The folder must have the following files in it:
- CPSettings.xml
- Netwrixdirectorymanagercredentialprovider.msi
- .mst file
Select the Netwrixdirectorymanagercredentialprovider.msi and click Ok.
-
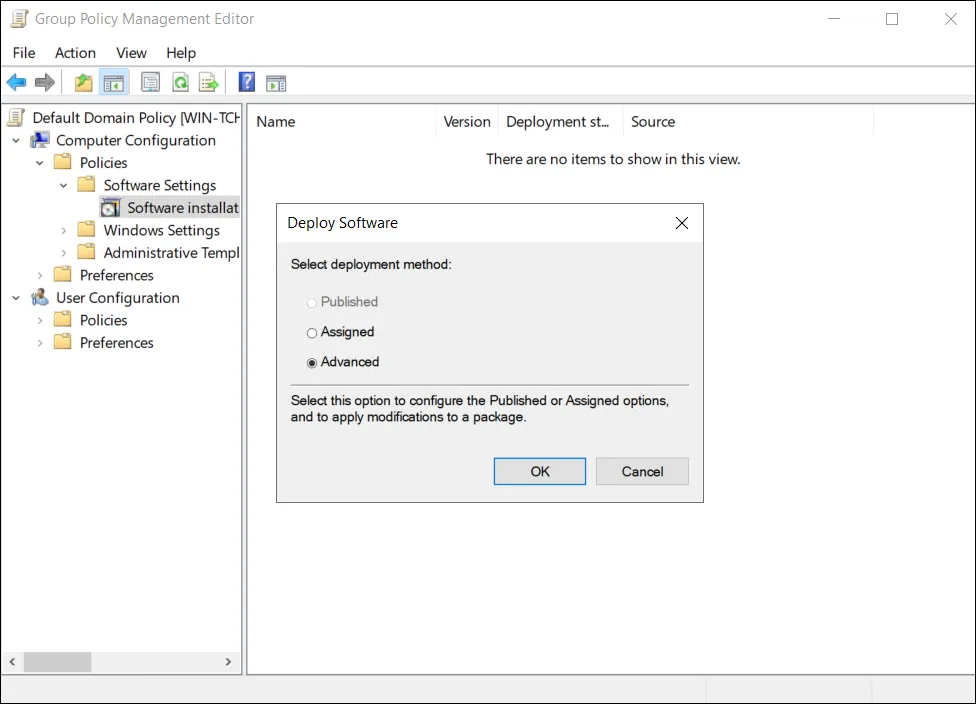
Select Advanced and click Ok. The following window opens:

-
Select the Modifications tab. Click Add.
-
Browse to the shared folder where you saved the generated .mst file. Select that file and click Ok.
-
Close the Group Policy Management Editor.
The Credential provider is deployed on your machine via the default domain policy.
Run the credential provider
- Restart the machine
or
Run Command Prompt as administrator and type the following command in the cmd window:
gpupdate /force
Run the credential provider on client machines
The modified domain policy will be installed on the client machines, which are in the scope of the Group Policy Object, upon their next restart. The Windows logon screen appear as follows: