PXML Merge Wizard
As described in Book 3: Application Settings Manager and reiterated in this guide, you will get the best AppSet results when you capture and deploy on one type of machine. If you don't use the same type of machine, the settings will be delivered to the target machine, but the underlying Endpoint Policy Manager AppLock™ codes will be different. For instance, if you capture WinZip's UI on Windows 7, then try to deploy the settings to Windows XP machines, it's possible that not all of the settings will correctly lock out with AppLock™. Additionally, there will be problems updating your existing AppSet when WinZip (or any application) has a minor update and perhaps adds another element (checkbox, radio, dropdown, etc.).
With that in mind, Endpoint Policy Manager DesignStudio has a function called the "PXML Merge Wizard" which enables you to capture the user-interface elements of the same application (when the application runs on the same or another operating system). This allows you to address the following scenarios:
- Updating your existing AppSet with Endpoint Policy Manager AppLock™ codes from another operating system
- Capturing the settings from the same application (but a different language)
- Updating your existing AppSet with any new elements from an updated application and bringing in any new Endpoint Policy Manager AppLock™ codes
You can use the PXML Merge Wizard in one of two ways (see Figure 177):
- You can first run the Endpoint Policy Manager Capture Wizard on the new operating system (or updated application) and create a new pXML file and save it. You only need to re-capture the tabs. Remember, you just need the Endpoint Policy Manager AppLock™ codes from the application, and you don't need to worry about re-configuring any existing settings. The settings are already inside your original project. You then run the PXML Merge Wizard inside your original project after you have this saved this new file.
- You can run the PXML Merge Wizard and perform a merge on the fly. You don't need to create a pXML file manually first if you don't want to.
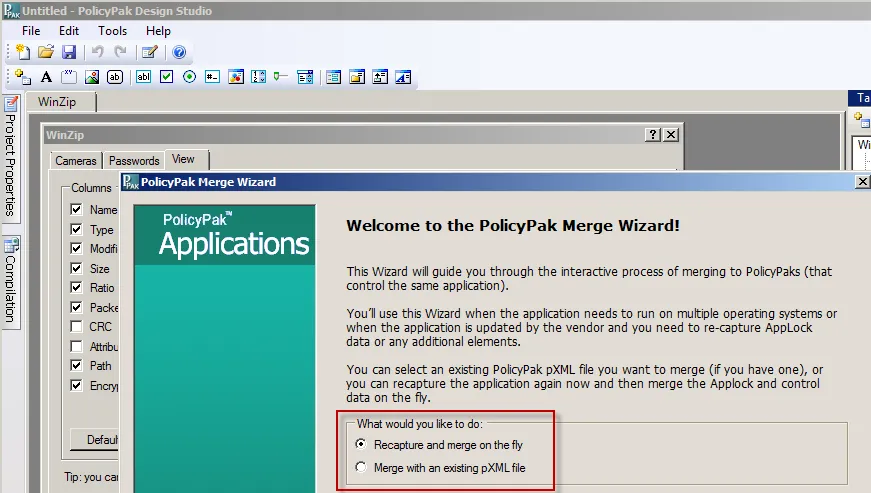
Figure 177. Using the PXML Merge Wizard.
You'll want to choose "Recapture and merge on the fly" if you choose to have the newer application running on this machine or if you choose to capture the application while running Endpoint Policy Manager DesignStudio on another operating system. You'll want to choose "Merge with an existing pXML file" if you've already used Endpoint Policy Manager DesignStudio to capture all the tabs from your application and you have the pXML file handy. These two ways to perform the task are functionally equivalent. So, in this example, we have Endpoint Policy Manager DesignStudio running on Windows XP and capturing all the same items as the original project.
NOTE: Troubleshooting, it was suggested that you should capture only three tabs for the first project. When you're merging pXML files, capture the same tabs you have in your original project.
In this example, we're assuming that WinZip has two new elements, a slider and a label, as shown in
Figure 178. We have re-captured all the tabs and saved the file as "WinZip-XP-Capture.xml."
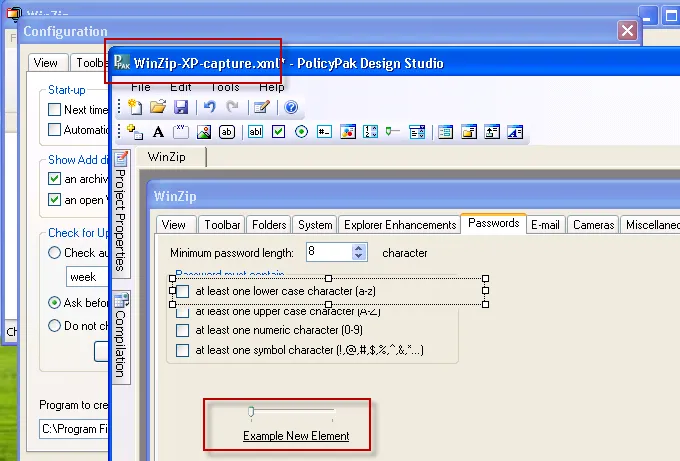
Figure 178. Saving the XML file.
Once the file is saved and transported to your original machine, you can run the PXML Merge Wizard and select "Merge with an existing pXML file," as shown in Figure 179. Then select the file to merge. The wizard will walk you through the process of matching up any existing items between the original project and the imported project. You'll be able to see which items have different AppLock™ data, UI elements, or actions data. In Figure 179, you can see where the wizard asks which of these items you'd like to import from the new project.
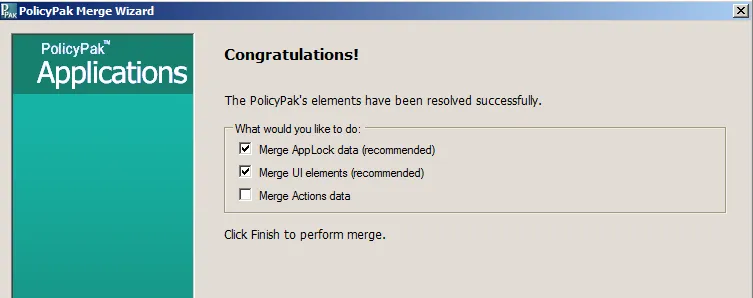
Figure 179. Importing elements from the wizard.
When this is complete, your AppSet will have all the merged elements you need. If there are any new UI elements (and they aren't already configured in the imported project file) use the Configuration Wizard or manually edit them so they can be controlled in your application.