Testing the Application of a Preconfigured AppSet
Now that your preconfigured, compiled AppSet is copied to your management machine, you are ready to use it in the Group Policy Editor.
Step 1 – The next step is to create and link a group policy object (GPO) for your organizational unit (OU), like East Sales Users, as seen in Figure 2.
Step 2 – Edit the GPO, and then add in the AppSet for WinZip, as seen in Figure 3. To do this, scroll down to User Configuration | Endpoint Policy Manager | Application Settings Manager. Then right-click on "Application Settings Manager" and select "New Application," and then choose the Endpoint Policy Manager for WinZip.
Figure 3. How to add the Pak for WinZip.
NOTE: You can either right-click the word "Application" or right-click inside the white space in the right-hand pane.
Step 3 – Double-click on the entry that is created in the right-hand pane. You will then see your compiled AppSet inside the Group Policy Editor. Notice how it looks exactly like the real WinZip interface.
Step 4 – Now, we're going to change settings inside the AppSet on the Passwords tab, which you can see in Figure 4. The goal is to change some of WinZip's settings within the GPO, then see results within the endpoint.

Figure 4. Location of the Passwords tab.
Step 5 – For these first tests, click on the Passwords tab, and then perform the following changes:
- Change the minimum password length to 11. You'll see the element get an underline, which means it is going to be delivered to the client.
- Check all four boxes within the Passwords tab (at least one lower case, one upper case, one numeric character, and one symbol character). Each element will be checked and also get an underline, meaning it will be delivered to the client.
Step 6 – You can see the suggested test settings in Figure 5.
Figure 5. Suggested test settings.
Step 7 – When you right-click on any setting within Endpoint Policy Manager Application Settings Manager, you'll be given the options shown in Figure 6.
Figure 6. Settings options.
NOTE: These modes and options are all explained in detail in the section, "Endpoint Policy Manager Application Settings Manager Modes."
Step 8 – Next, perform the following steps:
- Right-click the "Minimum password length" spinbox to see options for the element. Note that you must right-click directly on the spinbox itself, not on the words "Minimum password length," to see the options menu for the element.
- Notice that "Always reapply this setting" is already checked. This is because the item to set the checkbox was clicked. Leave this setting as is. While you have the menu open, select "Revert this policy setting to "[the default value]" when it no longer applies" and "Disable corresponding control in target application."
"Minimum password length" should now be configured, as shown in Figure 7.
Figure 7. The settings for "Minimum password length": the item is set to 11 and three options are selected.
Step 9 – Next, hover over "at least one lower case character (a-z)" and right-click. Notice that "Always reapply this setting" is already checked because you clicked on the item to set the checkbox. Leave this setting as is. While you have the menu open, also select "Revert this policy setting to "[the default value]" when it is no longer applied." You can see your final configuration in Figure 8.
Figure 8. Configuration of "at least one lower case character (a-z)" settings.
Step 10 – At this point, right-click "at least one upper case character (A-Z)," leaving the setting as is. Make no additional changes to "at least one upper case character (A-Z)." You can see the desired configuration in Figure 9.
Figure 9. Configuration of "at least one upper case character (A-Z)" settings.
Step 11 – Next, right-click "at least one numeric character (0-9)." This will also show that "Always reapply this setting" is already checked. It also can be left as is. In addition, select "Hide corresponding control in target application." You can see the desired configuration in Figure 10.
Figure 10. Configuration of "at least one numeric character (0-9)" settings.
Step 12 – Once you have completed the above steps, right-click the fourth checkbox, "at least one symbol character (!,@,#,$,%,^,&,*...)." Leave "Always reapply this setting" checked. Since you selected "Always reapply this setting," you must also select "Disable corresponding control in target application." You can see the desired configuration in Figure 11.

Figure 11. Configuration for "at least one symbol character (!,@,#,$,%,^,&,*...)" settings.
Step 13 – Finally, click on the Cameras tab. Then right-click and select "Disable whole tab in target application." This is located right below the Cameras tab (but not directly on the Cameras tab), as seen in Figure 12.
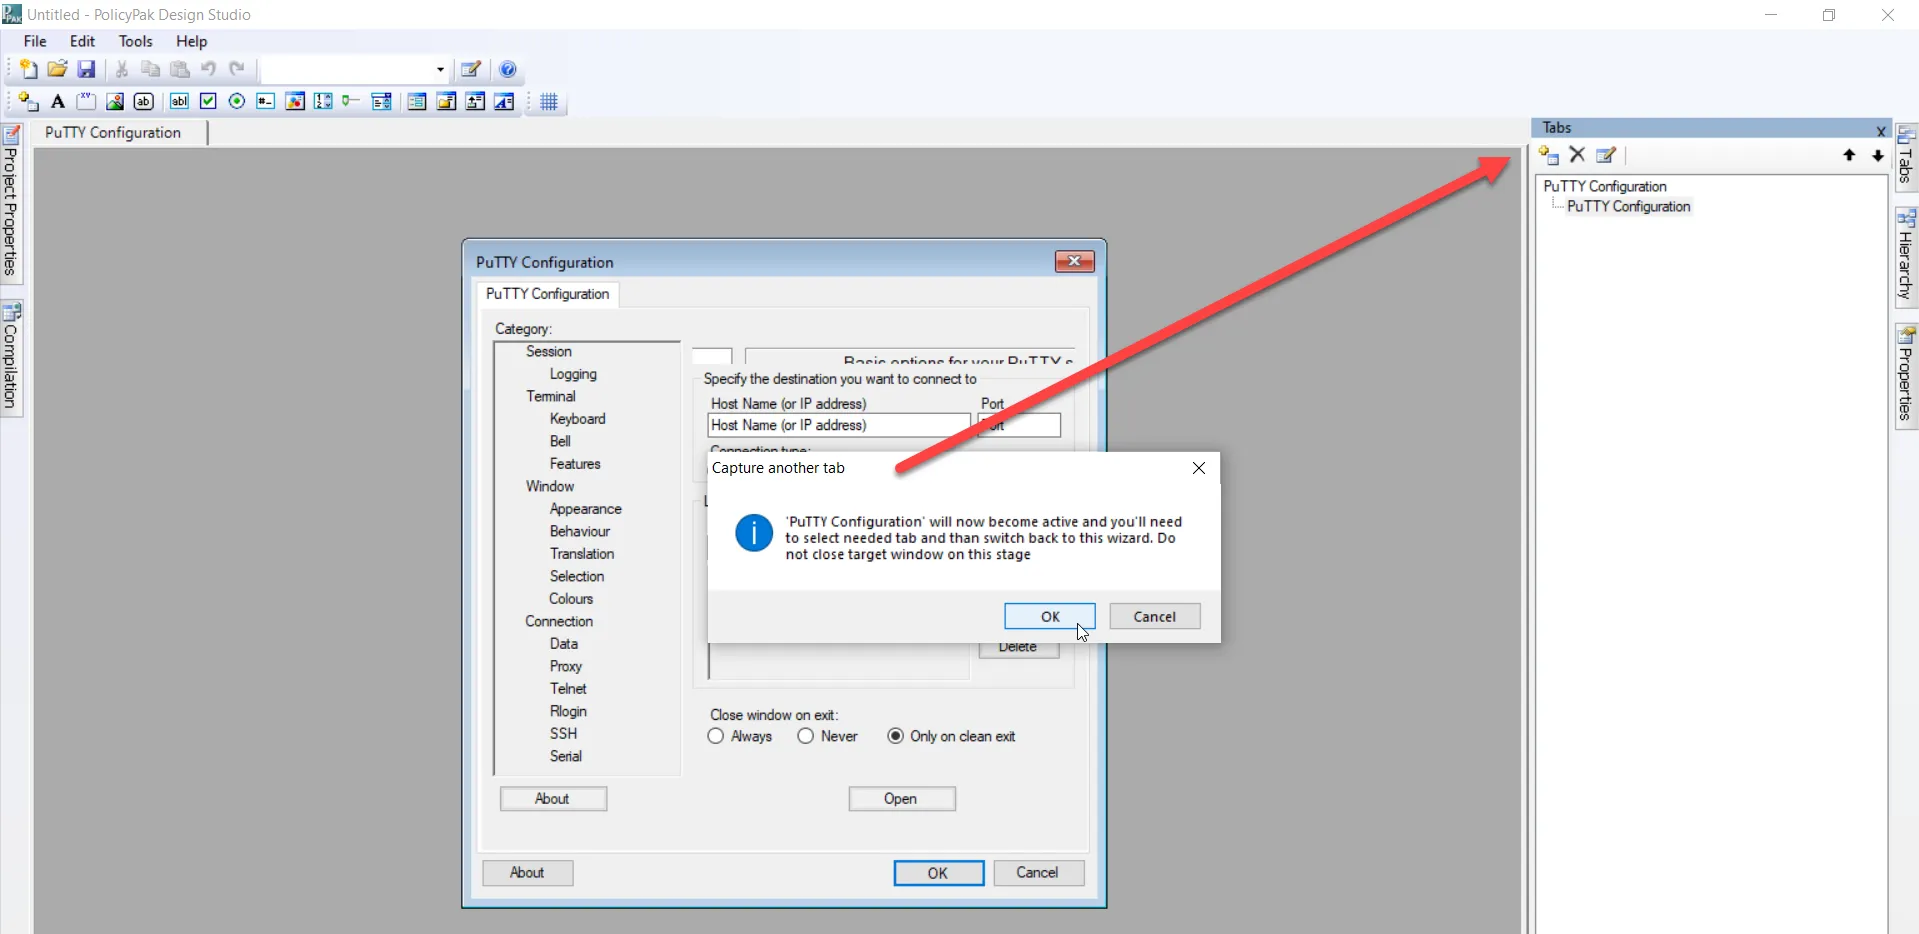
Figure 12. Finding and selecting "Disable whole tab in target application" in the Cameras tab.
Step 14 – Once that is completed, click OK to save the configuration into Group Policy.