Using Targeting Editor in Endpoint Policy Manager Cloud Settings
How can I target a User or a Group membership with Netwrix Endpoint Policy Manager (formerly PolicyPak) Cloud based settings?
Summary:
You have a requirement to target Endpoint Policy Manager Cloud policies to a particular set of groups of Users or a Group only. You want to use the built-in GP Preference method of choosing a group or a user to target those settings via PPC (Endpoint Policy Manager Cloud). In this topic we will demonstrate how will you do that.
There is going to be two-part steps in targeting Endpoint Policy Manager Cloud managed settings, aka. Group Policies via PPC to those users or computers.
The process for targeting Endpoint Policy Manager Cloud managed settings, aka. Group Policies via PPC to those users or computers, is divided into two major sections:
- Getting a SID (Security Identifier) of a User or Group's Object
- Inserting the SID in Endpoint Policy Manager Cloud based Internal Item-Level Targeting Filter window.
1:Getting a SID for a USER
First step is to getting a SID (Security Identifier) of a User or Group's Object.
Getting a SID for a USER:
There are two options available to accomplish this.
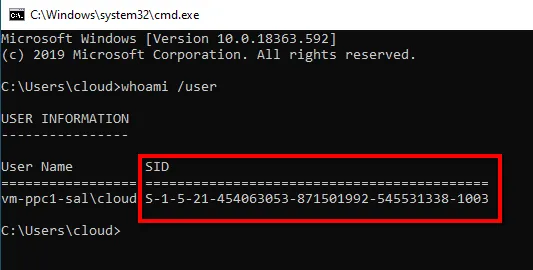
Option 1: For Current Logged-in user:
Step 1 – Launch CMD or Windows PowerShell.
Step 2 – Run a command whoami /user. Note down the long code:
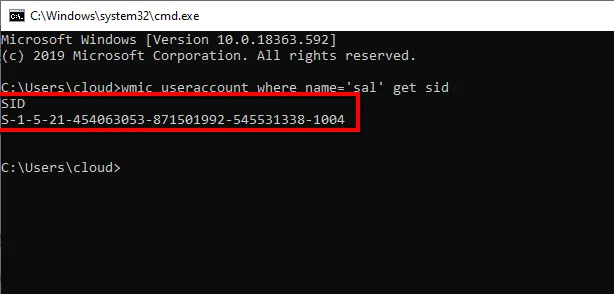
Option 2: For Another user:
Step 1 – Launch CMD or Windows PowerShell.
Step 2 – Run a command wmic useraccount where name='username' get sid.
Step 3 – Copy the output SID of another user for next step:
NOTE: All commands in these steps are tested on Microsoft Windows Version 1909 (OS Build 18363.592).
Getting a SID for a GROUP:
In this scenario you also have two options, depending on your use-case. So, follow the steps accordingly.
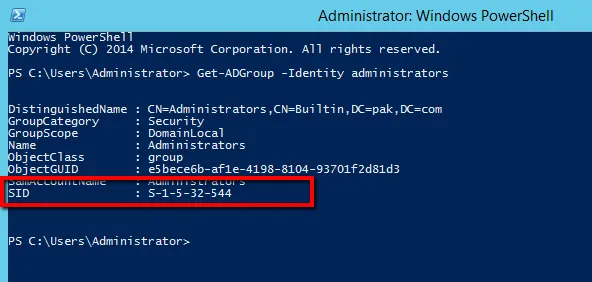
Option 1: Getting a SID for a Domain Group:
Step 1 – Launch Windows PowerShell on a Domain Controller or a Client-Machine with RSAT tools. The logged-in user has to be an administrator.
Step 2 – Run a command Get-ADGroup -identity "GroupName".
Step 3 – Copy the SID information for later user.
NOTE: The command in this step is tested on Microsoft Windows Server 2012 R2 (Build 9600).
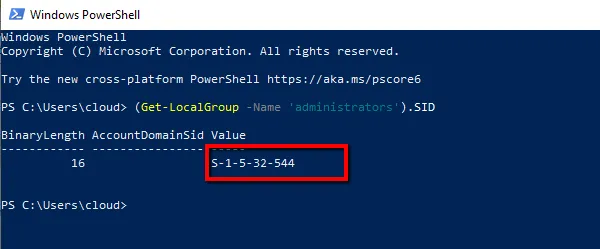
Option 2: Getting a SID for a Local Group:
Step 1 – Launch Windows PowerShell.
Step 1 – Run a command (Get-LocalGroup -Name 'GroupName').SID.
Step 1 – Copy the SID information to use for next step.
NOTE: The command in this step is on Microsoft Windows Version 1909 (OS Build 18363.592)
2:Inserting the SID inPolicyPakpoli Endpoint Policy Manager Cloud based Internal Item-Level Targeting Filter window
In this section we will insert the SID we extracted by following any of the above step, in Endpoint Policy Manager Cloud based Internal Item-Level Targeting Filter window.
Step 1 – Launch Endpoint Policy Manager Cloud Portal.
Step 2 – Create a New Policy and select a i.e. Drive Maps from Microsoft Policy Preferences.
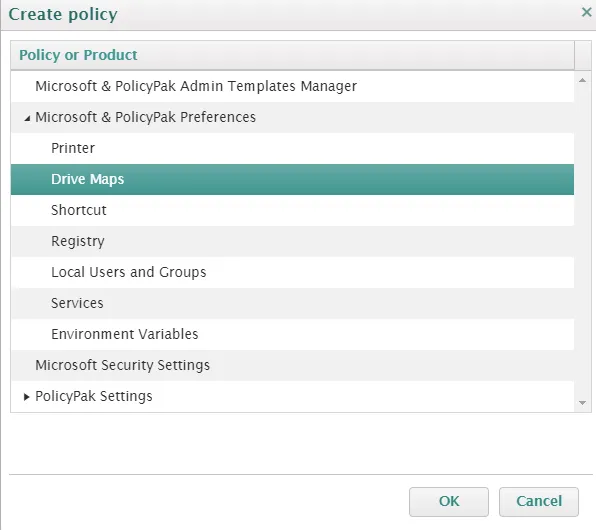
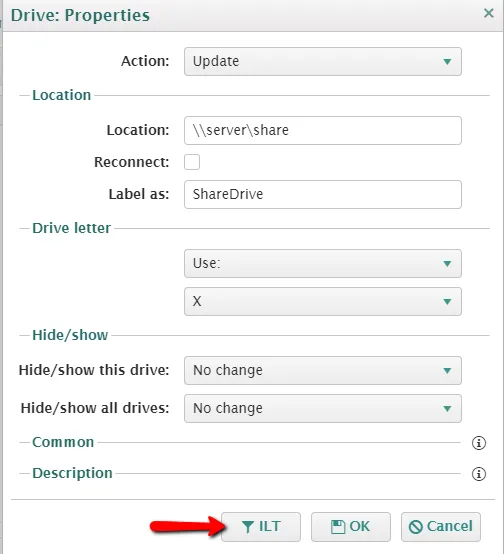
Step 3 – Click on Mapped Drive drop-down and select Drive option.

Step 4 – After filling out the details select the ILT button.
Step 5 – Click on New Item drop-down in the Targeting Editor window.
Step 6 – Select User and fill-in the SID from the clipboard.
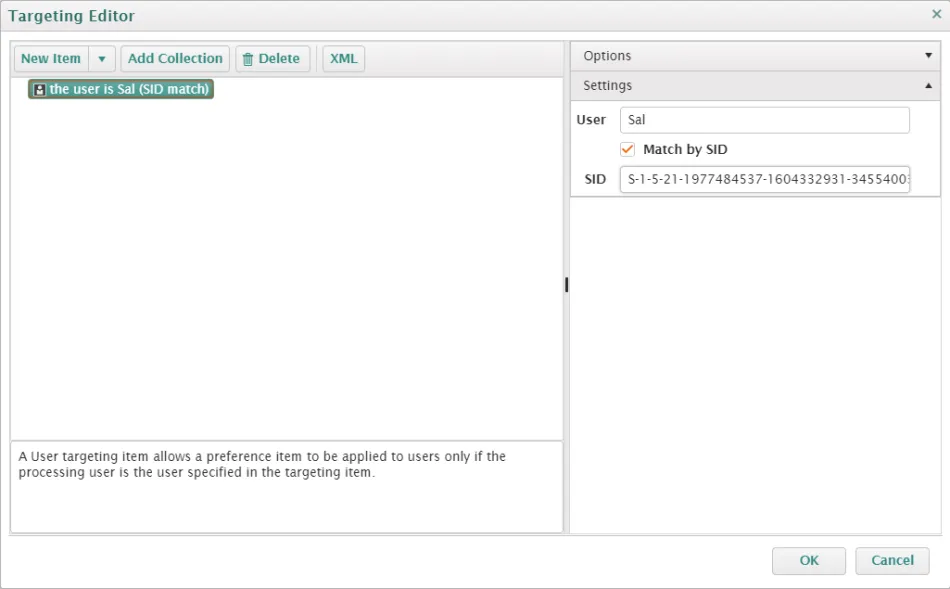
Step 7 – Click the Ok button.
Step 8 – If you want to target users from a particular Group, select Group in step 6.
Step 9 – Fill in the SID detail of a Group from the clipboard.
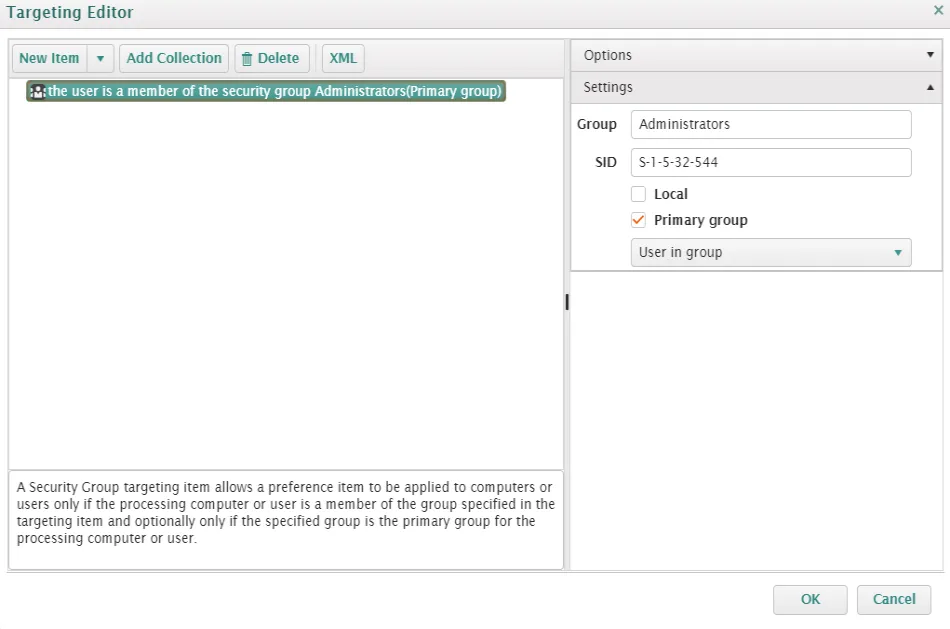
Step 10 – Click the OK button.