Registered Extensions Versus Custom Application Mappings
In the previous section, we mapped three file extensions to three different applications. As you might have noted, all three policies used the Registered Extension action type. In all the previous examples, when you used your GPMC machine and clicked Select Program, you could choose from a list of applications, and the associated program and application name were automatically entered in for you.
Registered programs are usually the best way to map file extensions. This is because when a program is registered, it doesn't matter where the program is actually installed. For instance, when mapping PDF to Acrobat Reader, it didn't particularly matter where Acrobat Reader was installed on the source machine or, more importantly, the endpoint machine. Because the application was registered, you only needed to specify the file extension and the application, which pointed to the Associated Program (ProgID), and Windows launched it.
However, there might be some times when you want to map an extension to one of the following:
- a program that isn't installed at all, like a portable application
- an application that doesn't appear to be installed
- an application that is virtualized and doesn't register its extensions
In these cases, you would choose the Custom Application action type. Custom Application mappings specifically marry a file extension to a program that must exist on the target machine in a specific, expected location.
If you want to follow along with a Custom Application example, follow these steps:
Step 1 – Download Notepad++ Portable edition from
https://portableapps.com/apps/development/notepadpp_portable,
and unpack it at c:\Notepad++ Portable on your machine (with the GPMC) and on the example
endpoint.
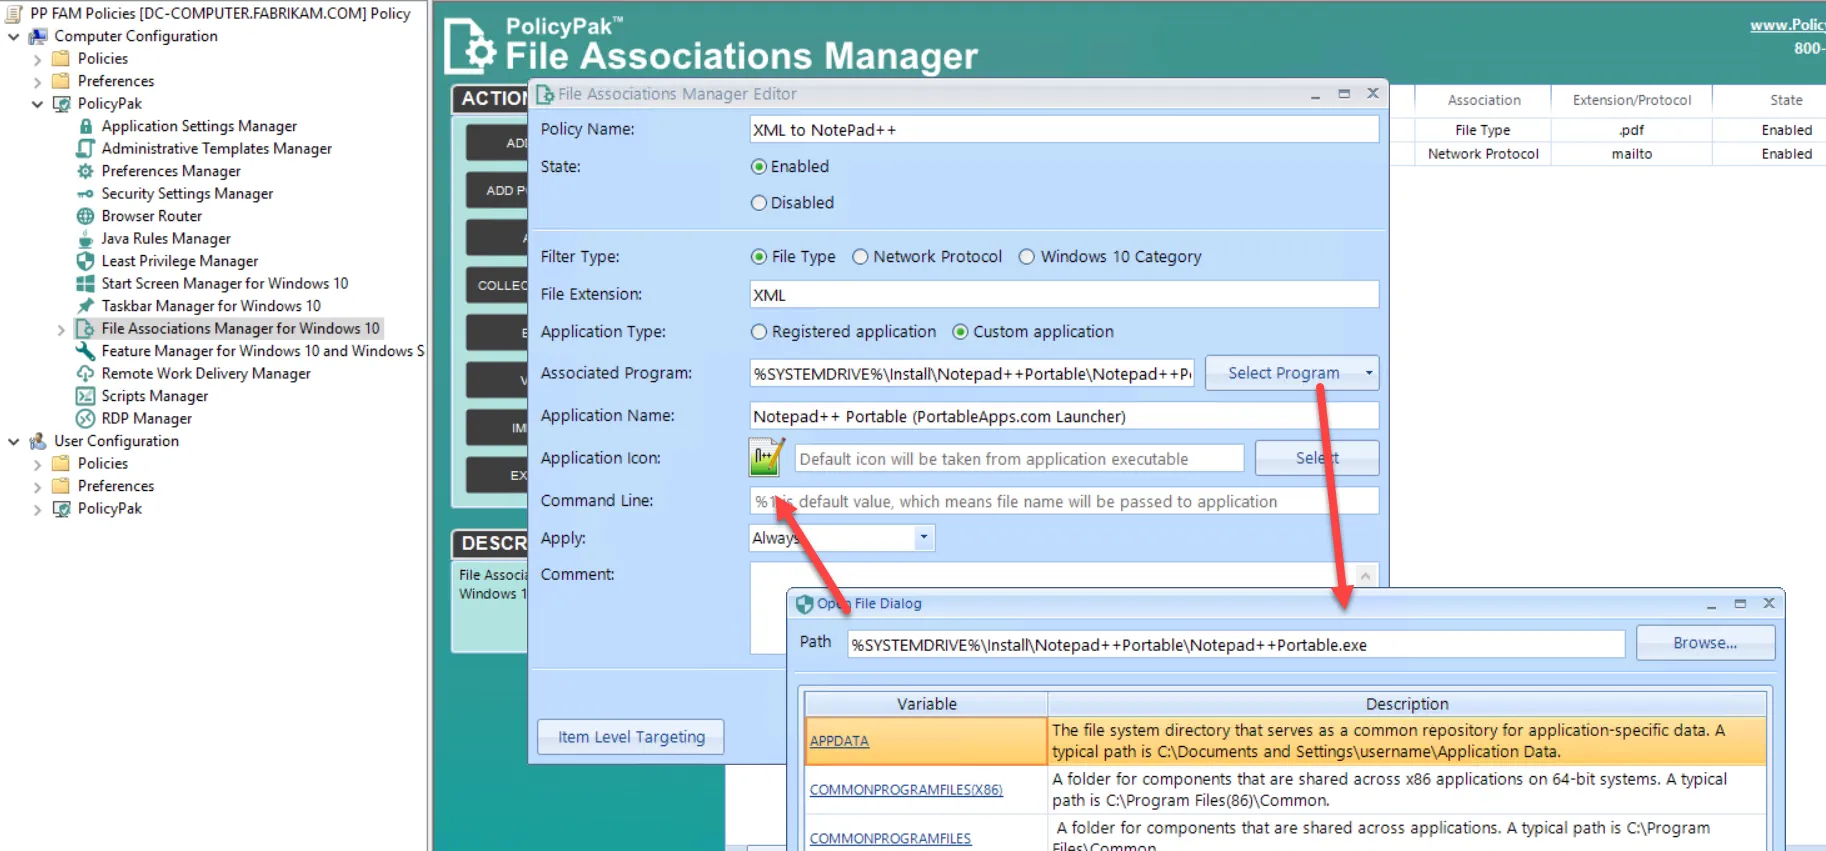
Step 2 – Create a policy in Endpoint Policy Manager File Associations Manager to map the XML file extension to this custom application.
Step 3 – Click Select Program, and select From EXE File (not shown). Find the
Notepad++Portable.exe program. When that file is selected, the Application Icon fieldis
automatically filled in.
Step 4 – Now you should have a total of four file association policies.

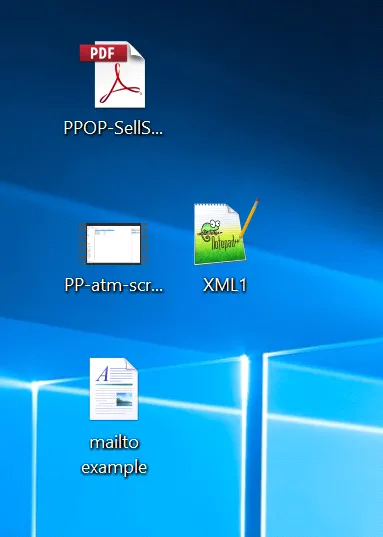
The XML file type on the endpoint has no icon in particular.
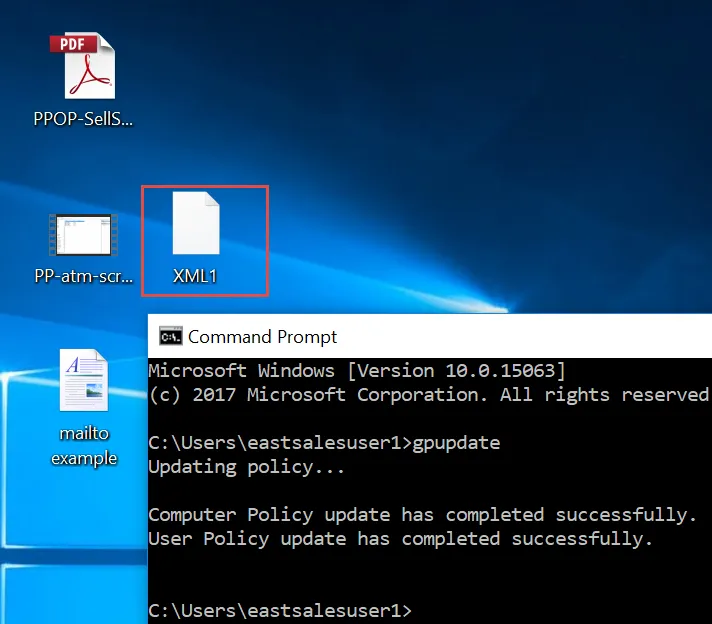
Step 5 – To continue, run GPupdate on the endpoint. Then, to see it take effect, log off and
log on again. When you do, you'll see the XML file icon change to Notepad++. Double-clicking the
icon will launch Notepad++ Portable.