Adding Desktop Applications
Next, you'll add a desktop application.
Step 1 – To do this, right-click the policy and select Add | New Desktop Application Tile. When you add a new desktop application tile, you'll get a wizard asking you the source of the desktop application, as shown in Figure 18.
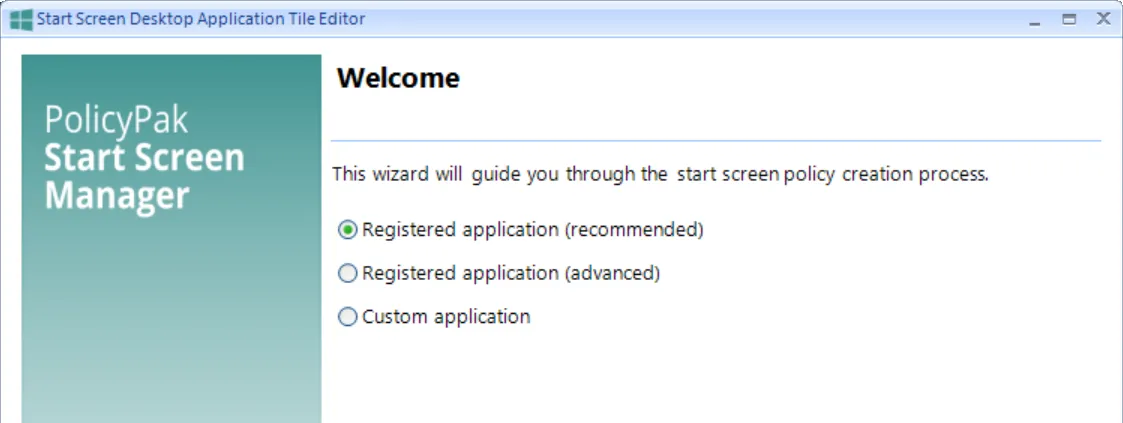
Figure 18. The Endpoint Policy Manager Start Screen Manager Desktop Application Tile wizard has three methods you can choose.
Step 2 – Once you specify to add a desktop application tile, you can use one of three methods:
- Registered application (recommended): These are applications that are fully installed on the machine you using to create the policy, and also fully installed on the target machine.
- Registered application (advanced): Same as above, but with more configurable options, such as Shortcut Icon.
- Custom application: This is a pointer to any .exe application file. This is useful in cases where an application is present on the machine, but not fully installed, like a portable application, ThinApp application, or a single .exe file that requires no installation.
For this Quickstart, select "Registered application (recommended)," and then click "Next." Then select Adobe Acrobat from the list (shown in Figure 19) and click "Next."
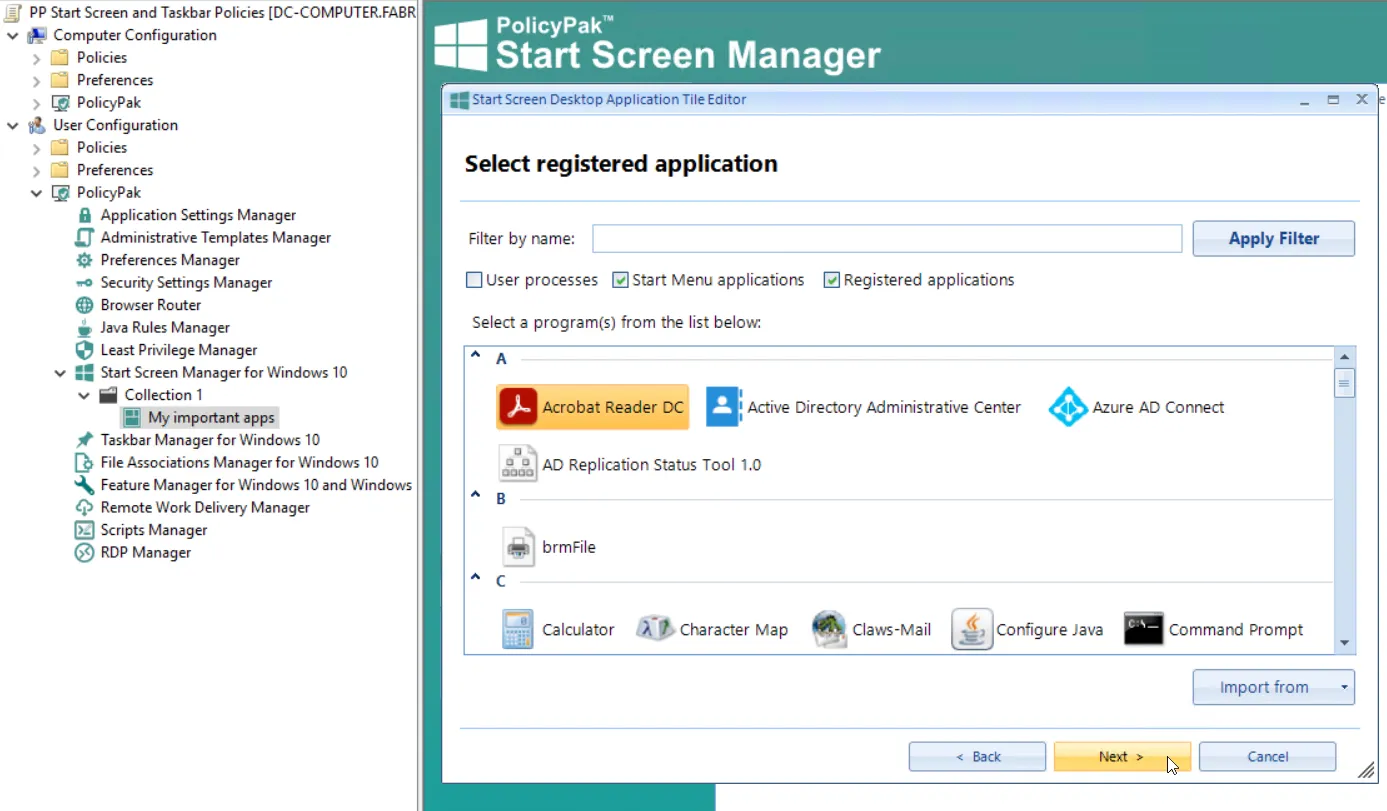
Figure 19. Selecting a registered application from the machine.
Step 3 – Then you can select the specifics for the tile, namely the tile position and the tile size, as seen in Figure 20.
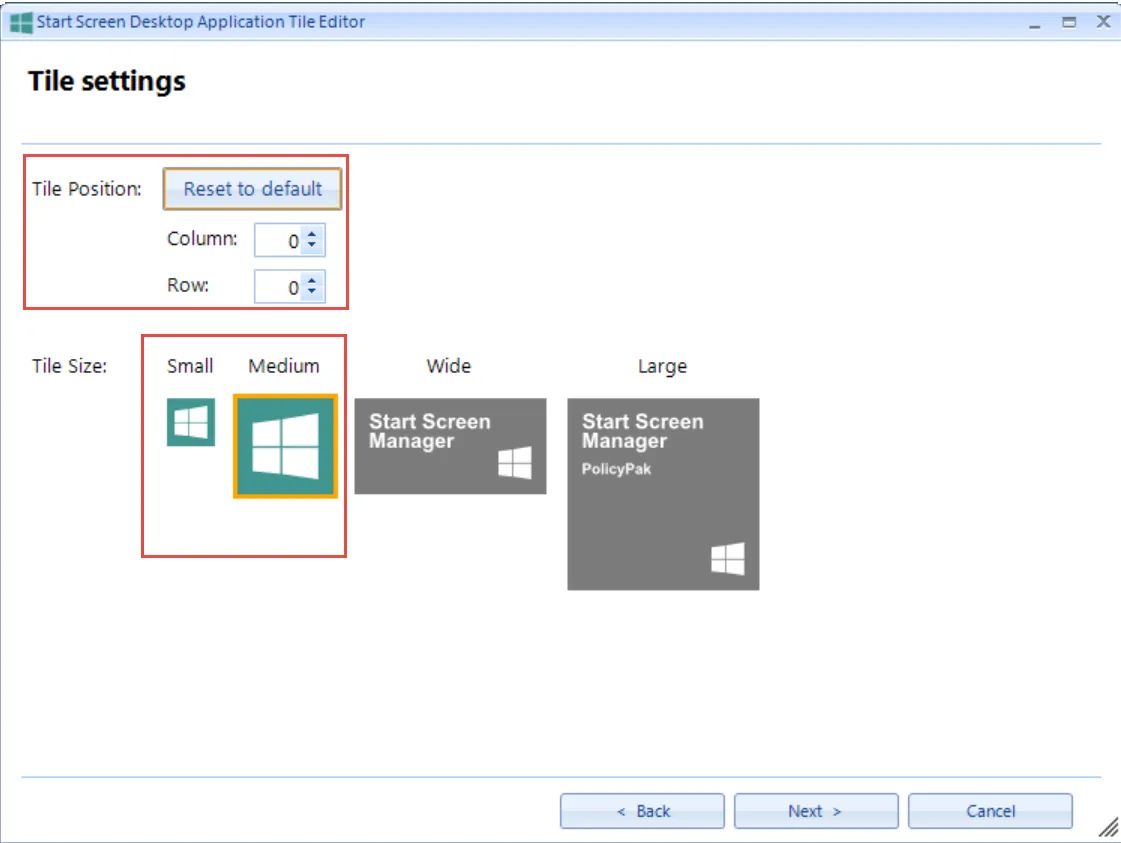
Figure 20. Desktop Applications can have two tile sizes.
The values for "Tile Position" are recommended automatically based on other tiles you might have already placed within this same group.
NOTE: The automatic recommendation does not take into consideration whether you have created the group already and are updating or changing it.
The position is identified by columns and rows within the group. This will allow you to precisely place your tile within the group with a little experimentation.
Step 4 – You can select a tile size of Small or Medium. (UWP applications can be any of the four sizes.) For this Quickstart, select the "Medium" size and then click "Next." On the Finish page, choose a policy name, such as "Acro Reader," as shown in Figure 21, and click "Finish."
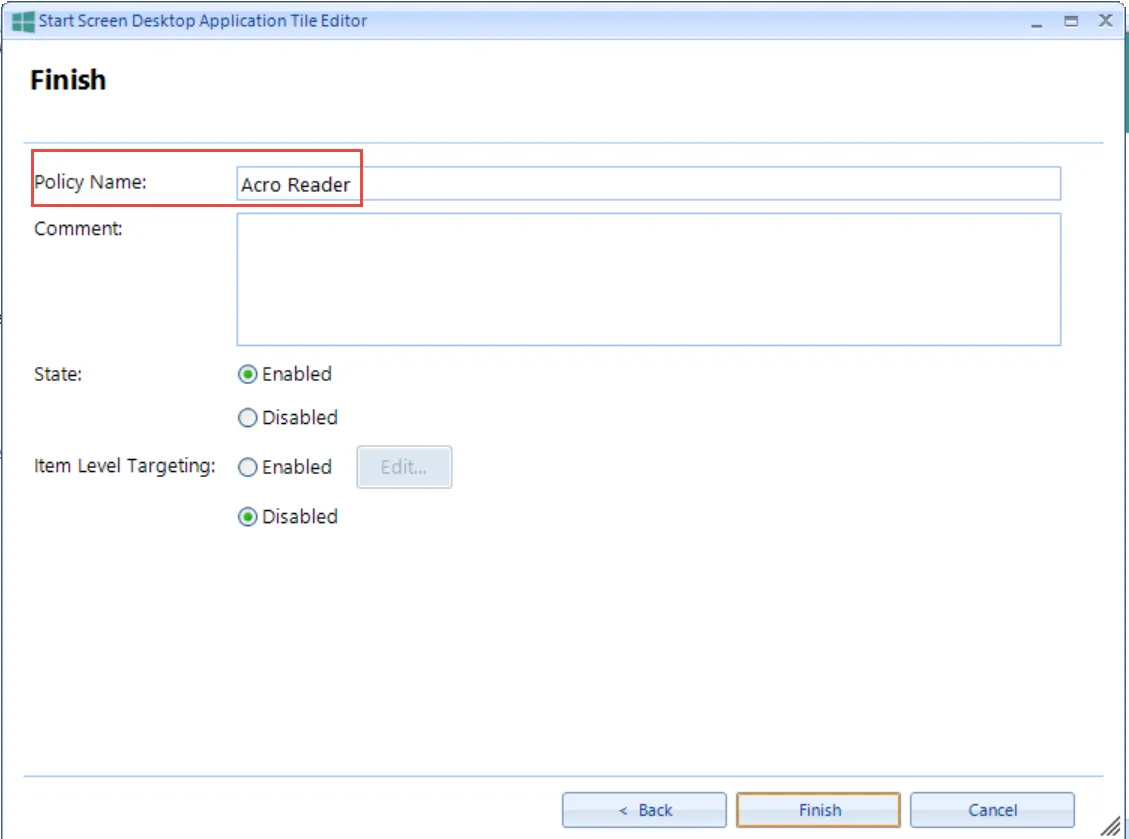
Figure 21. The policy name you select is the internal "display name" of the policy you just created.
The Start Screen icon policy you created can be seen in Figure 22.

Figure 22. The Endpoint Policy Manager Start Screen Manager policy is contained within the collection.