macOS Deployment
To deploy the Endpoint Protector package for macOS using Intune, follow these steps:
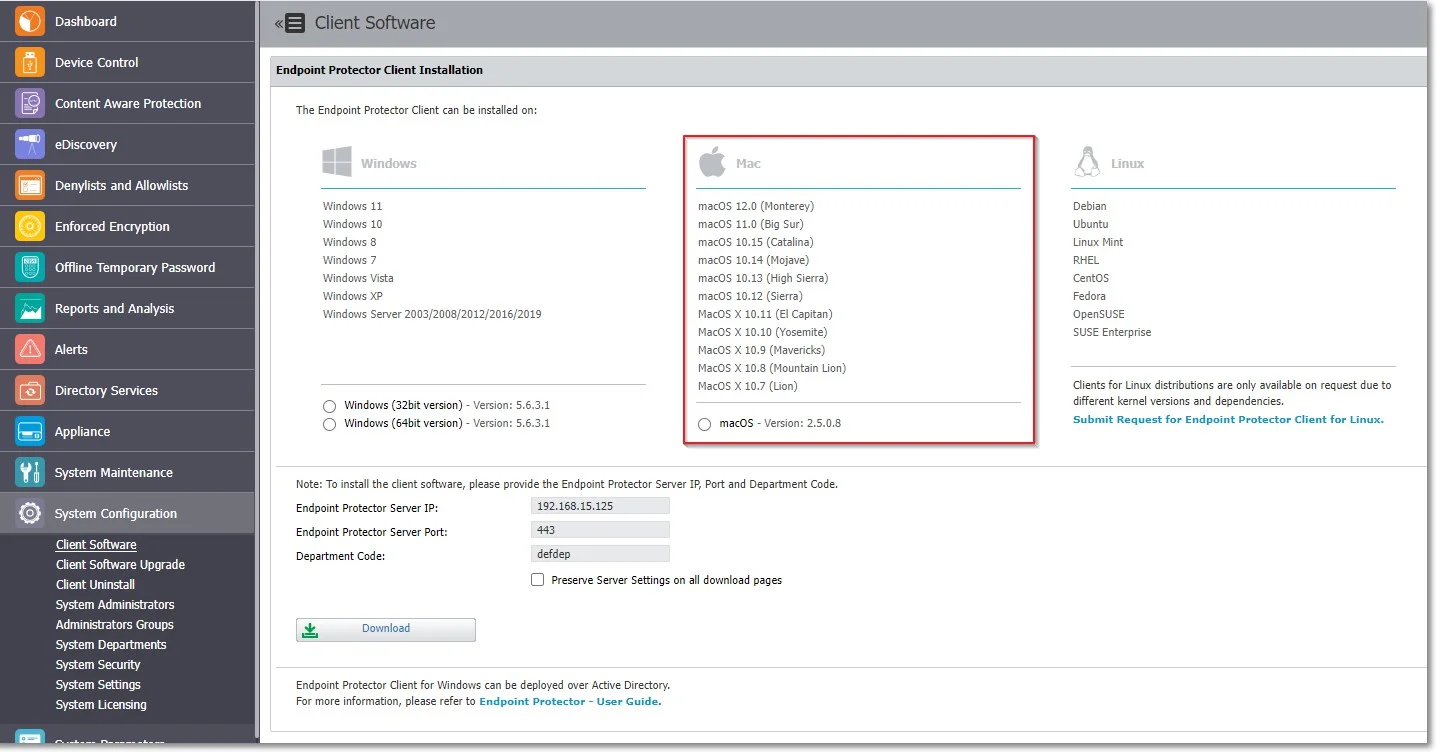
Step 1 – Open and log in to Endpoint Protector.
Step 2 – Go to the System Configuration, Client Software and download the macOS Endpoint Protector package.
Step 3 – Convert the Endpoint Protector client to an .intunemac file – for more information and procedure, visit the Microsoft Docs portal;
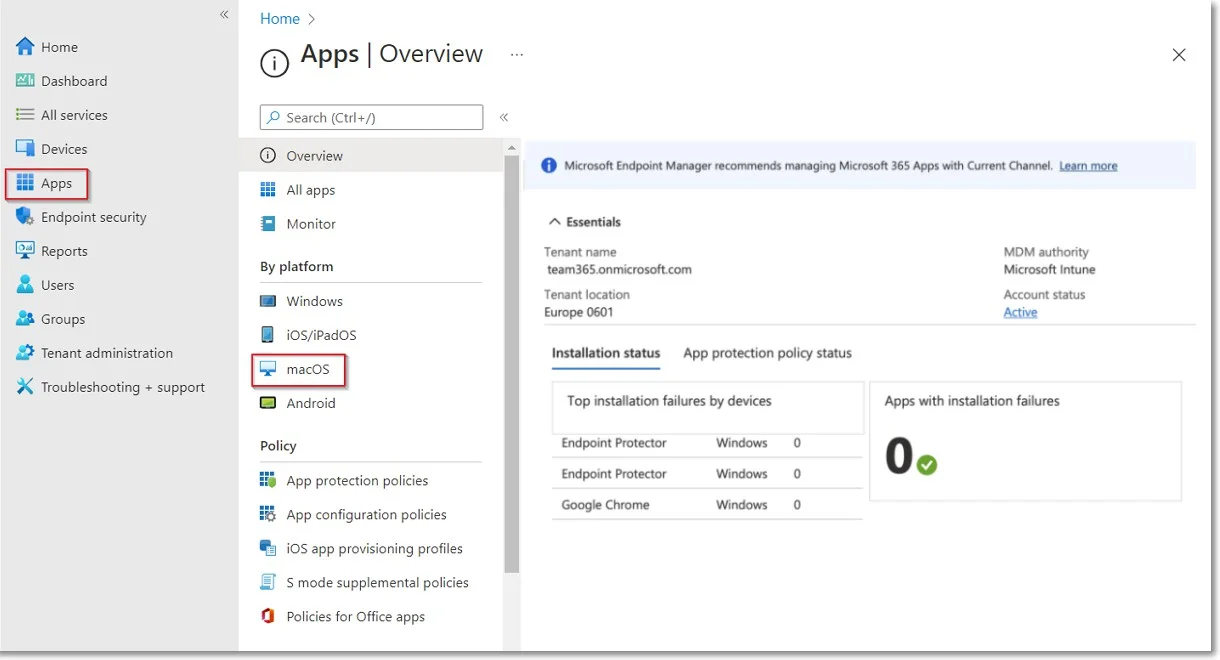
Step 4 – Go to the Microsoft Endpoint Manager admin center and sign in
Step 5 – Go to Apps from the left-hand side menu, and on the Apps Overview page, select the macOS platform;
Step 6 – On the macOS apps page, click Add, select the Line of business app type, and then click Select.
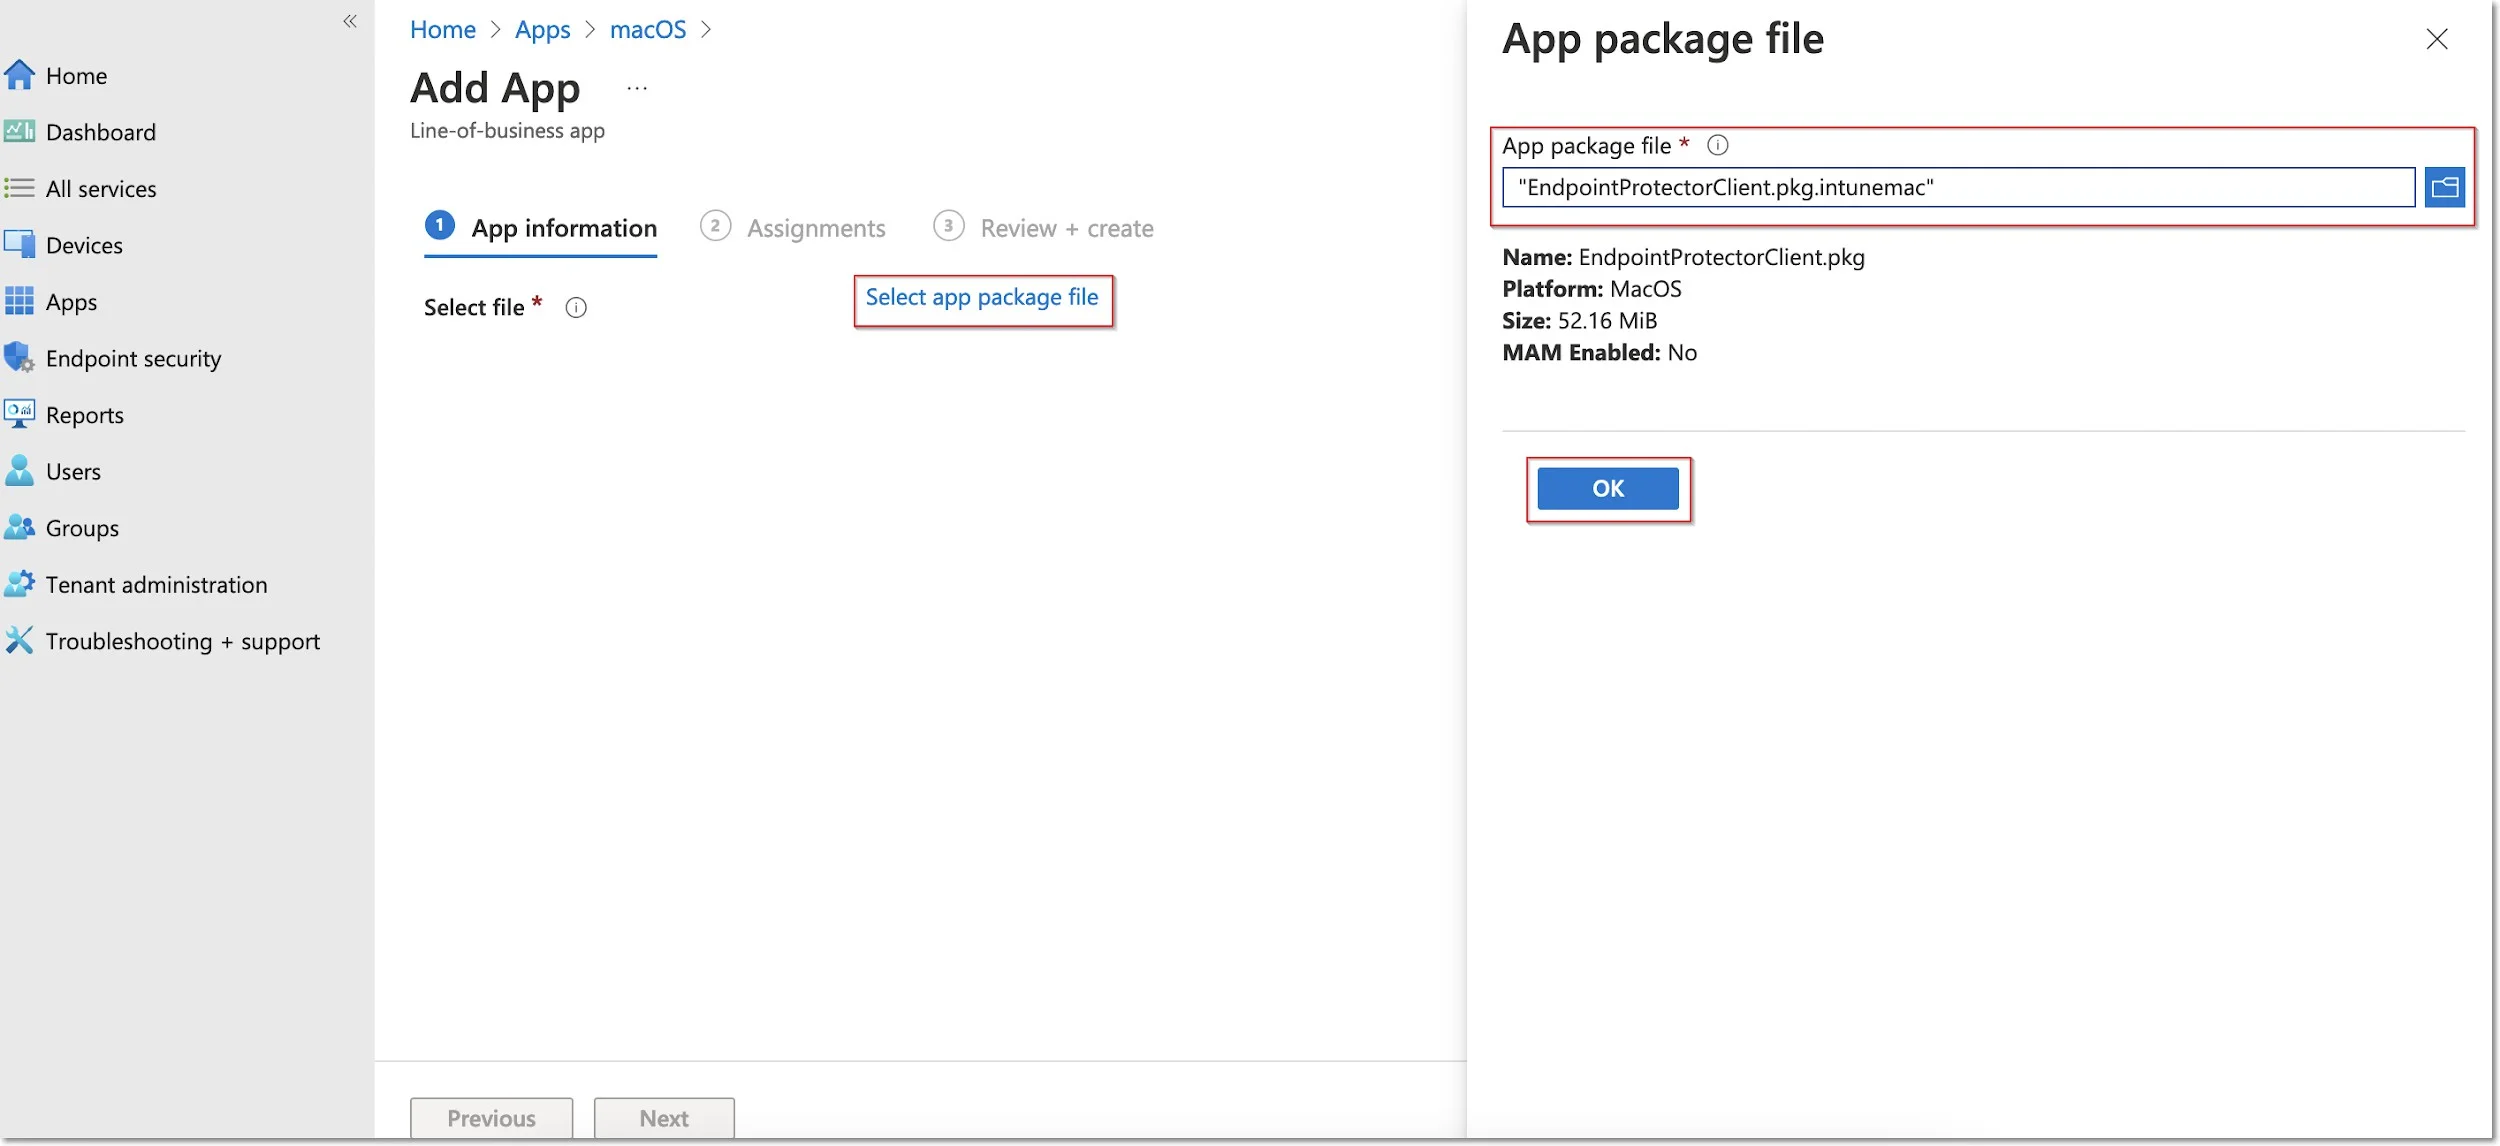
Step 7 – Click Select app package file and from the right-hand side, select the Endpoint Protector intunemac file, Upload and click OK.
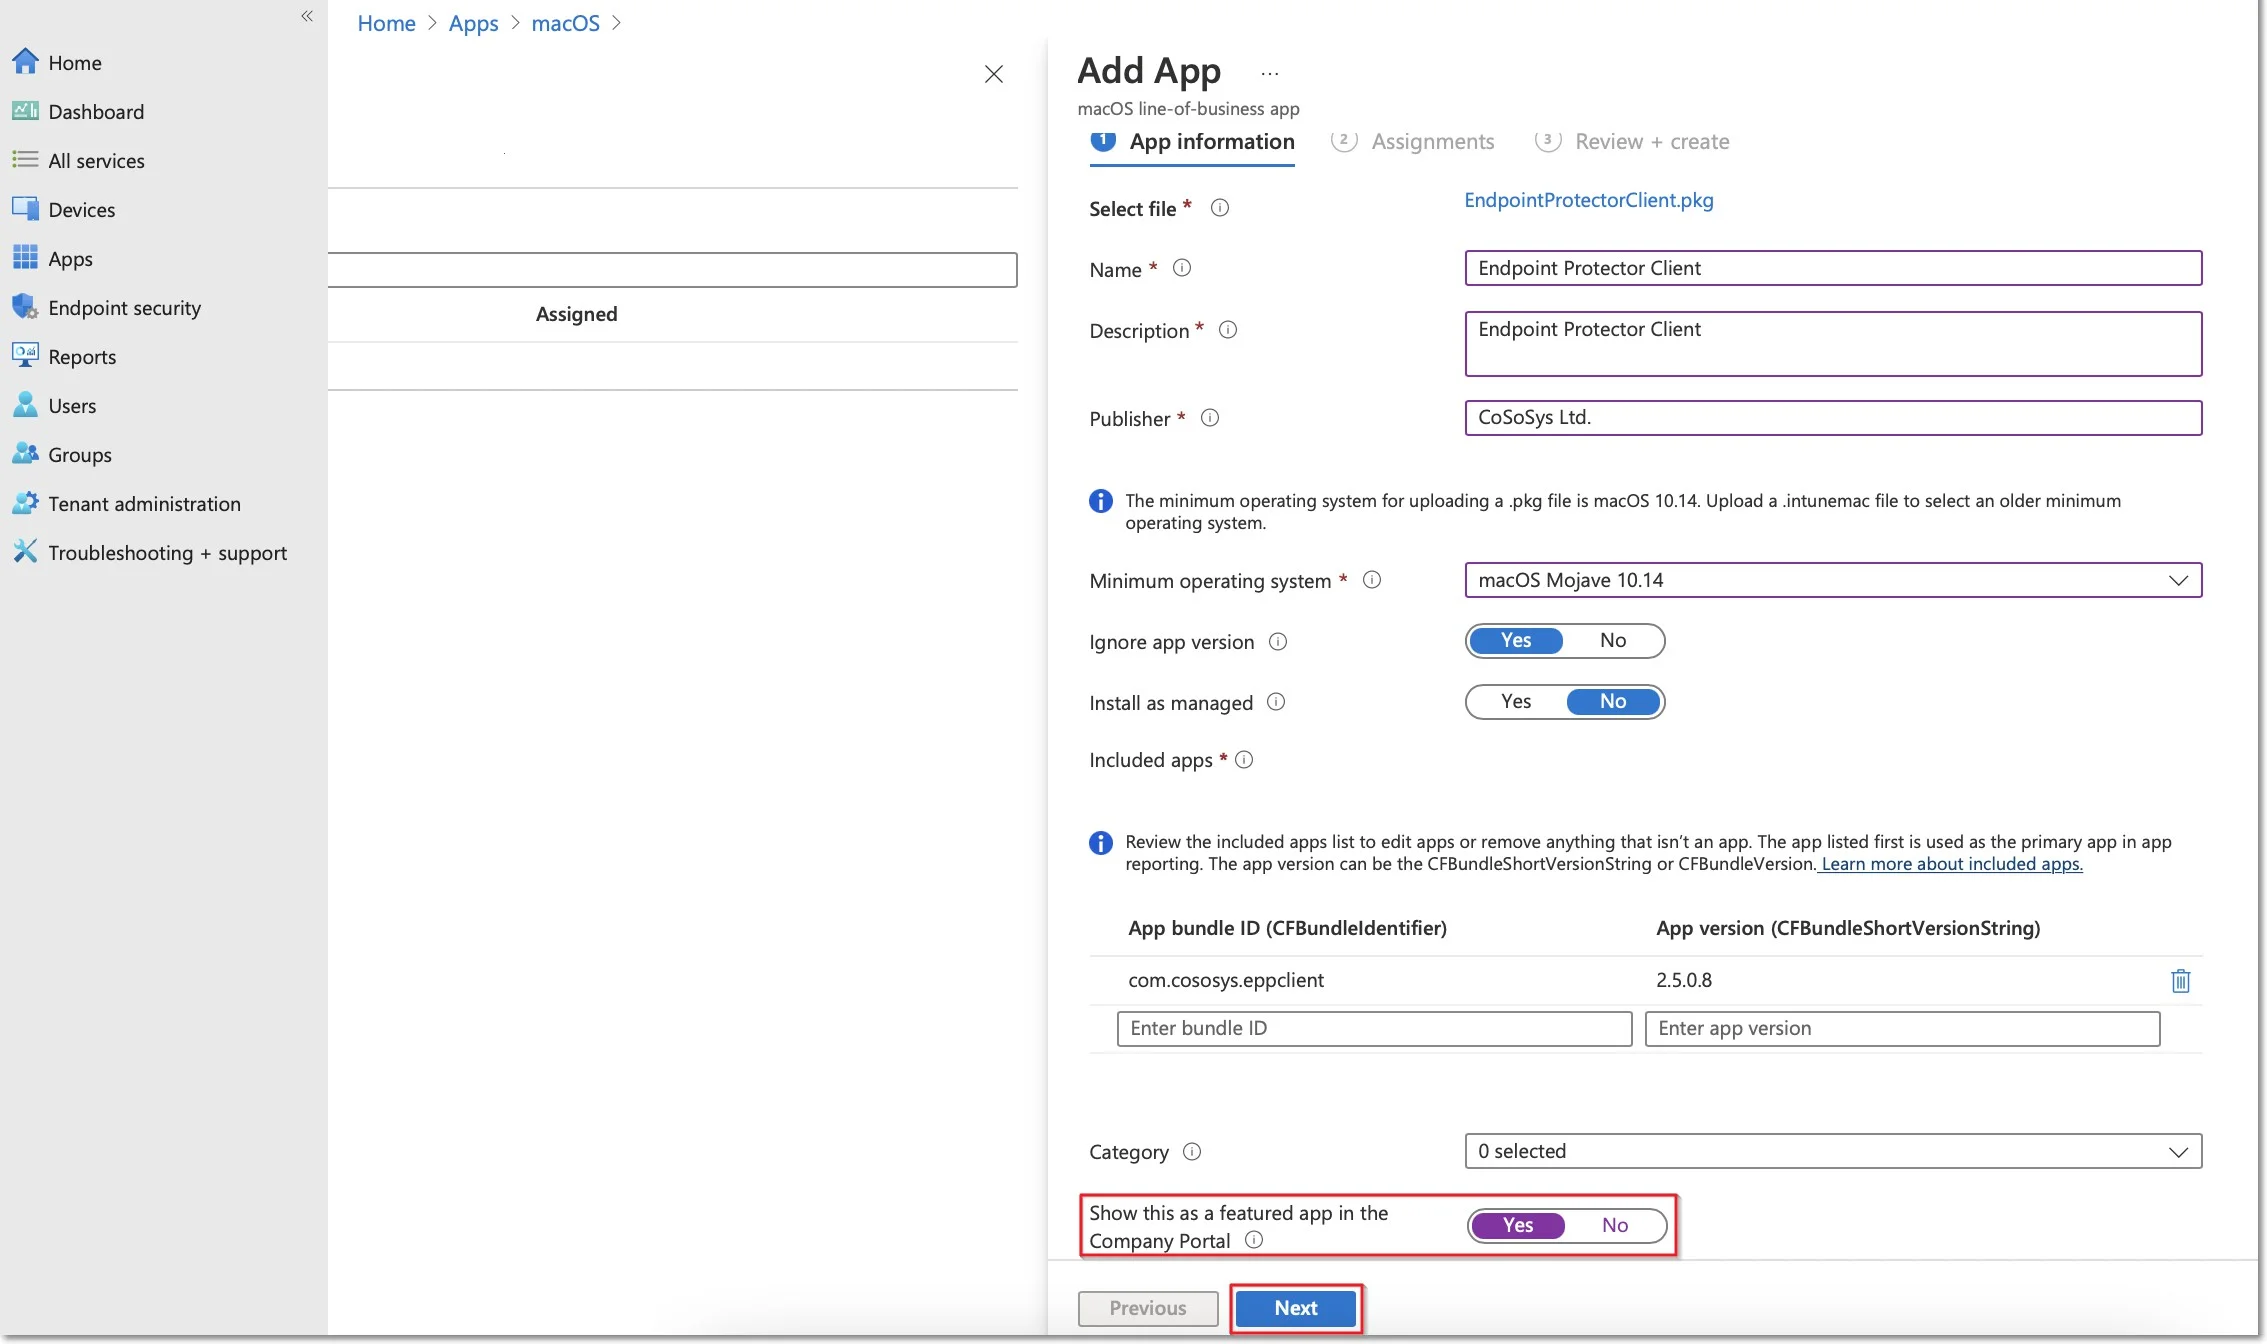
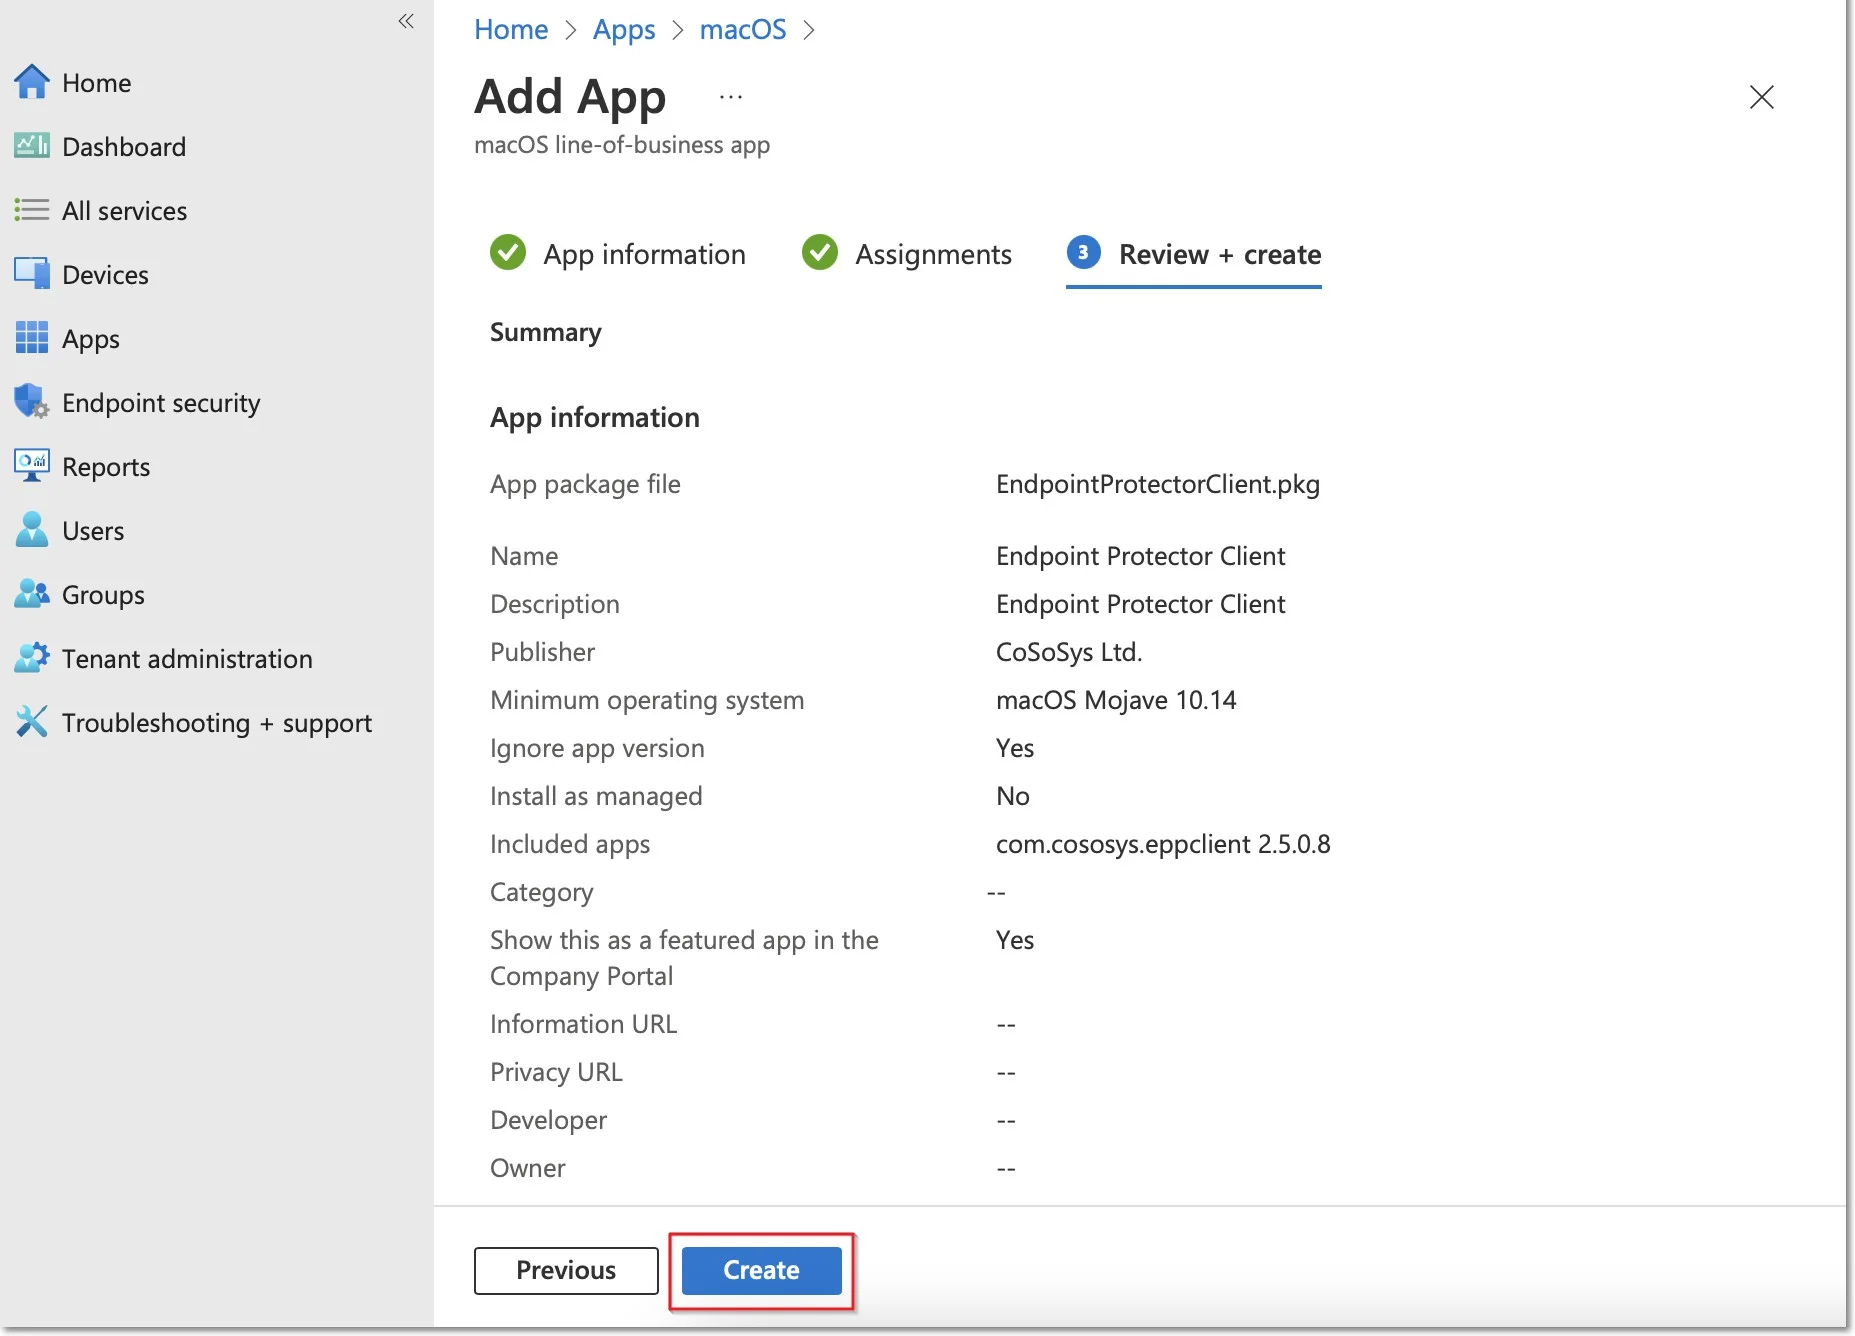
Step 8 – On the App information page, fill in the mandatory fields and then click Next.
- Name – add Endpoint Protector Client
- Description – add Endpoint Protector Client
- Publisher – add Netwrix Ltd.
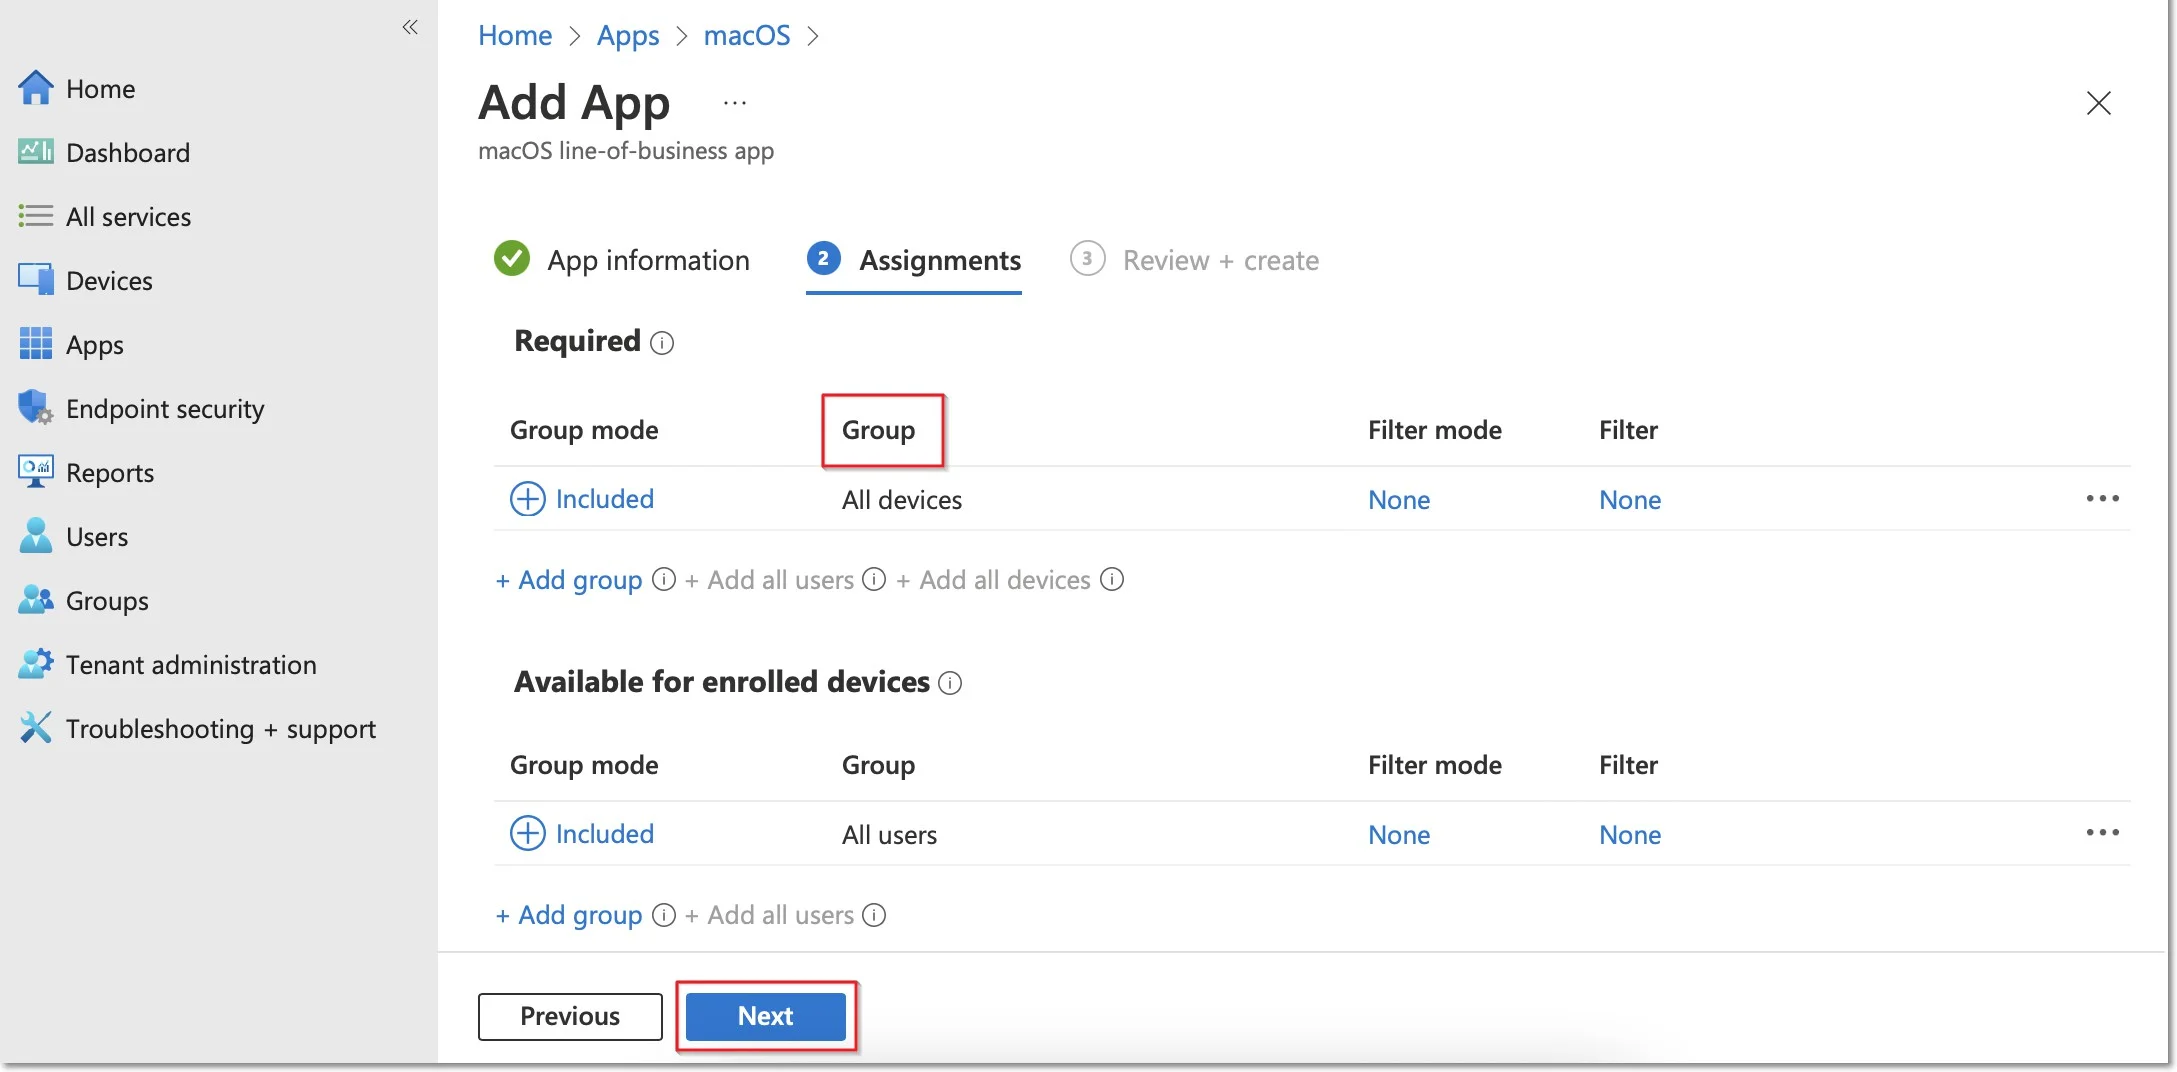
Step 9 – On the Assignments page, in the Required section, select the group for which you want to deploy the Endpoint Protector client and then click Next.
Step 10 – On the Review + create page, click Create - this will start the Endpoint Protector package upload.
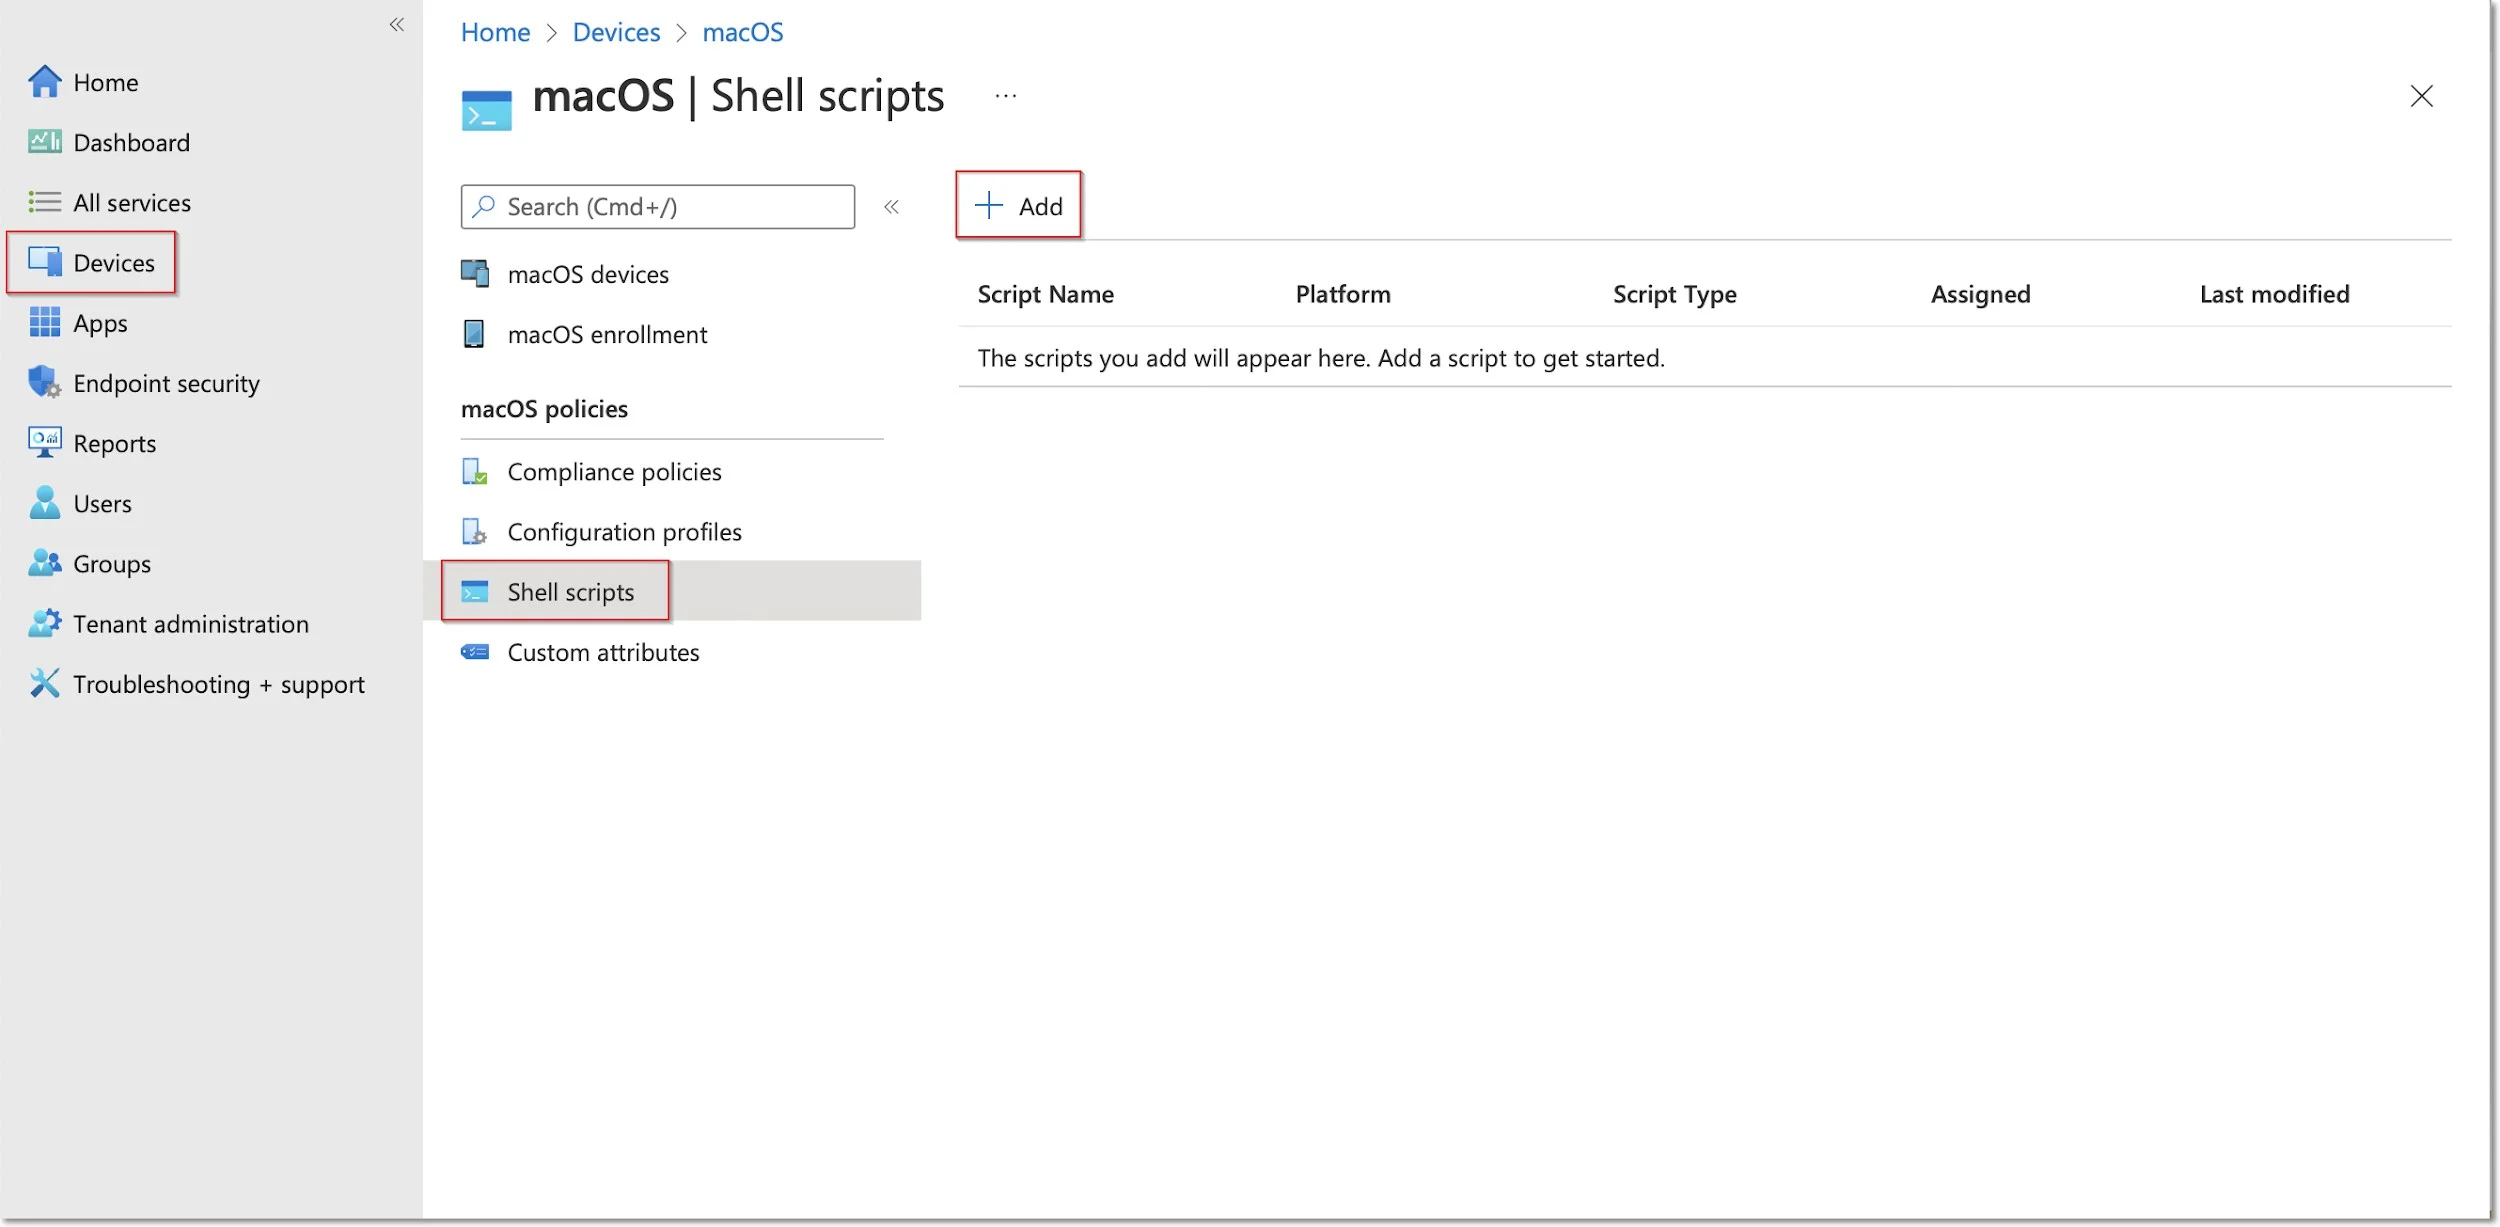
Step 11 – Go to Devices from the left-hand menu, select macOS, Shell scripts and then click Add.
NOTE: Please contact the Customer Support department to provide the script.
Step 12 – On the Add script page, fill in the mandatory information and then click Next.
- Name (mandatory) – add a name for the script (Post install script)
- Description – add a description for the script

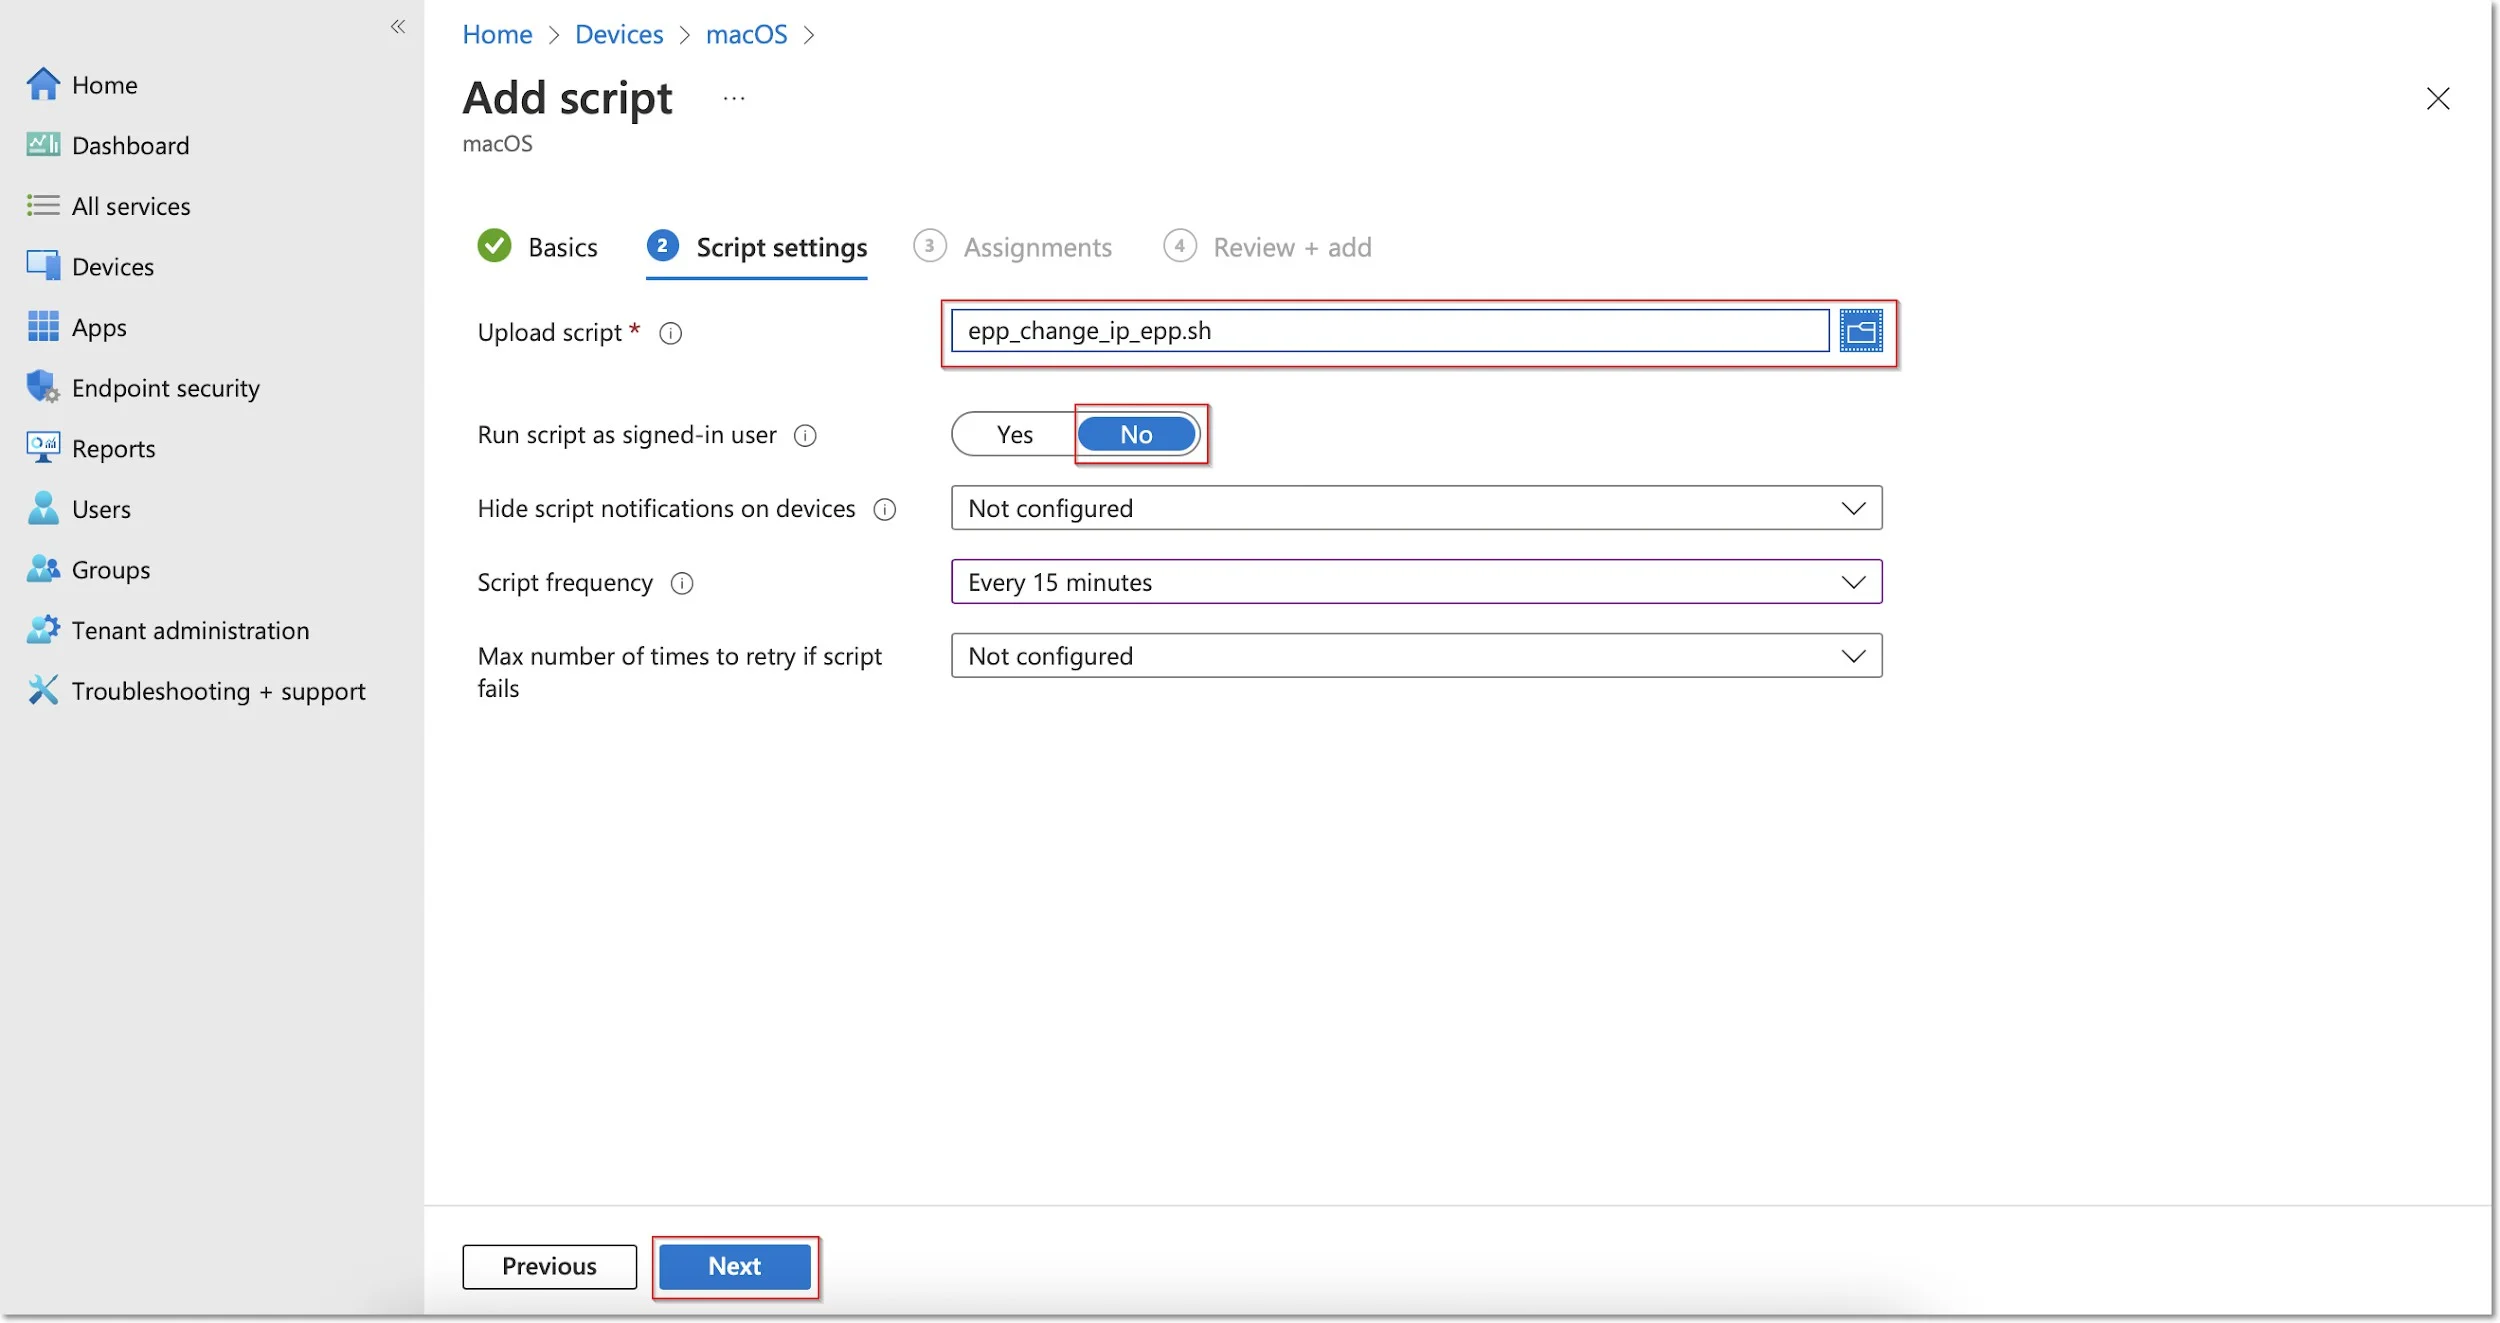
Step 13 – On the Script settings tab, add the following information and then click Next:
- Upload and select the New Jamf PostInstall script from your computer
- Set the Run script as sign-in user setting to No
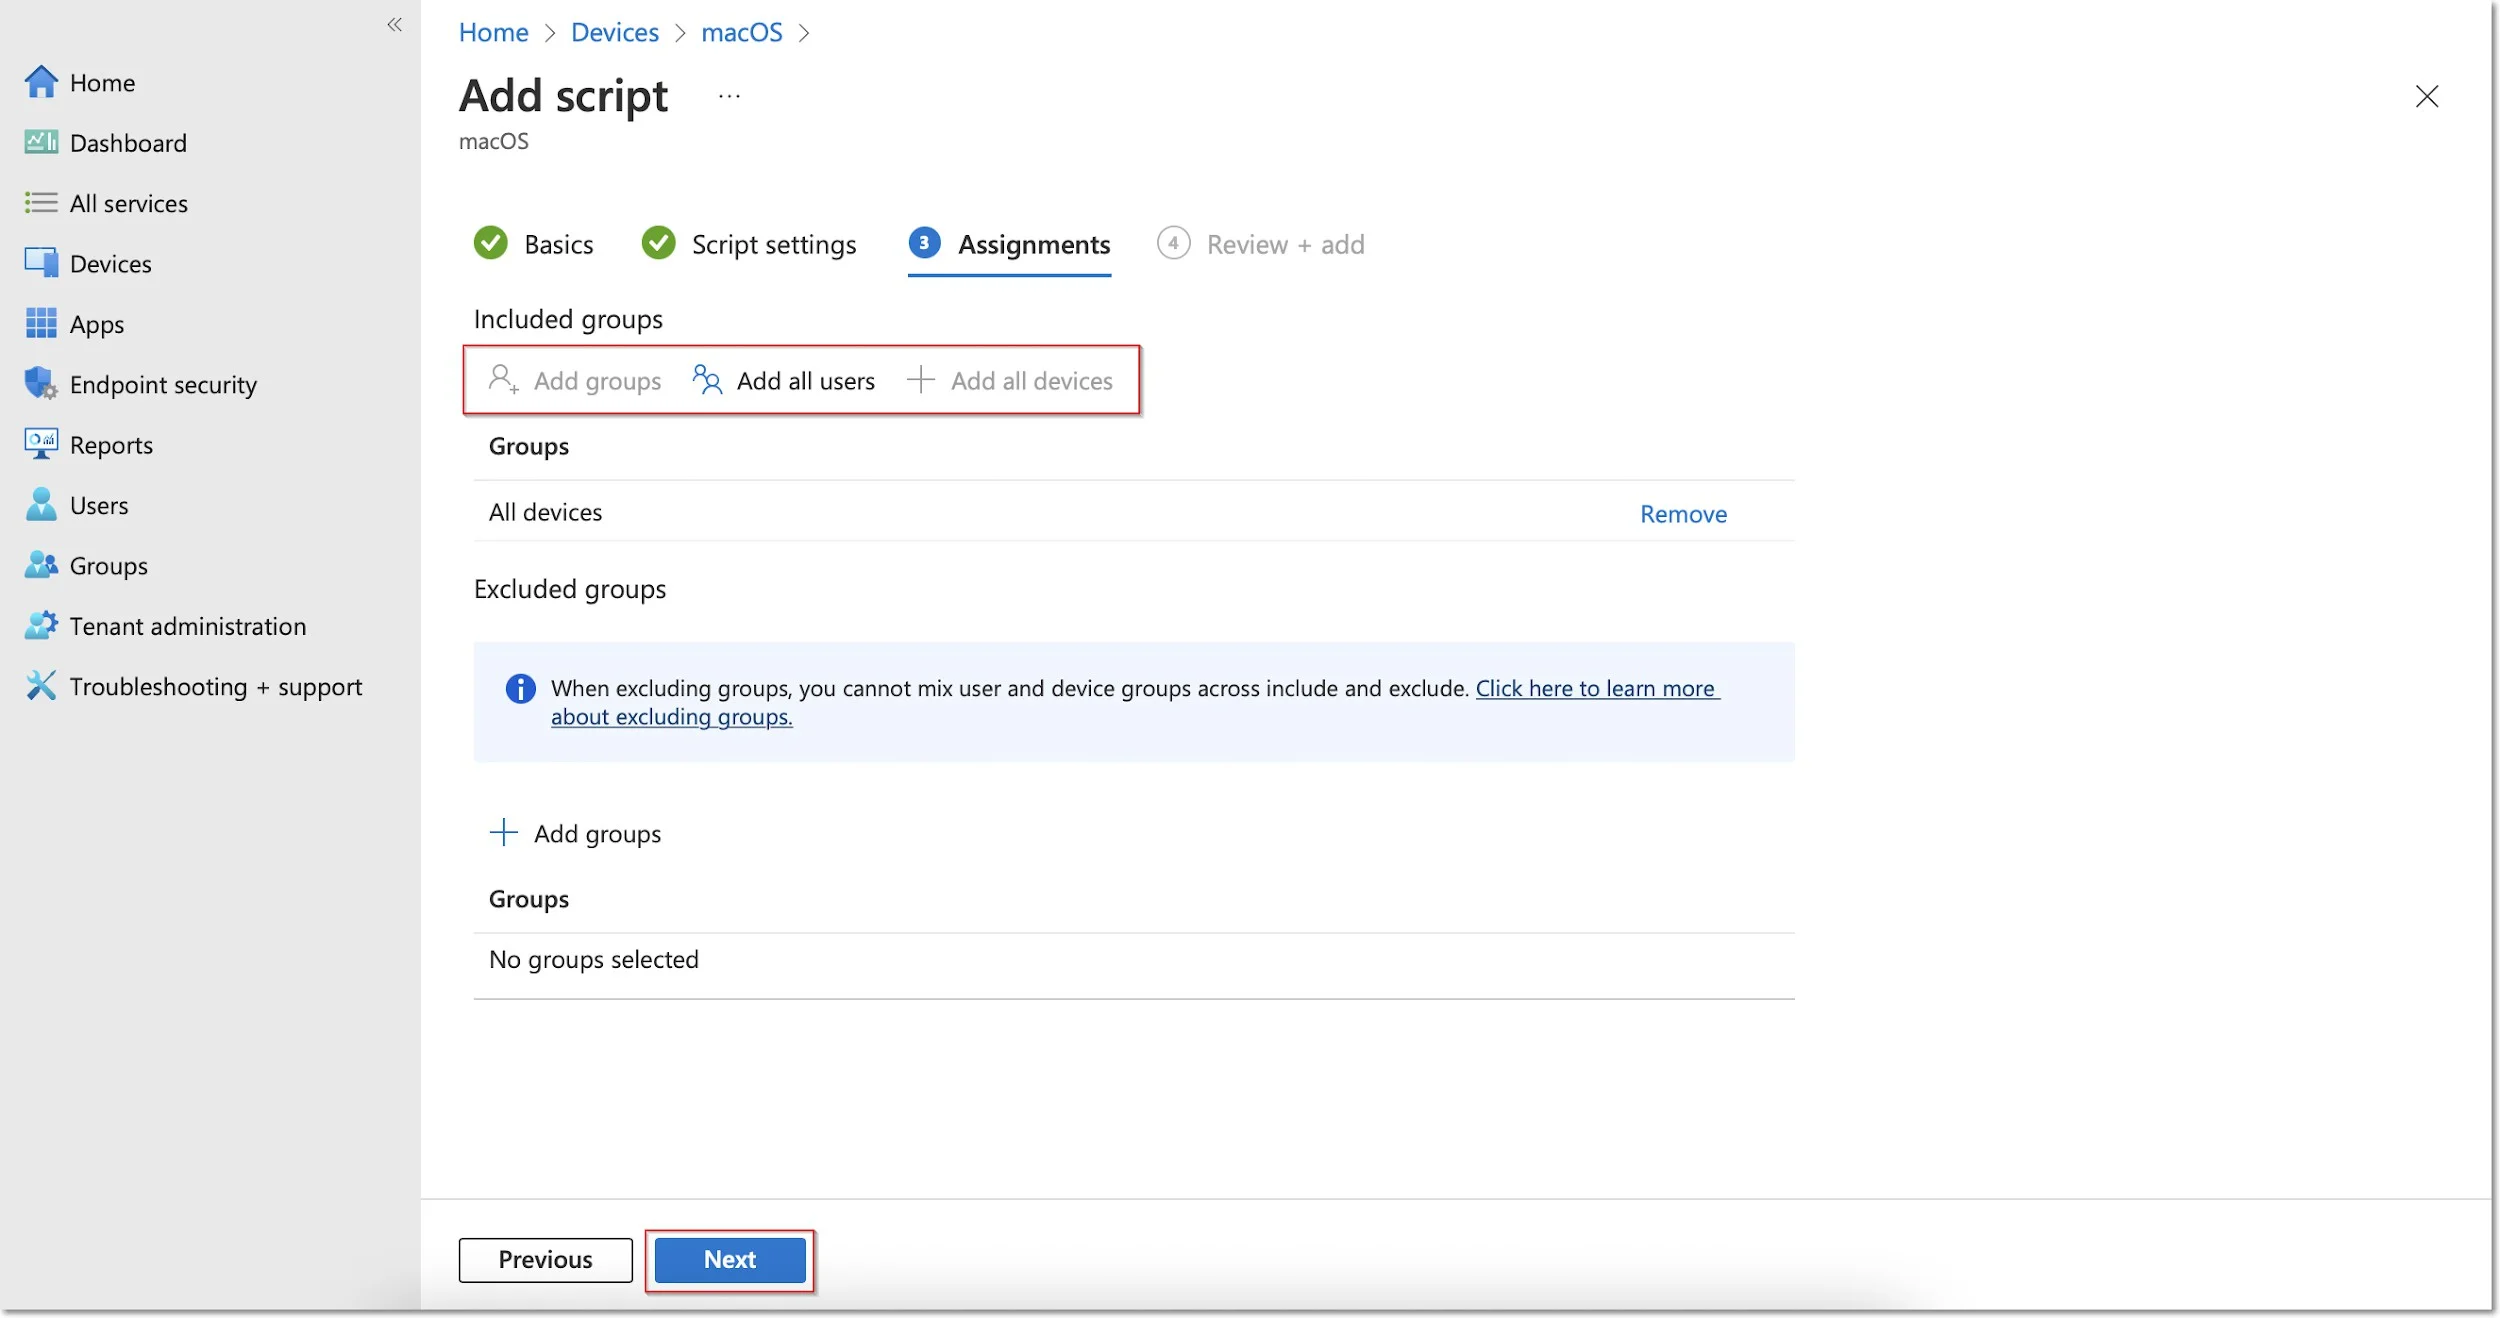
Step 14 – On the Assignments tab, include the groups you prefer (Add groups, all users, or all devices) and then click Next.
Step 15 – On the Review + add tab, you can view the script information and click Add.
