Windows Deployment
To deploy the Endpoint Protector MSI package for Windows using Intune, follow these steps:
Step 1 – Open and log in to Endpoint Protector;
Step 2 – Go to the System Configuration, Client Software and download the Windows Endpoint Protector MSI package;
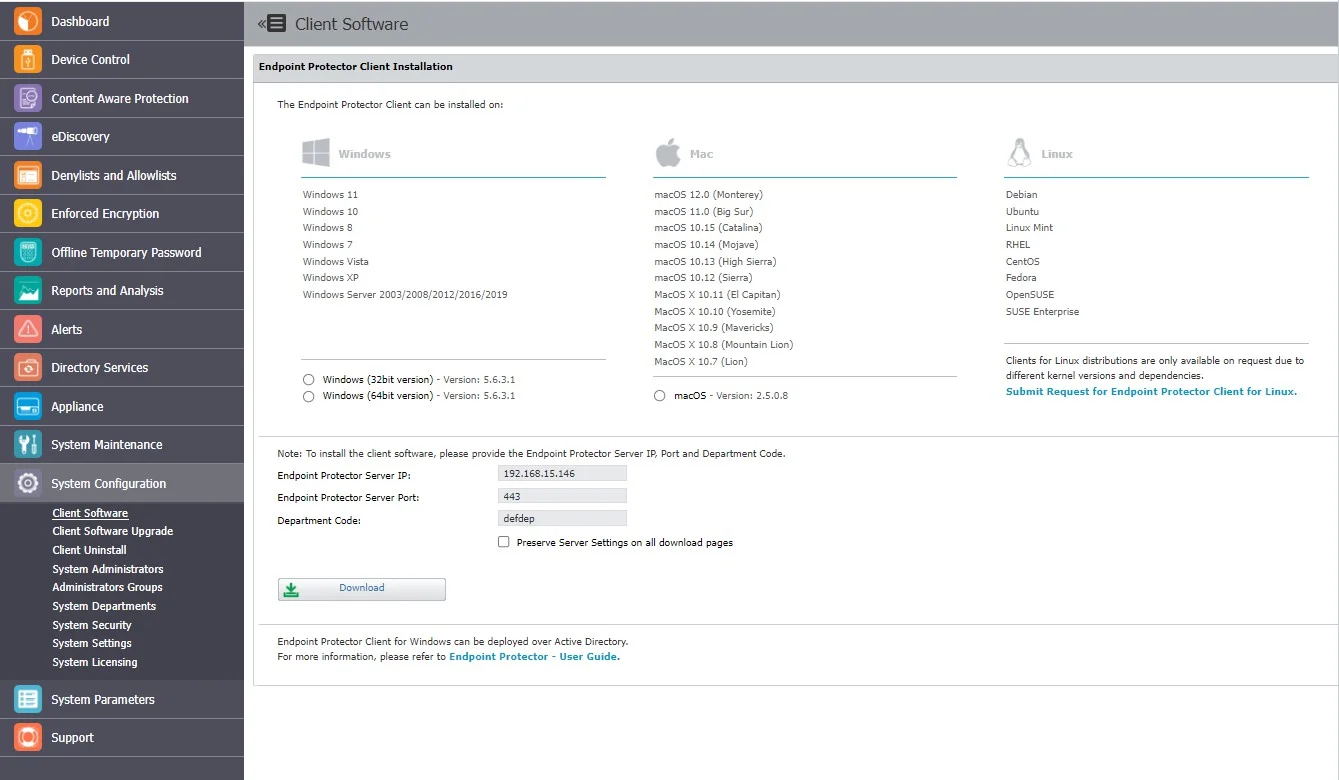
CAUTION: When deploying the .msi package, delete the information contained in the brackets as well as the underscore that precedes it - EPPClientSetup.5.6.3.1_x86_64.msi

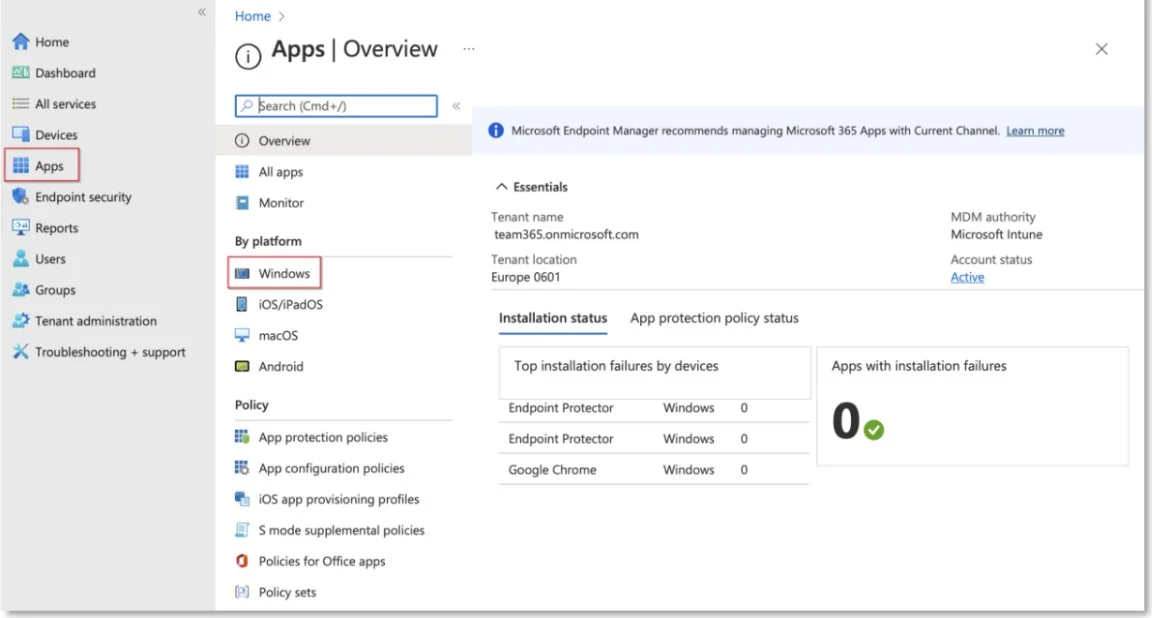
Step 3 – Go to the Microsoft Endpoint Manager admin center and sign in;
Step 4 – Go to Apps from the left-hand side menu, and on the Apps Overview page, select the Windows platform;
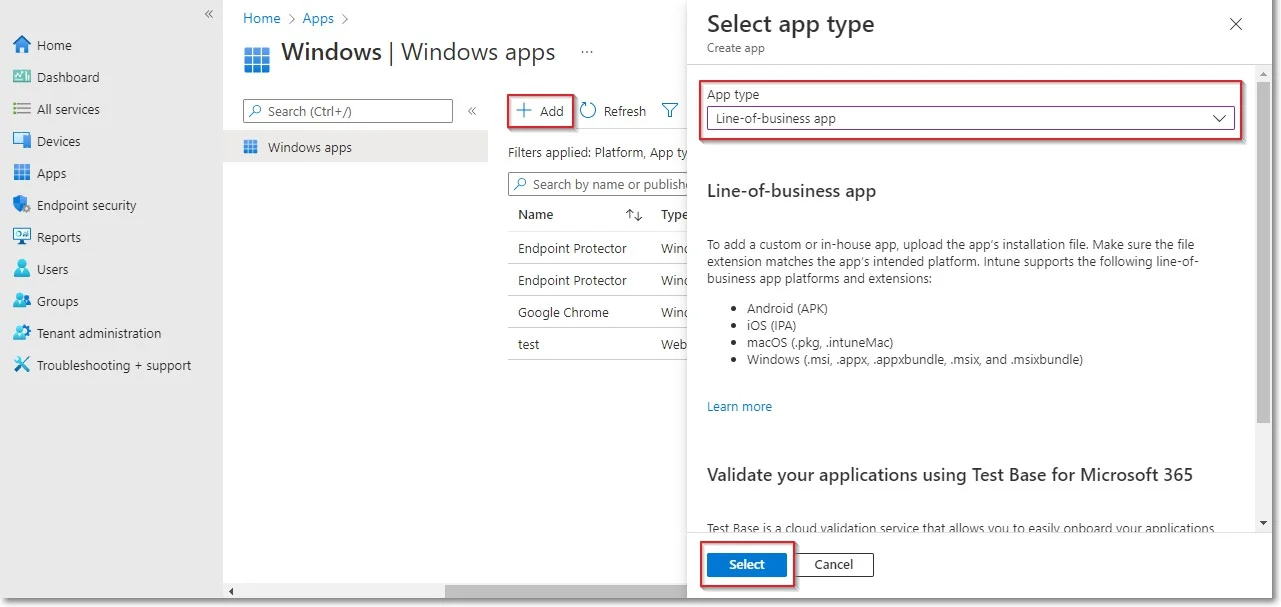
Step 5 – On the Windows App page, click Add, select the Line of business app type, and then click Select;
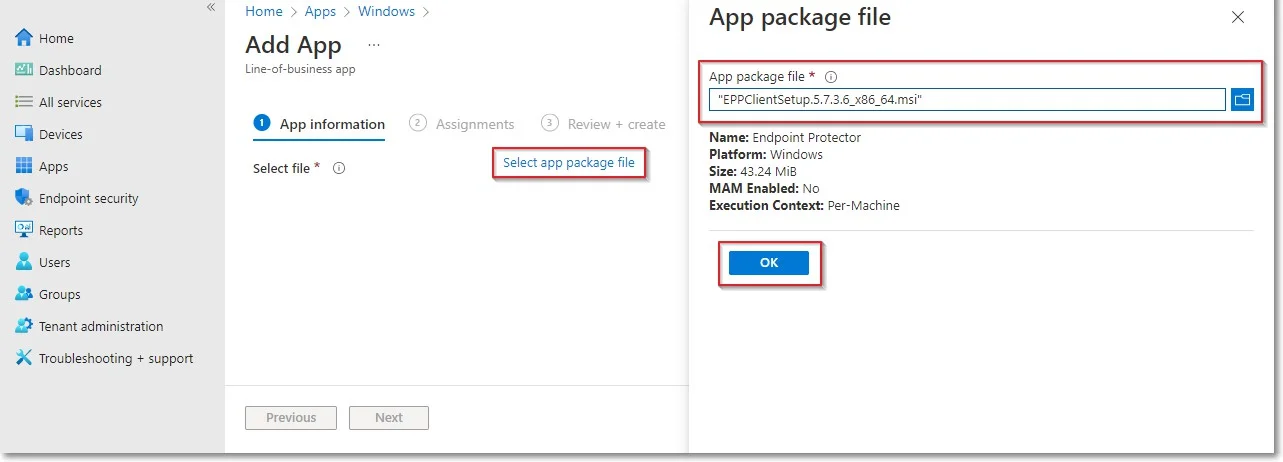
Step 6 – Click Select app package file and from the right-hand side, select the Endpoint Protector MSI file and click OK;
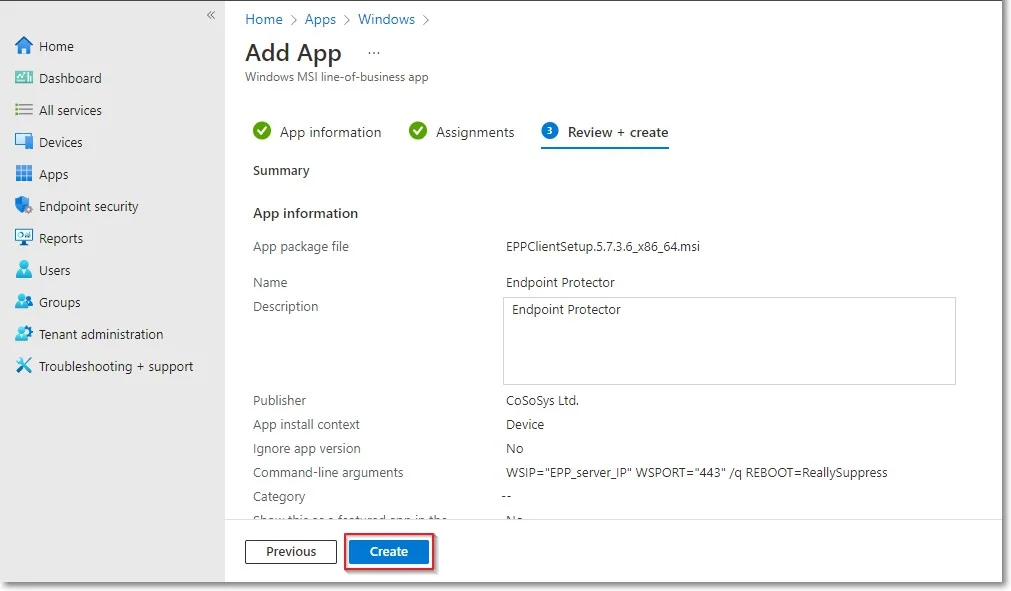
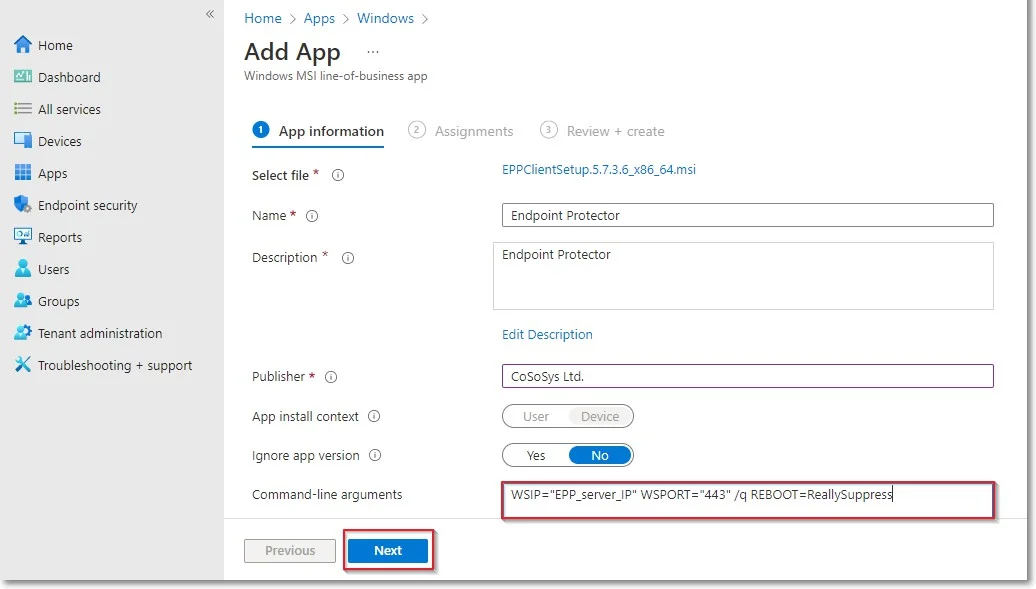
Step 7 – On the App information page, fill in the mandatory fields and then click Next:
-
Name – add Endpoint Protector and optional, the package version (Endpoint Protector 5.7.3.6)
-
Description – click Edit Description and add installation details
-
Publisher – add NetwrixLtd.
-
Command-line argument – add the following command line in the text box
- WSIP="EPP_server_IP" WSPORT="443" /q REBOOT=ReallySuppress
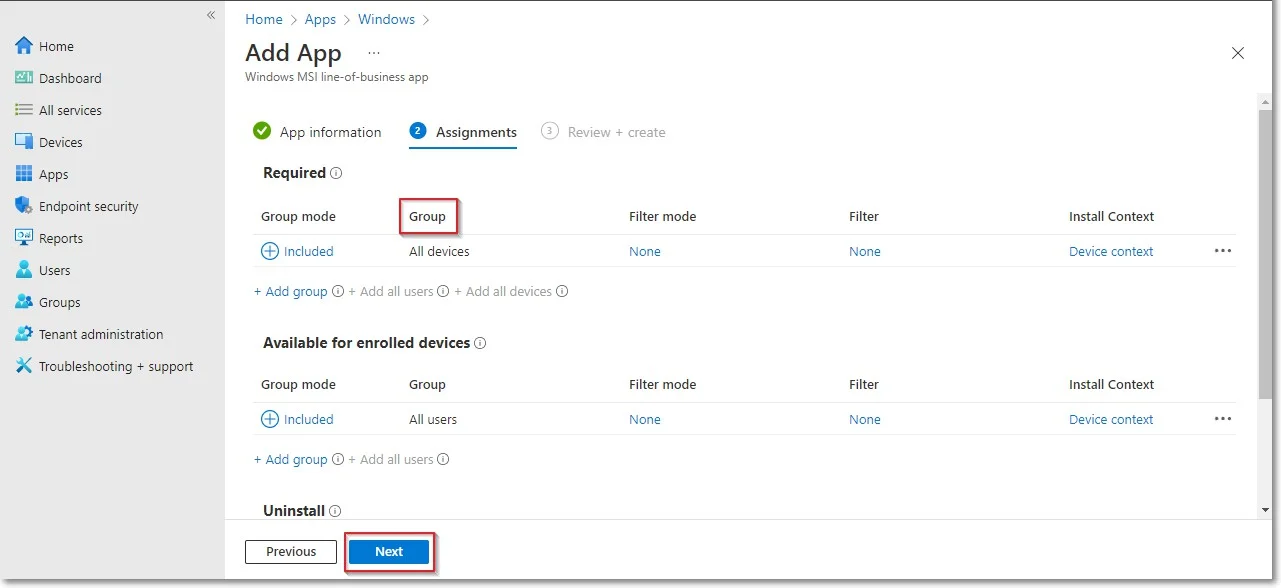
Step 8 – On the Assignments page, in the Requirement section, select the group for which you want to deploy the Endpoint Protector client and then click Next;
Step 9 – On the Review + create page, click Create - this will start the Endpoint Protector MSI package upload.