Creating the Policy
Once the script and package are successfully uploaded, you need to create a new Jamf policy. To create the new policy, follow these steps:
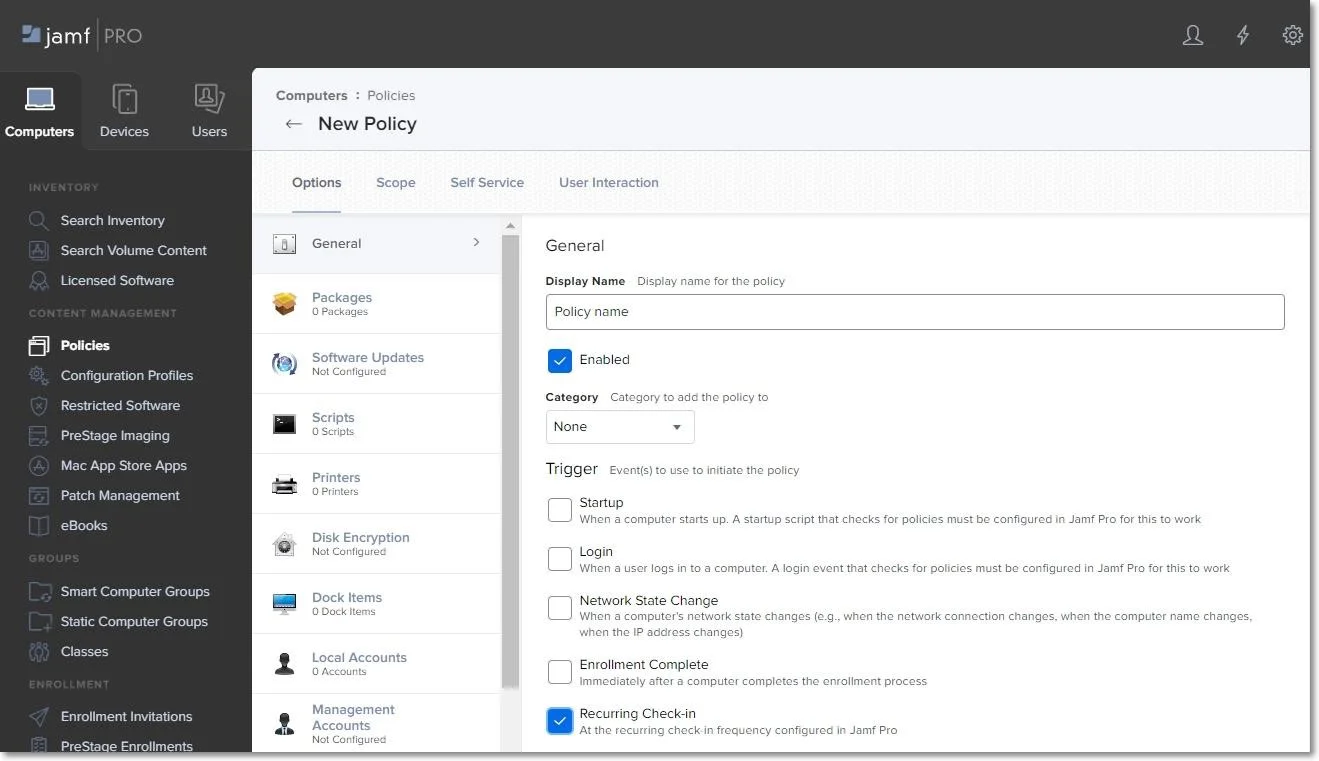
Step 1 – In your Jamf account, from the main navigation bar, click Computer, from the left sidebar menu, select Policies, and then click + New.
Step 2 – On the default General section, enter the following information:
- Display Name – enter the name to use for this policy.
- Select the Recurring Check-in check-box.
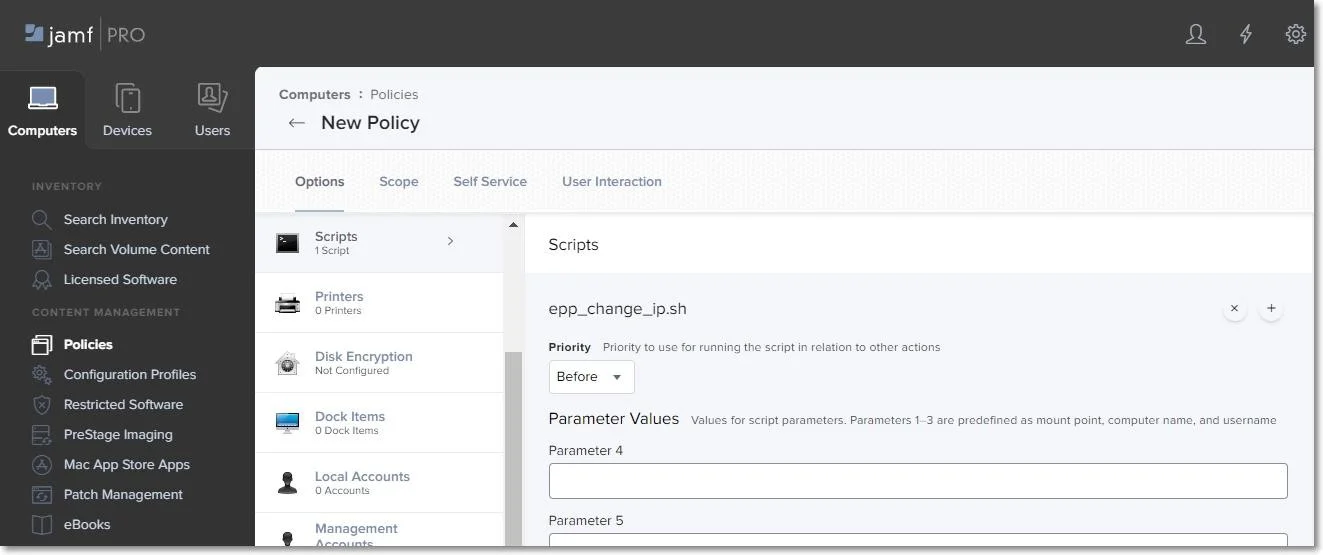
Step 3 – On the Scripts section, click Configure and then enter the following information:
- Add the epp_change_ip.sh script.
- Priority – set priority to Before, as the script needs to be installed before the next step.
Step 4 – On the Packages section, click Configure and then add the package EndpointProtector.pkg.

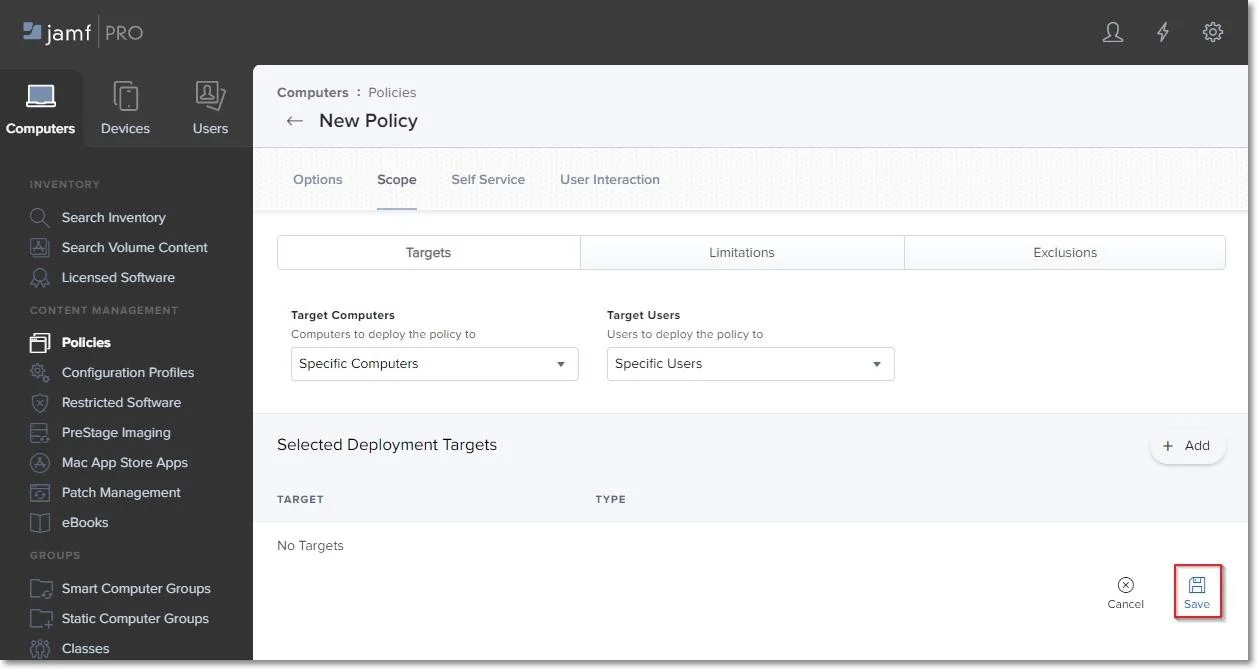
Step 5 – Go to the Scope tab and add the devices and users to apply the new policy.
Step 6 – Click Save to apply all settings to the new policy.
To confirm that the Endpoint Protector Client has been successfully deployed and the Server- Client communication and policies work as expected, you can view the endpoint in the List of Computers from the Endpoint Protector UI, and the Endpoint Protector Client is displayed in the menu bar.