Server Functionality
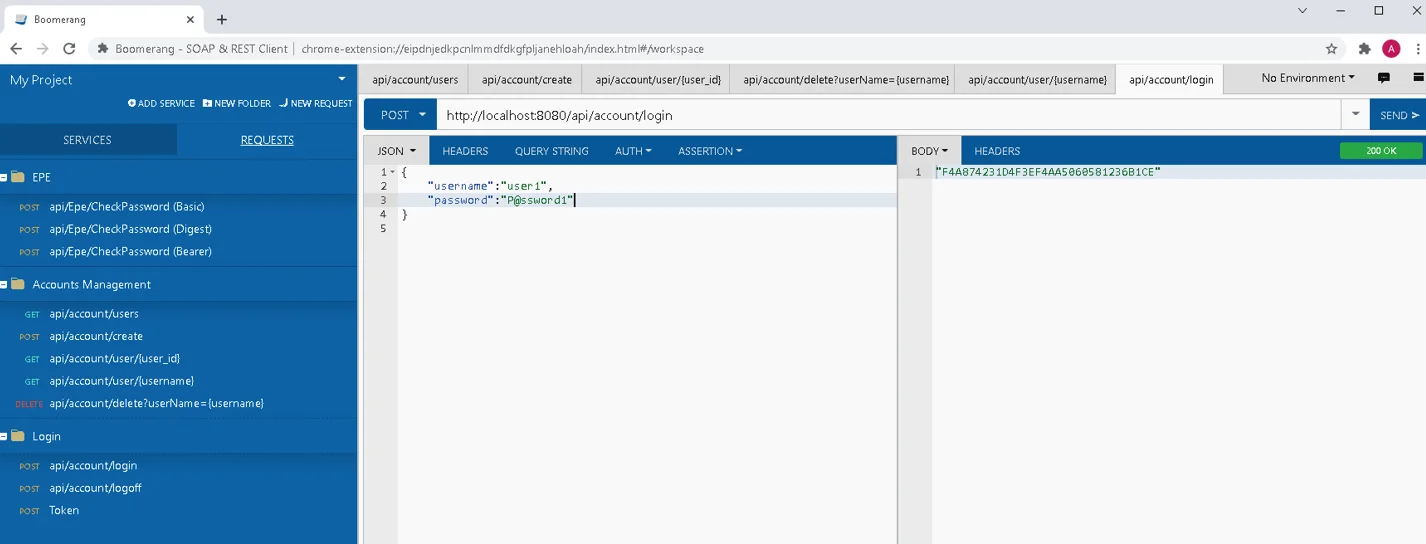
Once the Endpoint Protector Hardware or Virtual Appliance setup is complete, access the User Interface from the assigned IP address.
The default Endpoint Protector Appliance IP address is https://192.168.0.201
NOTE: Always use the IP address with HTTPS (Hypertext Transfer Protocol Secure).
Use the default login credentials for the root account. To obtain the password, submit a support ticket through the Netwrix Customer Portal.
For detailed information on settings change or creating additional administrators, refer to the System Configuration topic.
Configuration Wizard
The Configuration Wizard provides you with several steps to define basic settings. These include setting up the Server Time Zone, importing Licenses, Server Update or uploading Offline Patches, Global device rights, E-mail Server settings, Main Administrator details, etc. You can change these settings at any time.
The Configuration Wizard is available only if the basic settings for the Endpoint Protector have never been configured.
As an additional security measure, a session timeout is implemented for 300 seconds (5 minutes) of inactivity. If you are not active for this amount of time, you are notified the session will expire and logged out unless you select to continue the session.
NOTE: You can customize the session timeout and timeout counter from the System Configuration topic.
General Dashboard
In this section, you can view general information as graphics and charts related to the most important activities logged by Endpoint Protector.
You will view more specific dashboards on the Device Control, Content Aware Protection and eDiscovery sections.

System Status
In this section you can view general information of the system’s functionality, alerts, and backup status.
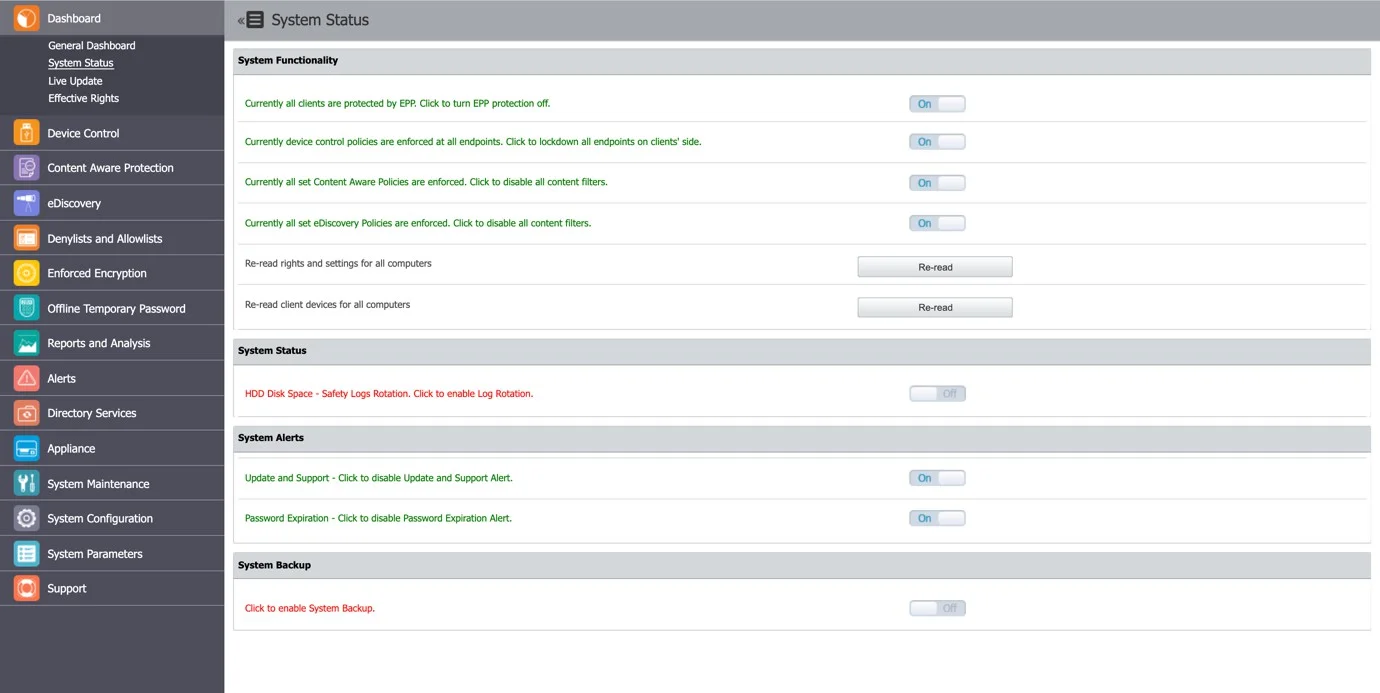
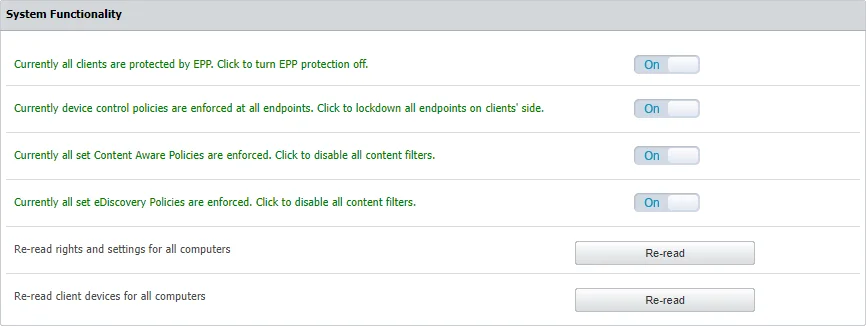
From the System Functionality section, you can enable Endpoint Protector, as well as just specific modules (Device Control, Content Aware Protection, or eDiscovery).
From the System Status subsection, you can enable the HDD Disk Space and Log Rotation.
NOTE: If this setting is enabled, when the Server’s disk space reaches a certain percentage (starting from 50% up to 90%), old logs will be automatically overwritten by the new ones.

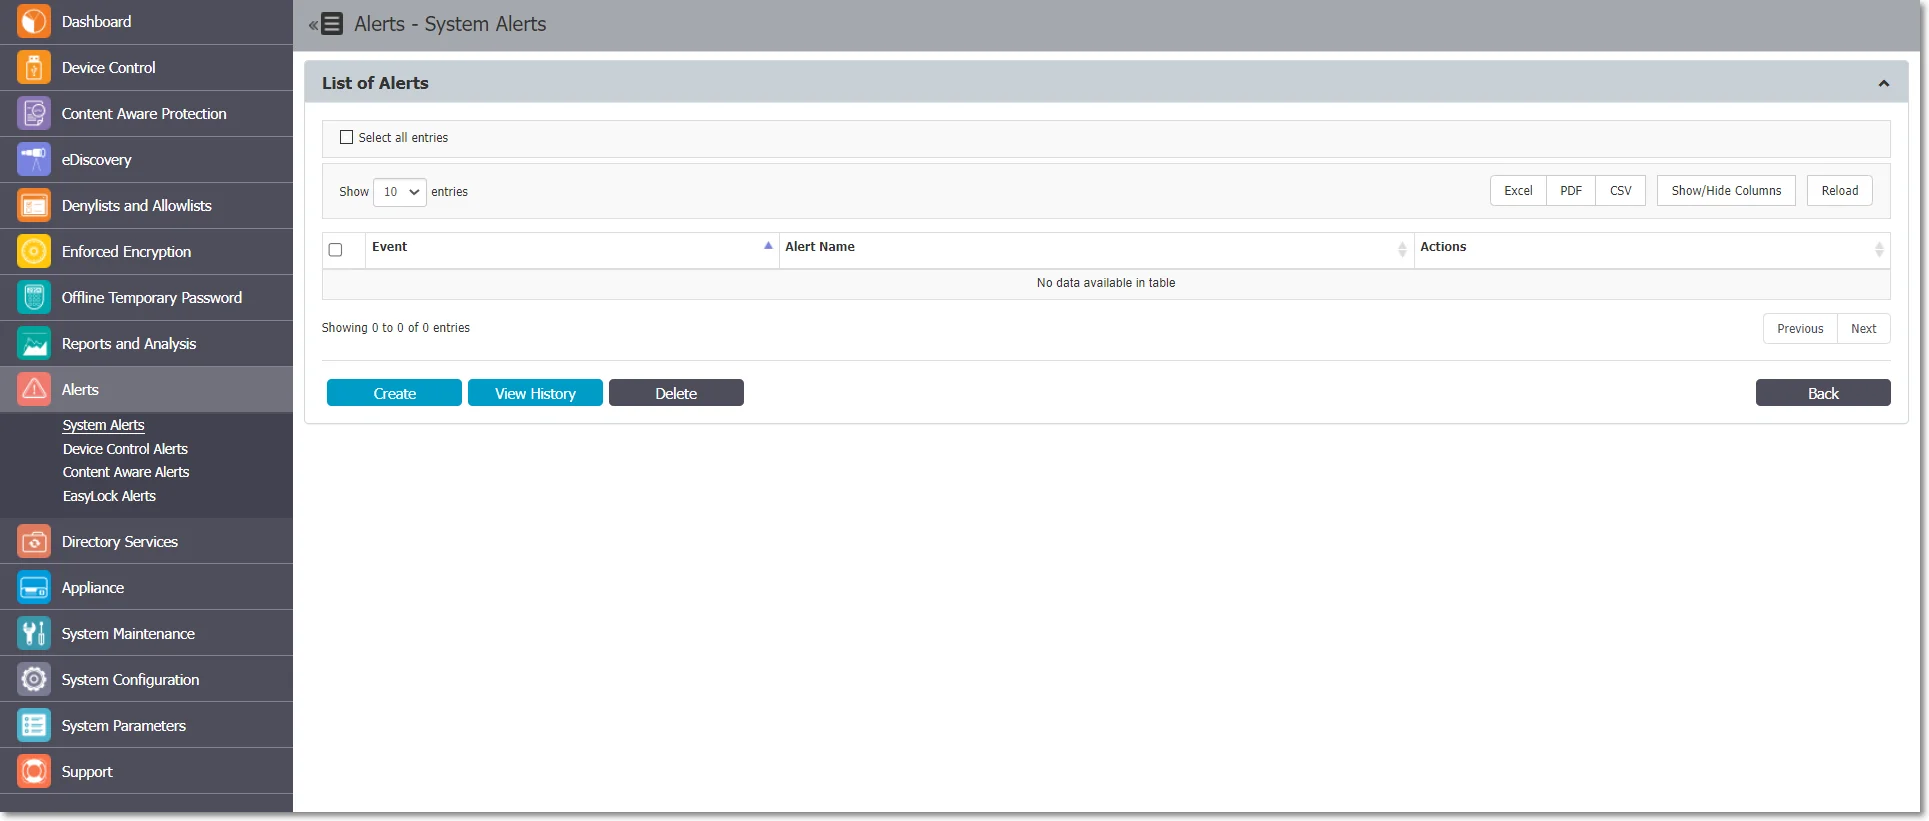
From the System Alerts subsection, you can enable important alerts notifying the expiration of the APNS Certificate, Updates, and Support or Passwords.
From the System Backup subsection, you can enable the System Backup.

Live Update
From this section, you can check and apply the latest security and Endpoint Protector Server updates.
NOTE: This feature communicates through port 80. Whitelist the liveupdate.endpointprotector.com (IP: 178.63.3.86) domain.
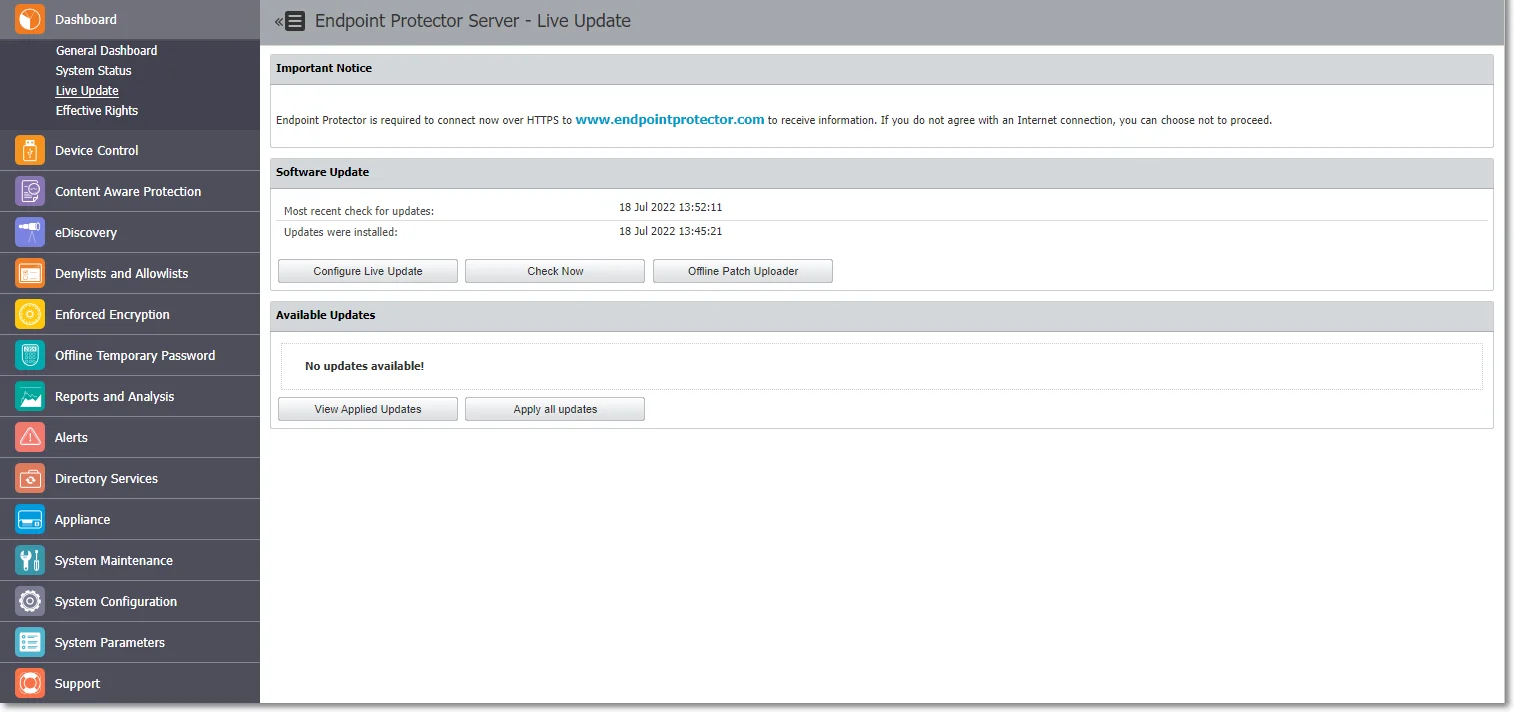
Software Update

Click Configure Live Update to select manual or automatic live updates check, the number of retries, and manage the Automatic Reporting to the LiveUpdate Server.

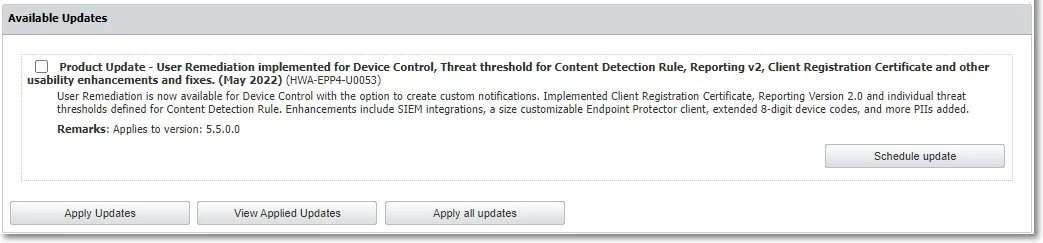
Click Check Now to search for the Endpoint Protector Server updates displayed in the Available Updates section. You can select and install an update with Apply Updates, or all updates with Apply all updates. To view the latest installed updates, click View Applied Updates.
You can also schedule an update. Select an entry from the available updates, click Schedule update and then use the calendar to select the date and confirm your selection.
Use the Offline Patch upload option to select the offline patches from your computer and successively install them to the latest Endpoint Protector version.
NOTE: To request the Offline Patch, submit a support ticket through the Netwrix Customer Portal.

CAUTION: Before upgrading your Endpoint Protector server to the 5.7.0.0 server version from a pre-5206 version and adjacent OS image, you need to enable database partitions. For assistance, submit a support ticket through the Netwrix Customer Portal.
Security Updates
You can use this section to check and apply different types of security updates, view information on recent updates checked or installed, and a list of updates available.
NOTE: The security update options will only be available for customer-hosted instances (e.g. AWS, Goggle, etc.) with the exception for Operating System and Kernel upgrades.
NOTE: Updates are not tested beforehand but are pulled from the official Linux repository.
To ensure the updates will not harm the system, follow these actions:
- test the updates in a test environment first
- make a VM snapshot
- make a system backup from the System Maintenance, the System Backup v2 section
Select one of the security updates type available and then click Check Updates:
- Security – this will update all security-related updates of installed packages (Critical and High)
- Other – this will download and apply any update available to 3rd party libraries, kernel, OS packages and MySQL database
- All Updates – this will download and apply Informational and Optional/Unclassified updates
If there are updates available, click Apply Updates.
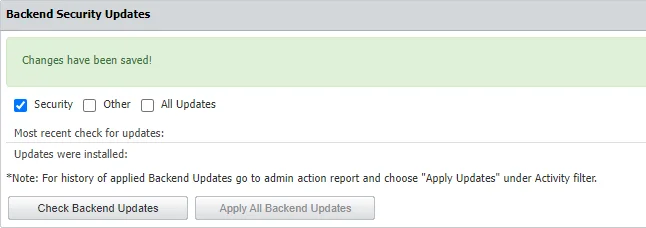
NOTE: For history of applied Backend Updates go to admin action report and choose Apply Updates under Activity filter.
NOTE: Due to patching nature, some updates may automatically restart the Endpoint Protector server or other sub-services in the background
Effective Rights
In this section you can view currently applied Device Control or Content Aware Protection policies. Based on the options you select from the Effective Rights Criteria form, you can view information based on rights, users, computers, device types, specific devices, report type (PDF or XLS), including Outside Hours and Outside Network Policies, and more.
Once the report is generated, from the Actions column, you can download or delete it.