Citrix XenServer
Citrix XenServer facilitates the import of virtual appliances using the OVF format, catering to enterprise-grade virtualization needs.
Citrix XenServer
Citrix XenServer offers straightforward OVF imports for virtual appliances.
Follow the steps to get started with your deployment process.
Step 1 – Unzip the downloaded package.
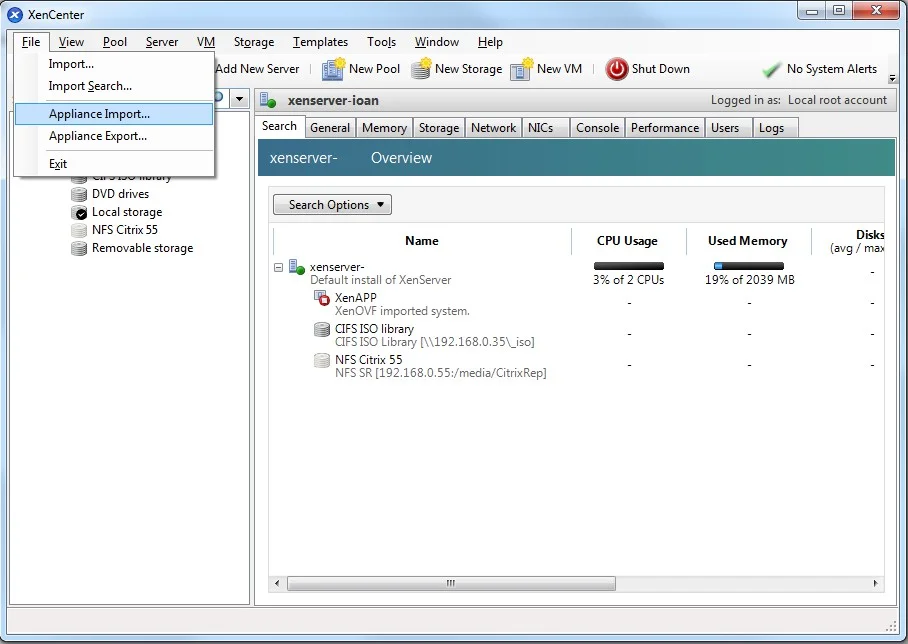
Step 2 – Start XenCenter.

Step 3 – Go to File and select Appliance Import.
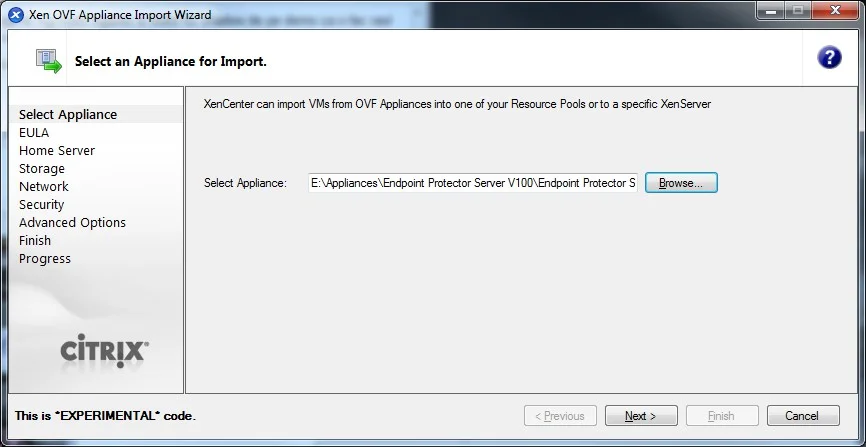
Step 4 – Select the OVF file and then click Next.
Step 5 – Read and accept the EULA, then click Next.
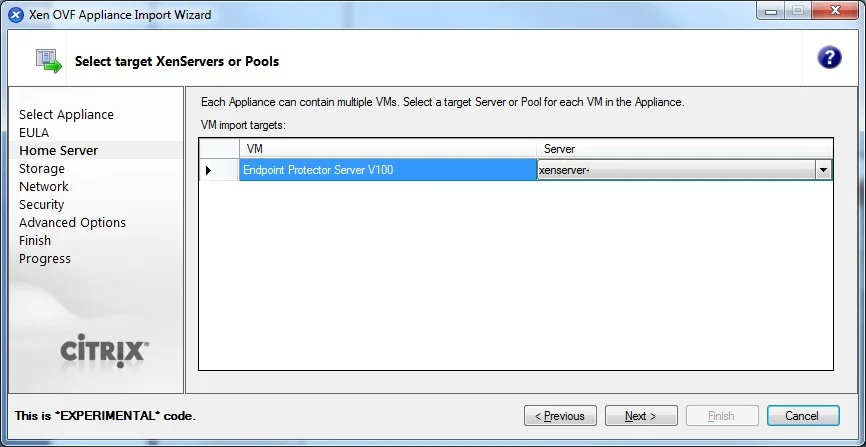
Step 6 – Select the target for the Virtual Appliance.
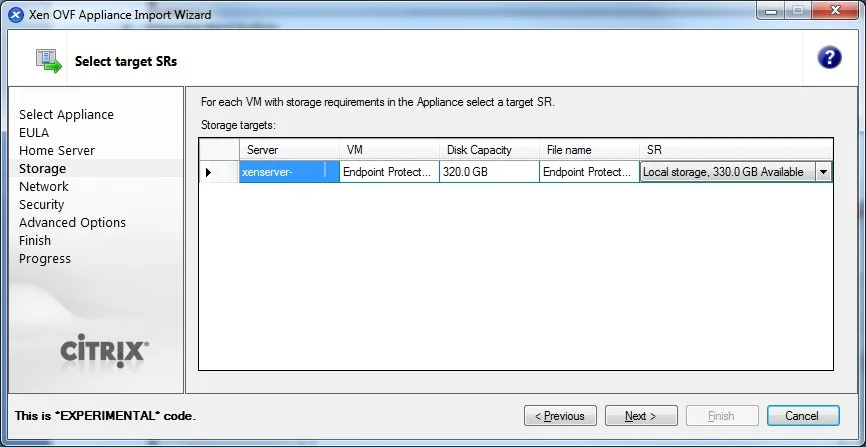
Step 7 – Select the storage location.
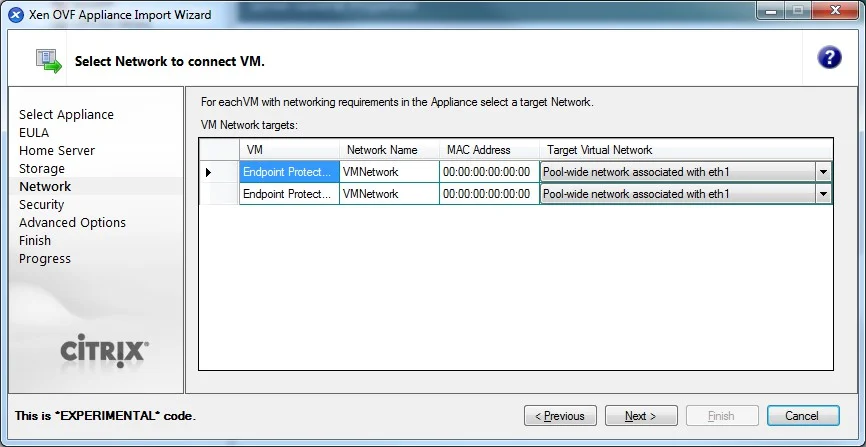
Step 8 – Select the network (keep default values).
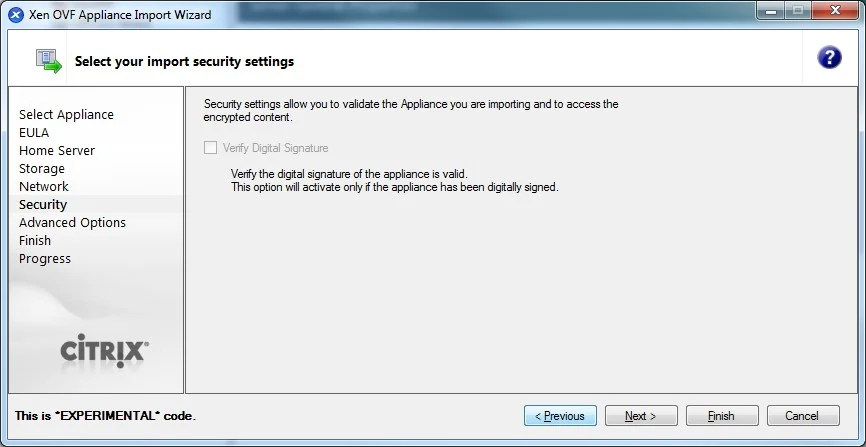
Step 9 – On the Security screen, click Next.
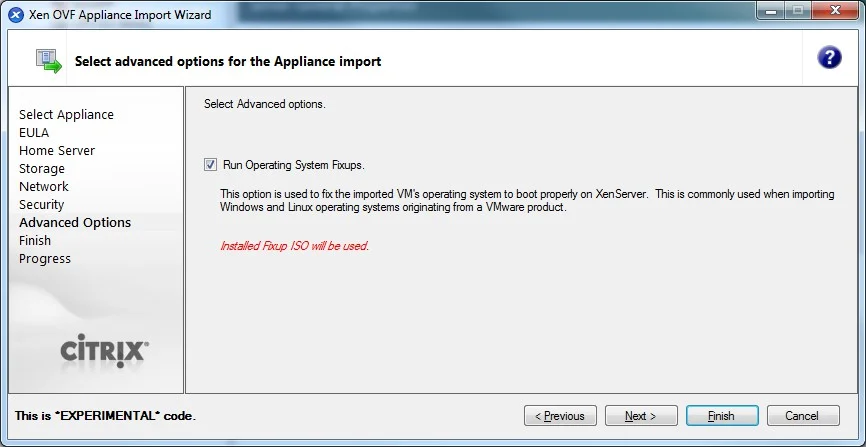
Step 10 – On the Advanced Options screen, click Next.
Step 11 – On the Finish screen, review the configuration, click Finish and wait for the import to be completed.
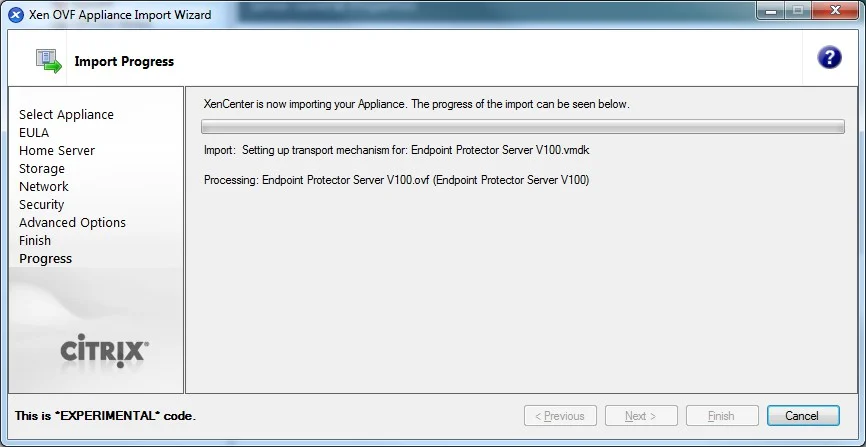
The virtual machine is ready to be started.