Backing Up, Restoring, or Moving Your MongoDB Database
Overview
This article describes how to back up MongoDB, restore MongoDB, or set up a new server to host your Netwrix Change Tracker software while retaining all previous data, such as events, agents, configuration, etc.
IMPORTANT: Verify that the MongoDB versions match on your current and target servers. For additional Netwrix Change Tracker installation prerequisites, refer to the Requirements article.
Instructions
Prerequisites
- Download the MongoDB Shell Tool.
- Download the MongoDB Command Line Tools.
- Extract each of these into the MongoDB Bin folder
C:\Program Files\NNT Change Tracker Suite\Gen7\MongoDB\bin.
Step 1 — Back Up the MongoDB Database
- Connect to the server that hosts your Netwrix Change Tracker software via RDP.
- Open a Command Prompt and run it as an Administrator.
- Enter the following commands in order:
iisreset /stopcd C:\Program Files\NNT Change Tracker Suite\Gen7\MongoDB\binmongodump.exe -d NNTHubService -o C:\MongoDump --gzip

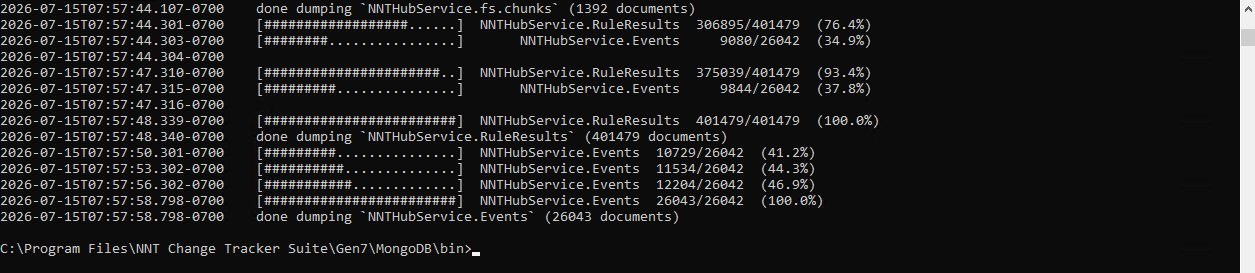
Copy the following folders and transfer them to the new server:
C:\MongoDumpC:\inetpub\wwwroot\Change Tracker Generation 7 (NetCore) Hub\Configs\DPKeysC:\ProgramData\Change Tracker Generation 7 (NetCore)\MongoDB\db
Step 2 — Prepare the New Server
- Connect to the server where Netwrix Change Tracker will be installed via RDP.
- Run the Change Tracker installer and install the same version that you used on the old server.
Step 3 — Restore the MongoDB Database
These steps apply whether you are restoring to an existing server or moving to a new server:
- Open a Command Prompt and run it as an Administrator.
- Enter the following commands in order:
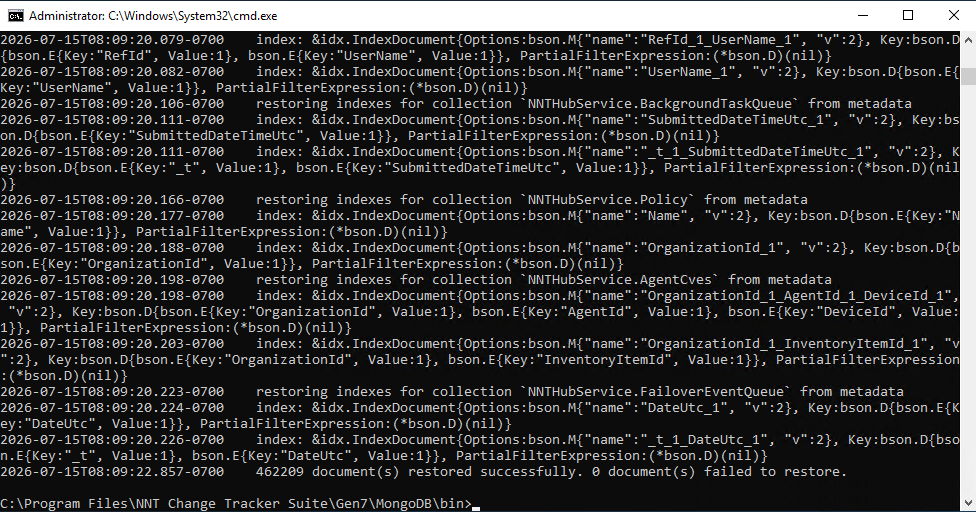
iisreset /stopsc stop MongoDBcd C:\ProgramData\Change Tracker Generation 7 (NetCore)\MongoDBrmdir db /s(enterYand Enter when prompted)mkdir dbcd C:\Program Files\NNT Change Tracker Suite\Gen7\MongoDB\binsc start MongoDBmongorestore.exe C:\MongoDump\NNTHubService -d NNTHubService --gzip
Step 4 — Finish the Restore
Allow time for the database to re-index. Once the re-index completes, the word done appears in the Command Prompt window.
- Enter the following command:
iisreset /start. - Close the Command Prompt window.
- Confirm that you can log in to Netwrix Change Tracker and open the Settings page.
Troubleshooting
If you see the following error on the Settings screen, follow the troubleshooting steps.
Error: Key not valid in specified state
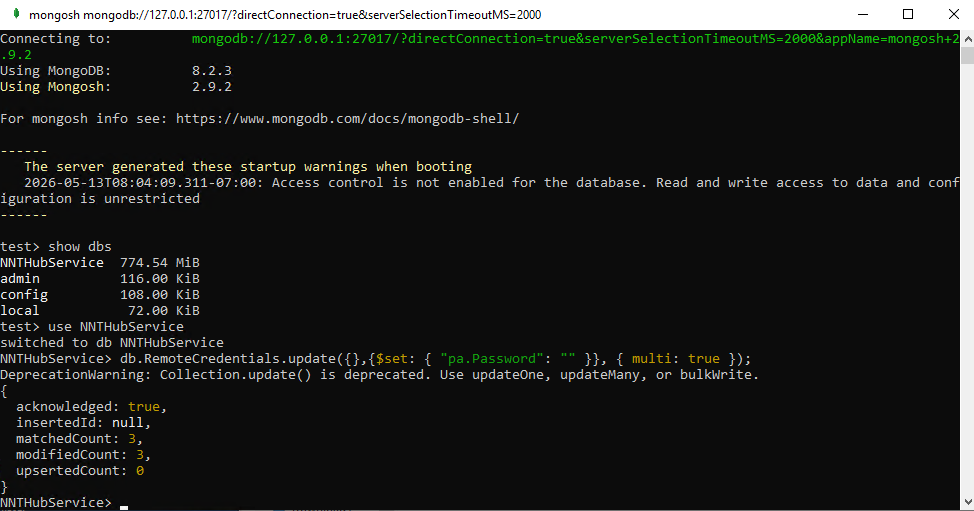
Reset the Remote Credentials Password
- Open a Command Prompt and run it as an Administrator.
- Enter the following commands in order:
iisreset /stopcd C:\Program Files\NNT Change Tracker Suite\Gen7\MongoDB\binmongo.exeshow dbsuse NNTHubServicedb.RemoteCredentials.update({},{$set: { "pa.Password": "" }}, { multi: true });exitiisreset /start
- Close the Command Prompt window.
- Confirm that you can log in to Netwrix Change Tracker.
NOTE: If you changed the admin user's password on the old server, that password still works.
Clear the SMTP Password Entries
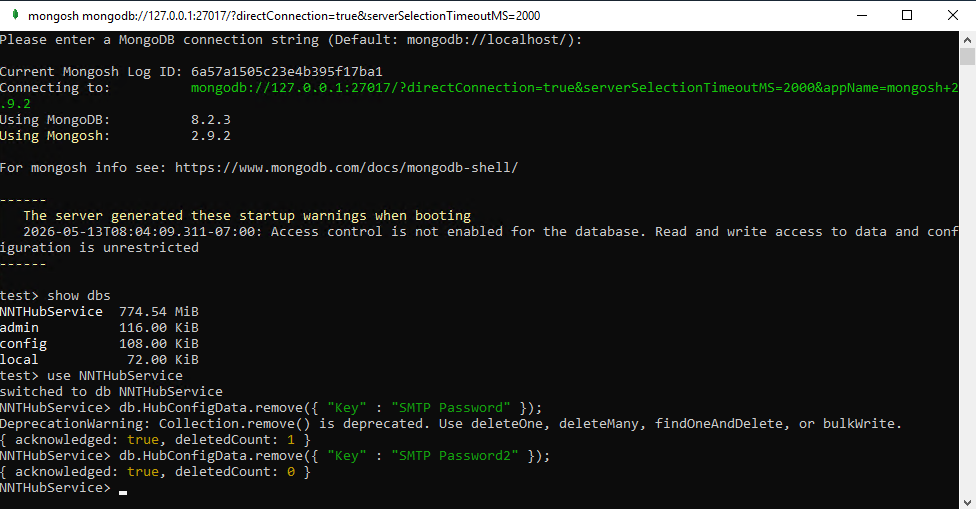
If this does not resolve the issue and you still see the Key not valid in specified state error, try the following steps:
- Open a Command Prompt and run it as an Administrator.
- Enter the following commands in order:
iisreset /stopcd C:\Program Files\NNT Change Tracker Suite\Gen7\MongoDB\binmongo.exeshow dbsuse NNTHubServicedb.HubConfigData.remove({ "Key" : "SMTP Password" });db.HubConfigData.remove({ "Key" : "SMTP Password2" });exitiisreset /start
- Close the Command Prompt window.