Uninstall or Fully Remove Directory Manager
Applies To
Netwrix Directory Manager 9 or above
Overview
This article explains how to uninstall Netwrix Directory Manager (formerly GroupID) either to upgrade to a newer version or to completely remove all components from a machine.
Instructions
NOTE: Before you uninstall Netwrix Directory Manager, ensure the logged-in user is a member of the local Administrators group on the machine. Make sure Netwrix Directory Manager is fully closed before you begin the uninstall process.
Uninstall Directory Manager to Upgrade to a Newer Version
- Double-click the
setup.exefile in the Directory Manager installation package to launch the installer.
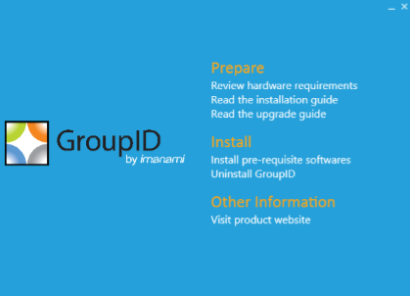
- Click Uninstall Directory Manager. This removes the application files from Programs & Features in the Control Panel.
Upgrade to a newer version
- Click the Install Directory Manager link on the installer to install the latest version.
- After installation, run the Upgrade wizard to make data from the earlier version compatible with the new version.
Completely Uninstall Directory Manager from the Machine
- Click Uninstall Directory Manager on the installer to remove the application files from your computer.
- Remove the following components to completely uninstall Directory Manager:
- Directory Manager installation directory
- Other relevant directories
- Directory Manager DLLs
- Registry keys
- Services files
- Self-Service and Password Center portal files
- Directory Manager application pool
- Directory Manager certificates
Remove the Directory Manager Installation Directory
- Go to
X:\Program Files\Imanami(where X is the installation drive). - Delete the directory named GroupID [version] (for example, GroupID 9.0).
Remove Other Relevant Directories
- On the Windows Run dialog box, type
%ALLUSERSPROFILE%\Imanami. - From the referenced location, delete the GroupID folder.
Remove Directory Manager DLLs
- Go to
C:\Windows. - Search for all DLL files starting with Imanami (use
Imanami*.dllin Windows Explorer). - Delete these files.
Remove Registry Keys
- Open the Registry Editor by typing
regeditin the Windows Run dialog box. - Delete the following registry keys (for GroupID 9):
HKEY_CURRENT_USER\Software\Imanami\GroupID\Version 9.0HKEY_LOCAL_MACHINE\Software\Imanami\GroupID\Version 9.0
Remove Directory Manager Services Files
To remove Directory Manager Data Service and Security Service files:
- Go to
C:\Windows\Microsoft.NET\Framework64\v4.0.30319\Temporary ASP.NET Files. - Delete the groupiddataservice and groupidsecurityservice folders.
Remove Portal Files
To remove Directory Manager Self-Service and Password Center portal files:
- Open the Internet Information Services (IIS) console by typing
inetmgrin the Windows Run dialog box. - Under the GroupIDSite node, locate the portals created using the Self-Service or Password Center module.
- Delete each portal by right-clicking and selecting Remove.
- After removing the portals, go to
C:\Windows\Microsoft.NET\Framework64\v4.0.30319\Temporary ASP.NET Files. - Delete each portal folder.
NOTE: If you have installed Password Center Client and want to uninstall it, refer to the Directory Manager Password Center Client Configuration Guide.
Remove the Directory Manager Application Pool
- Open the IIS console by typing
inetmgrin the Windows Run dialog box. - Expand the
\<machine name\>node and click Application Pools. - On the Application Pools page, delete GroupID App Pool.
Remove Directory Manager Certificates
- Open the IIS console by typing
inetmgrin the Windows Run dialog box. - Click the
\<machine name\>node. On the Features View tab, select Server Certificates in the IIS section. - Delete these certificates bound to GroupIDSite (the site deploying Directory Manager Data Service):
- GroupIDSecurityService
- Imanami GroupID Certificate
NOTE: Do not remove these certificates if another Directory Manager version is installed on the machine.