Installing the Agent with Proxy Settings on MacOS
Overview
This article explains how to install the Netwrix Endpoint Protector (EPP) agent on macOS when you use a proxy server. Proper configuration ensures the agent can communicate through your proxy environment.
Instructions
Follow the steps below to install the EPP agent with proxy settings on macOS:
- Download the installer from the Netwrix Endpoint Protector Web Console.
- Run the package using an administrator account. Alternatively, you can start the installation from the Terminal using
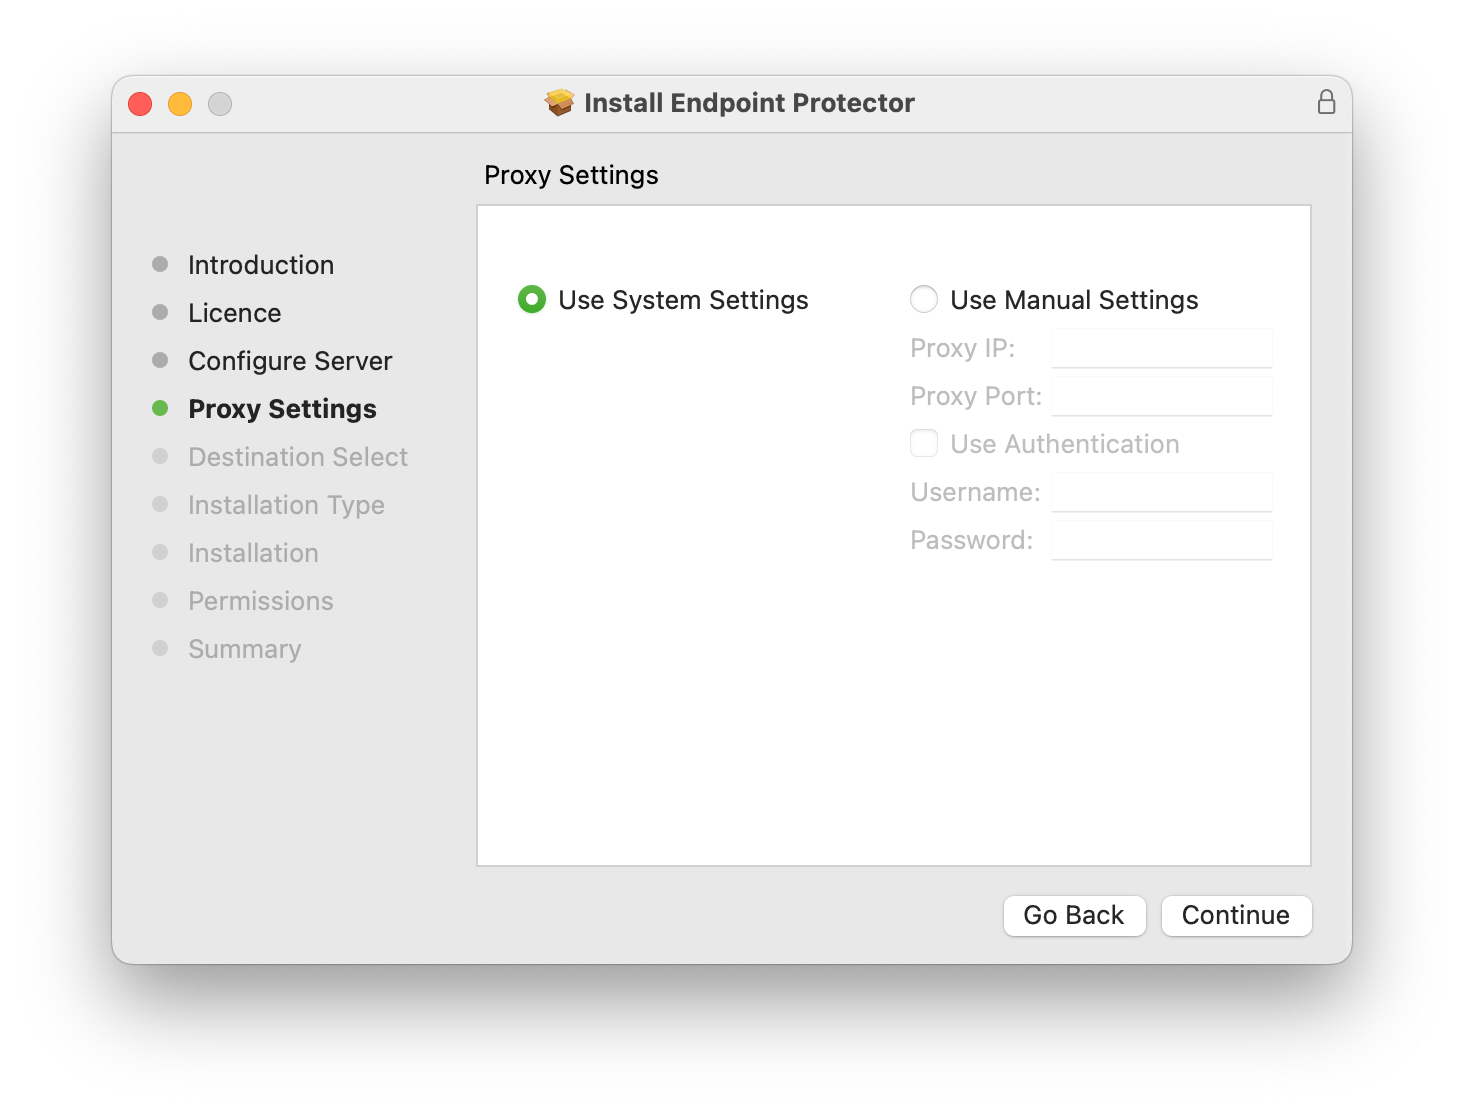
sudorights. - During the installation process, when you reach the Proxy Settings section, select Use Manual Settings and fill in the required fields.
- If your proxy requires authentication, enter valid credentials in the appropriate fields.
- You can enter a proxy IP address, DNS name, or fully qualified domain name (FQDN) in the proxy IP field.
- After installation is complete, wait a few minutes for processing. Then, verify that the computer appears in the Device Control > Computers section of the Netwrix Endpoint Protector Web Console.