Customizing Rule Inserts
Rule inserts allow the Password Policy and Rejection Reason messages to display the most appropriate information for each user. Most Password Policy Enforcer rules have a Policy and Reason insert. The The [POLICY] macro uses the Policy insert, and the [REASON] macro uses the Reason insert.
Complete the following steps to edit a rule's inserts.
Step 1 – Click the Policies item to display the Policies view.
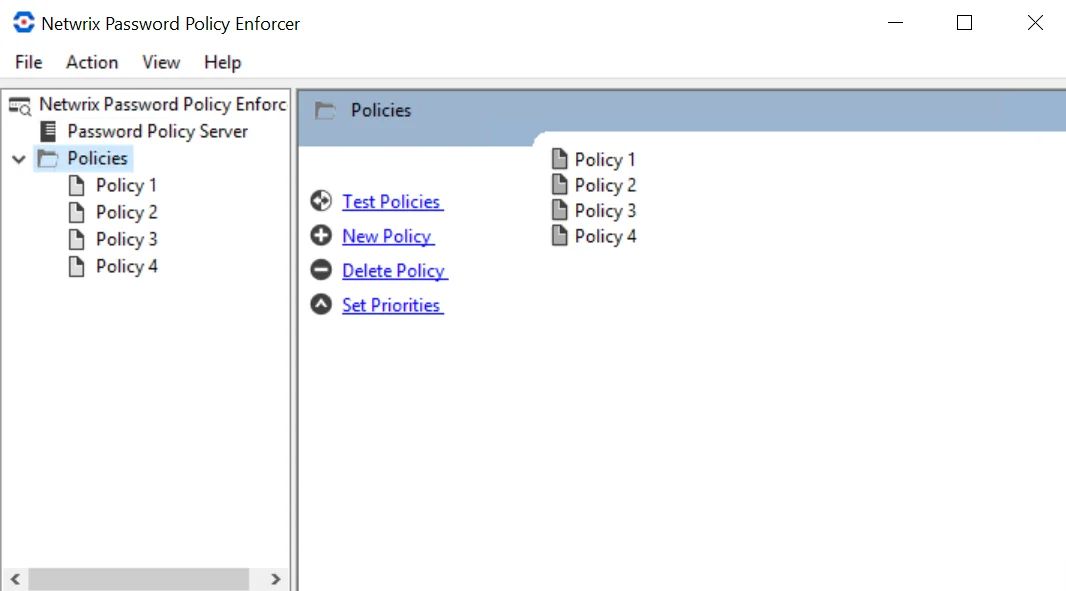
Step 2 – Click the policy you want in the right pane of the management console. In this example it is Policy 1.
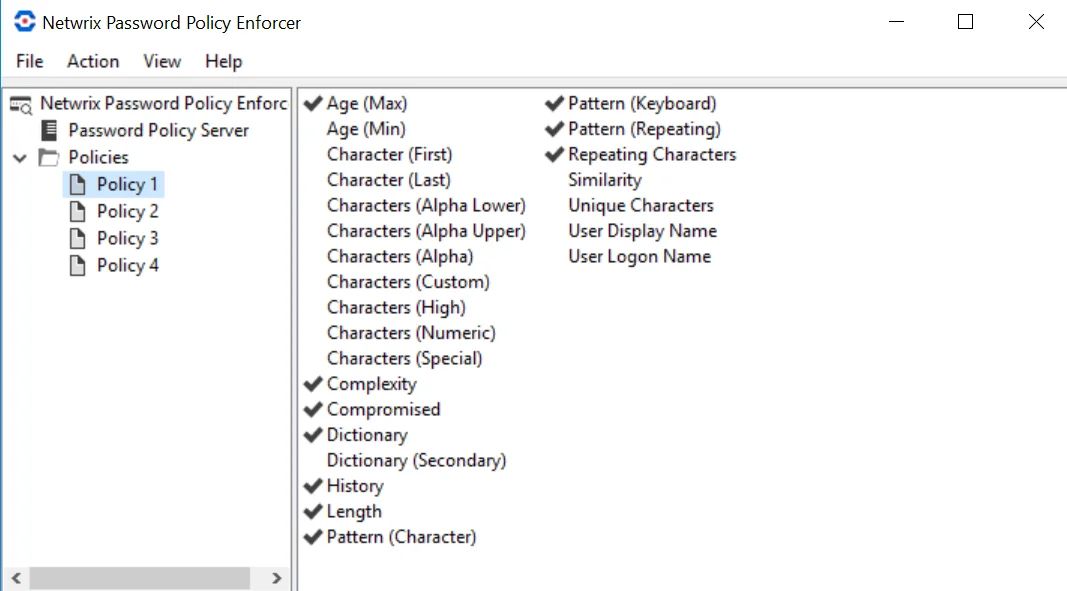
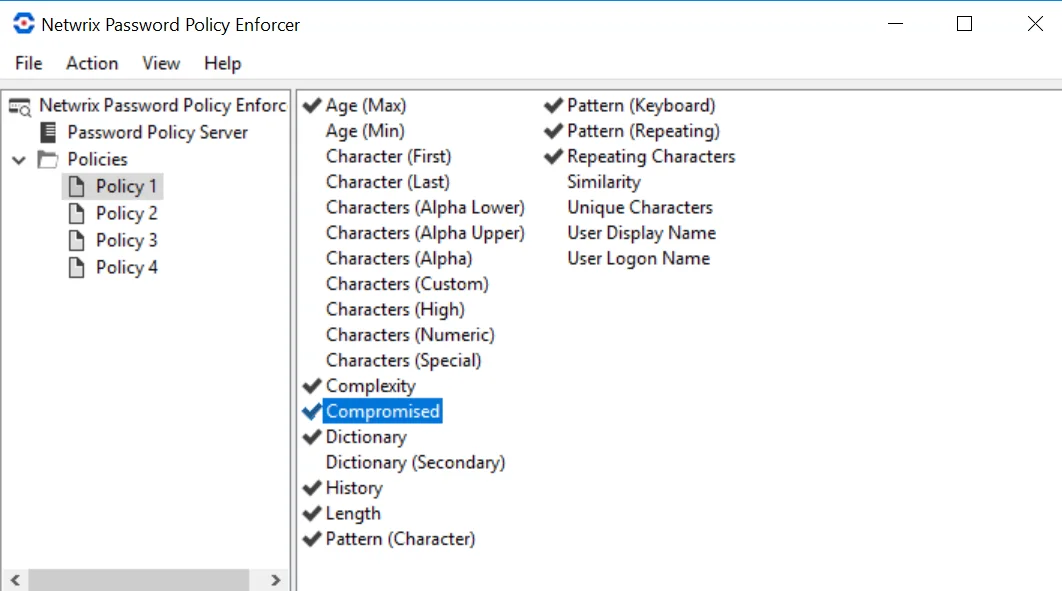
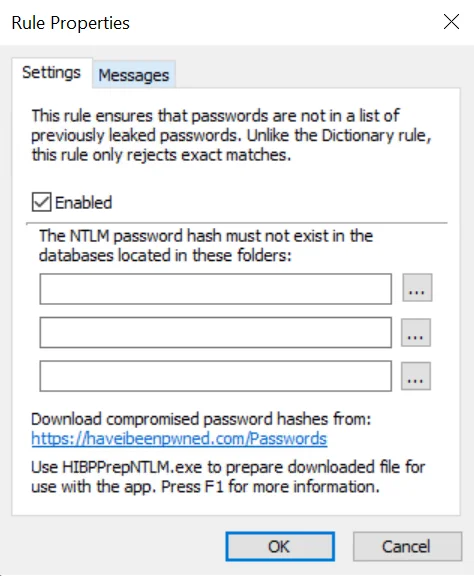
Step 3 – Double-click the rule you want to display the Rule Properties page. In this example it is a Compromised Rule.
Step 4 – Click the Messages tab.
Step 5 – Choose a language from the Language list.
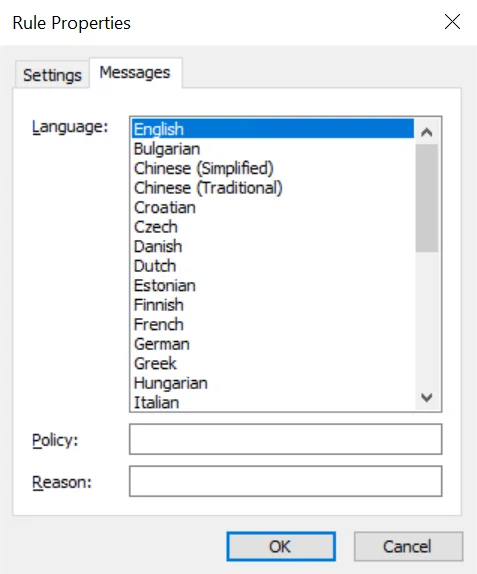
Step 6 – Edit the rule inserts in the Policy and Reason text boxes.
Use the \n escape sequence to start a new line in a message template or rule insert (Password Policy Client V5.1 and later). Inserts and lines starting with two or more spaces, a minus, and a space are shown with a bullet to the left (Password Policy Client V8.0 and later).
Customizing Password Policy Client Messages
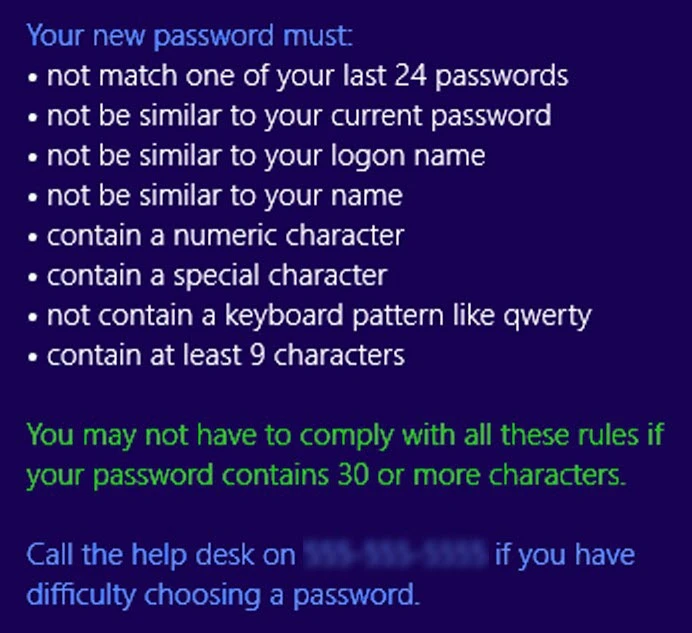
The Password Policy Client displays three messages to help users choose a password:
- The Password Policy message is shown as the user changes their password. This message explains the password policy to the user.
- The Rejection Reason message is shown if a password doesn't comply with the Password Policy Enforcer password policy. This message tells the user why their password was rejected.
- The Generic Rejection message is shown if Password Policy Enforcer doesn't have a specific reason for the rejection, generally because the password doesn't comply with the Windows password policy.
Password Policy Client Message Components
Password Policy Client messages are built using templates, macros, and inserts. The following image shows a sample policy message with the template in blue, a macro in green, and policy inserts in white.