Import
What is an import?
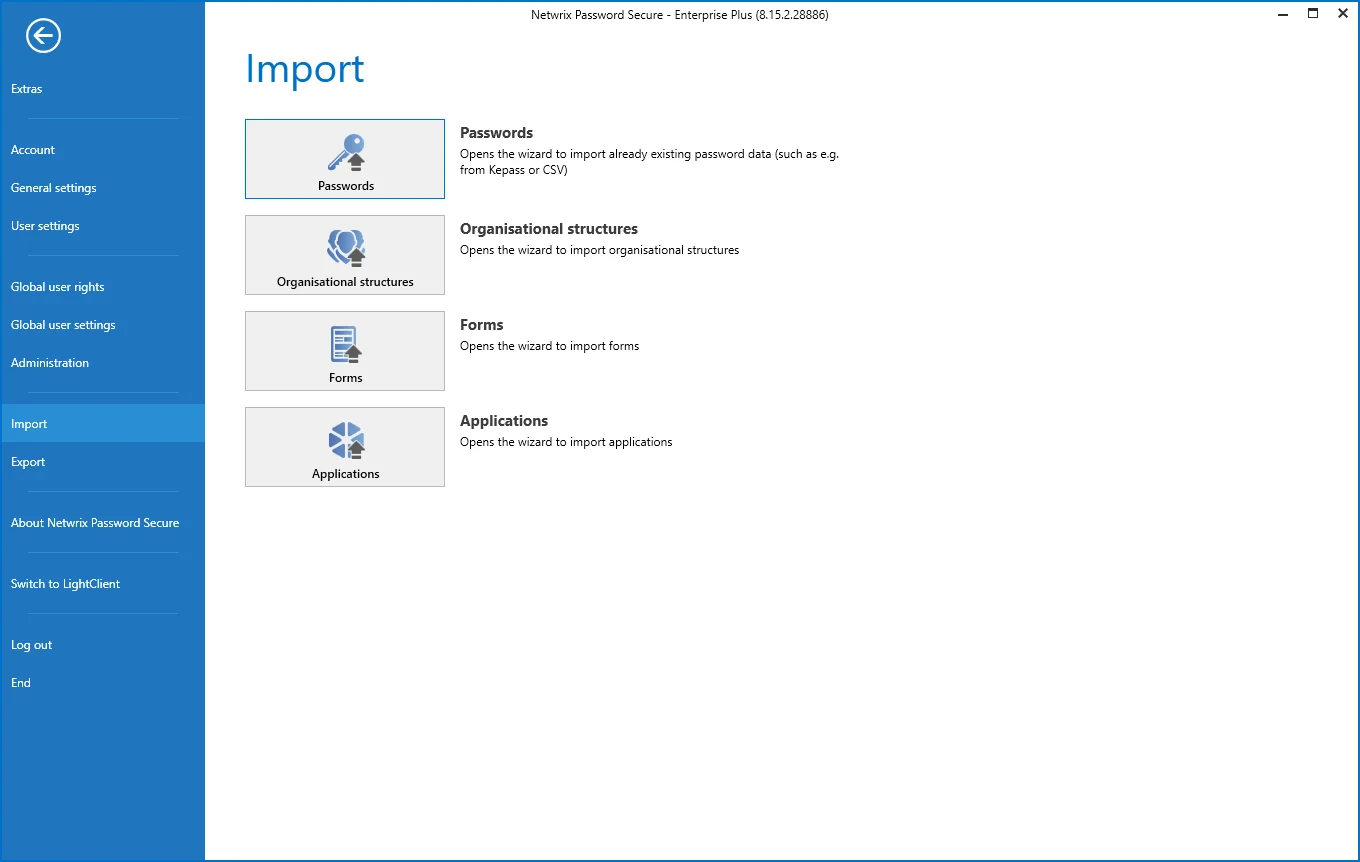
If another password management tool was used before Netwrix Password Secure, these data can be imported into Netwrix Password Secure. The formats .csv and especially Keepass (.xml) are supported. Both variants can be set up in the import wizard, which is started via the Main menu/Import.
Requirements
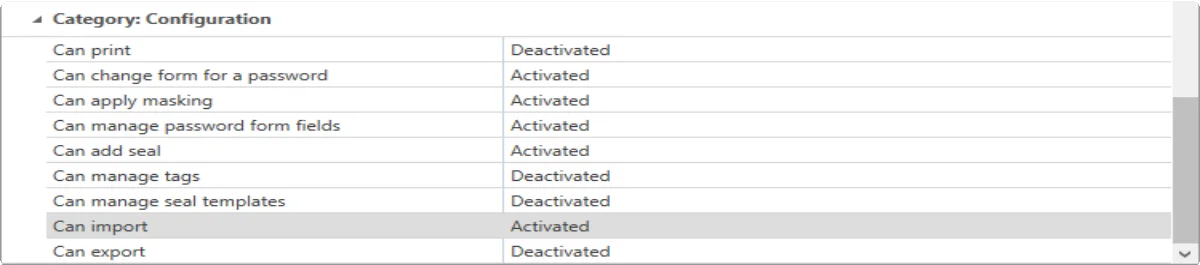
Whether the user is permitted to import data is controlled by the corresponding User rights.
The import wizard
The wizard supports the import of data into Netwrix Password Secure in four steps.
Select type
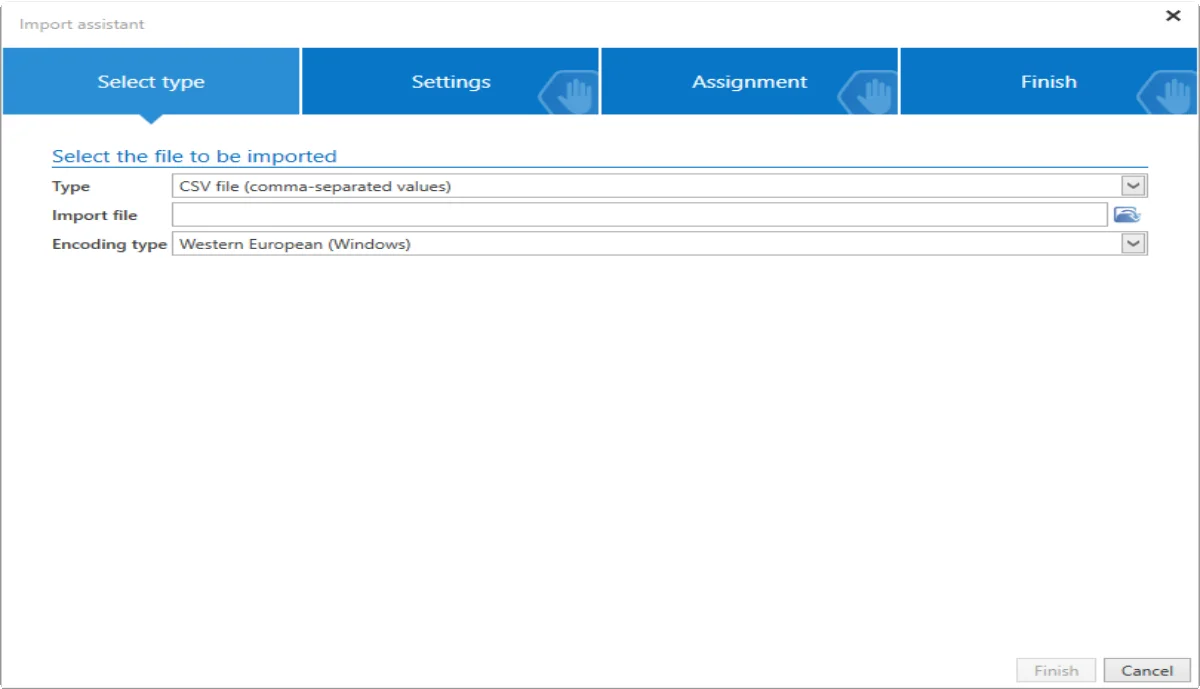
The first step is to define the file that is to be used for the import. It is only possible to proceed to the second step when the defined type corresponds to the stated file to be imported. The second step is the settings.
Settings
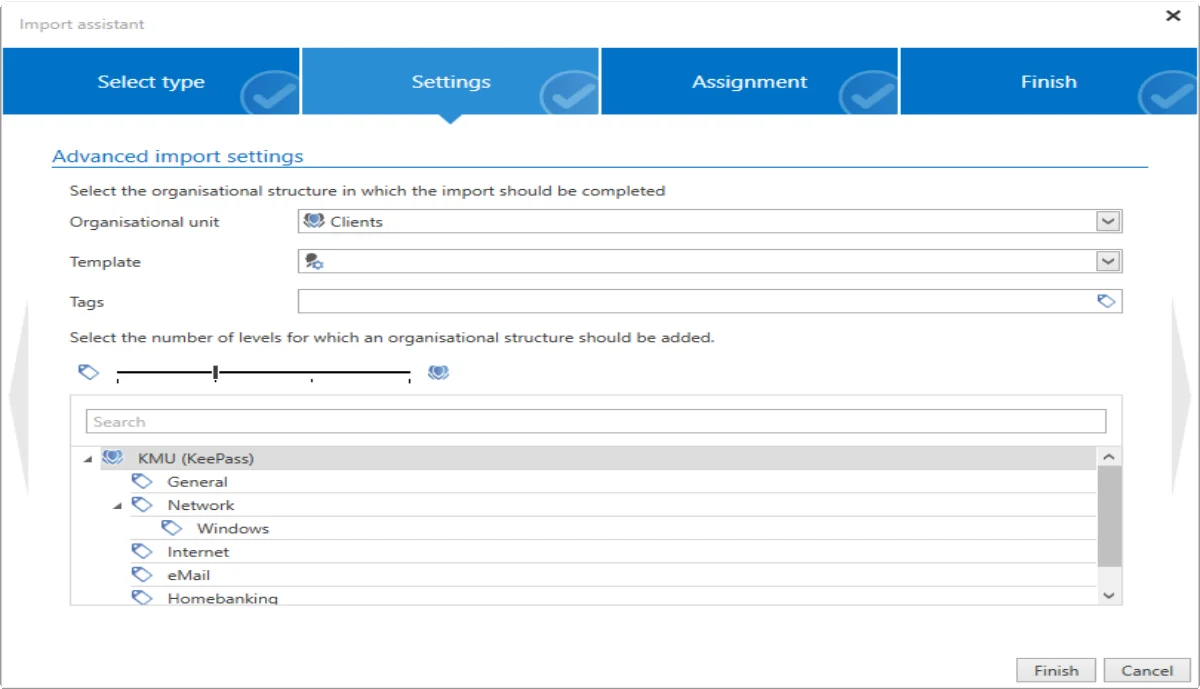
- The settings are used to firstly define the level in the hierarchy for saving the imported structure. As can be seen in the example, the import will take place in the main organisational unit. One of the existing organisational units can also be defined as a parent instance via the drop-down menu.
- The slider defines whether the imported structures should be imported as an organisational unit or as a tag. If the slider is fully moved to the left, only tags are created. If it s moved to the right, all objects are imported as an organisational structure. In addition, every object can be configured separately via the context menu that is accessed using the right mouse button. It is also possible to ignore folders.
NOTE: No folders exist in Netwrix Password Secure. For this reason, it is necessary to define whether a folder is saved as an organisational structure or as a tag during the import. The same process is also used for the migration.
Assignment of the form fields
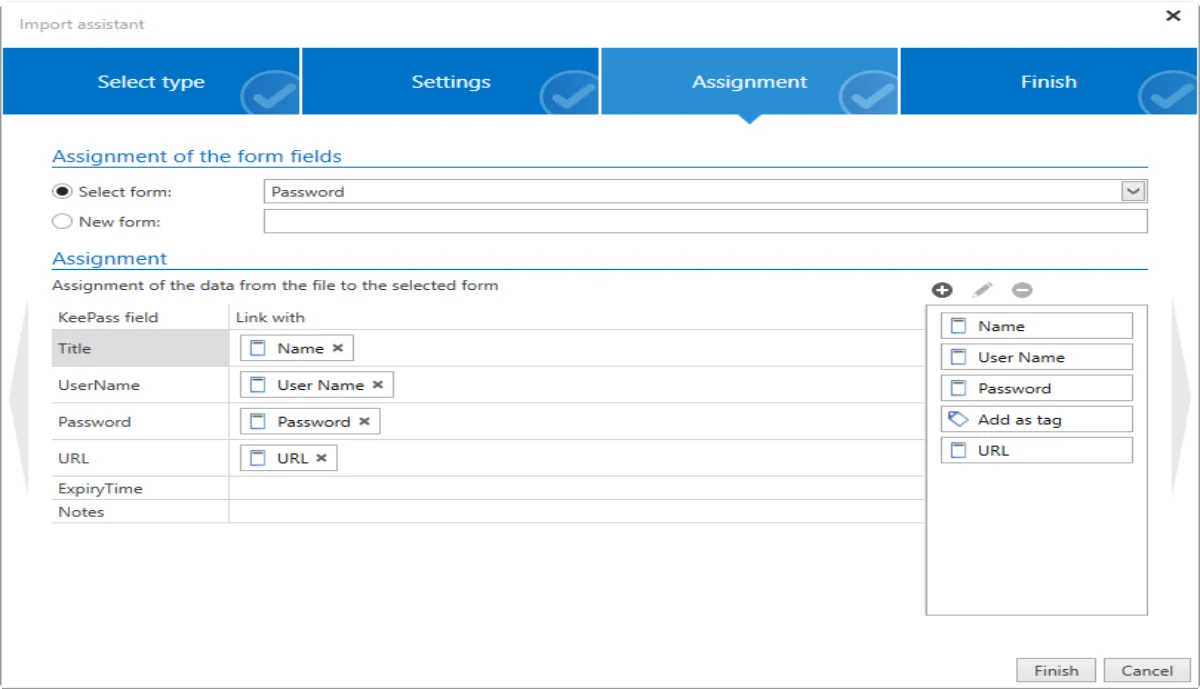
The third step is to assign the forms from the file to be imported to already existing forms. As form fields may also have different names, the assignment process must be carried out manually via drag & drop. Depending on which form was selected on the top line, form fields from the list on the right can now be assigned to the form fields to be imported via drag & drop. It is also possible to create new forms.
Finish
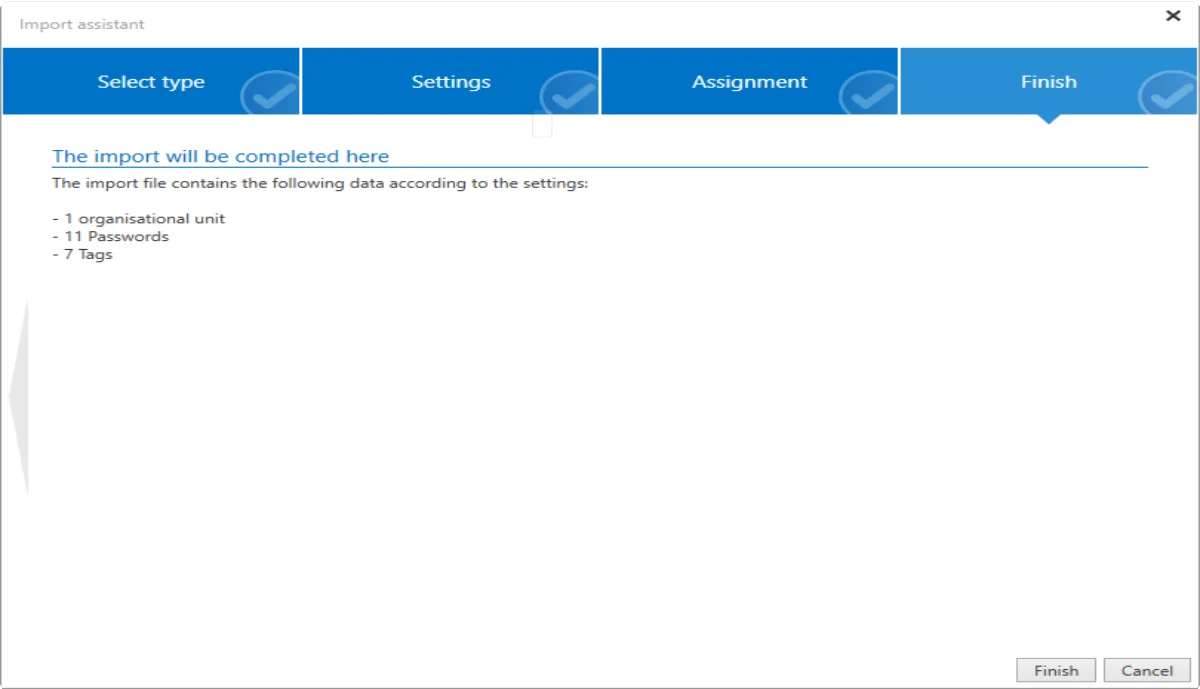
In the final step, the configured settings are summarised as a list of the objects to be imported. The button “Finish” closes the wizard and starts the import.