Password management
Creating passwords
This chapter deals with the main functionality of Basic view, namely the secure storage and management of passwords. It should be noted that a password can be stored in different ways.
NOTE: The required settings and rights are given by the in-house administration. Further information can be found here: To do for the administration
Create with application
Prerequisite: An existing application is available. It does not matter whether this is an SSO, web, RDP, or SSH application.

NOTE: Managing and creating the corresponding applications is the responsibility of the in-house administration. How to create an application can be read here and in the following chapters.
Clicking on the existing application opens a window that asks for the user name and password.

Once these fields are filled in, the record is created.

Now the record can be opened by clicking on the corresponding tile.
Create without application
Alternatively, it is also possible to create a data set without an application.
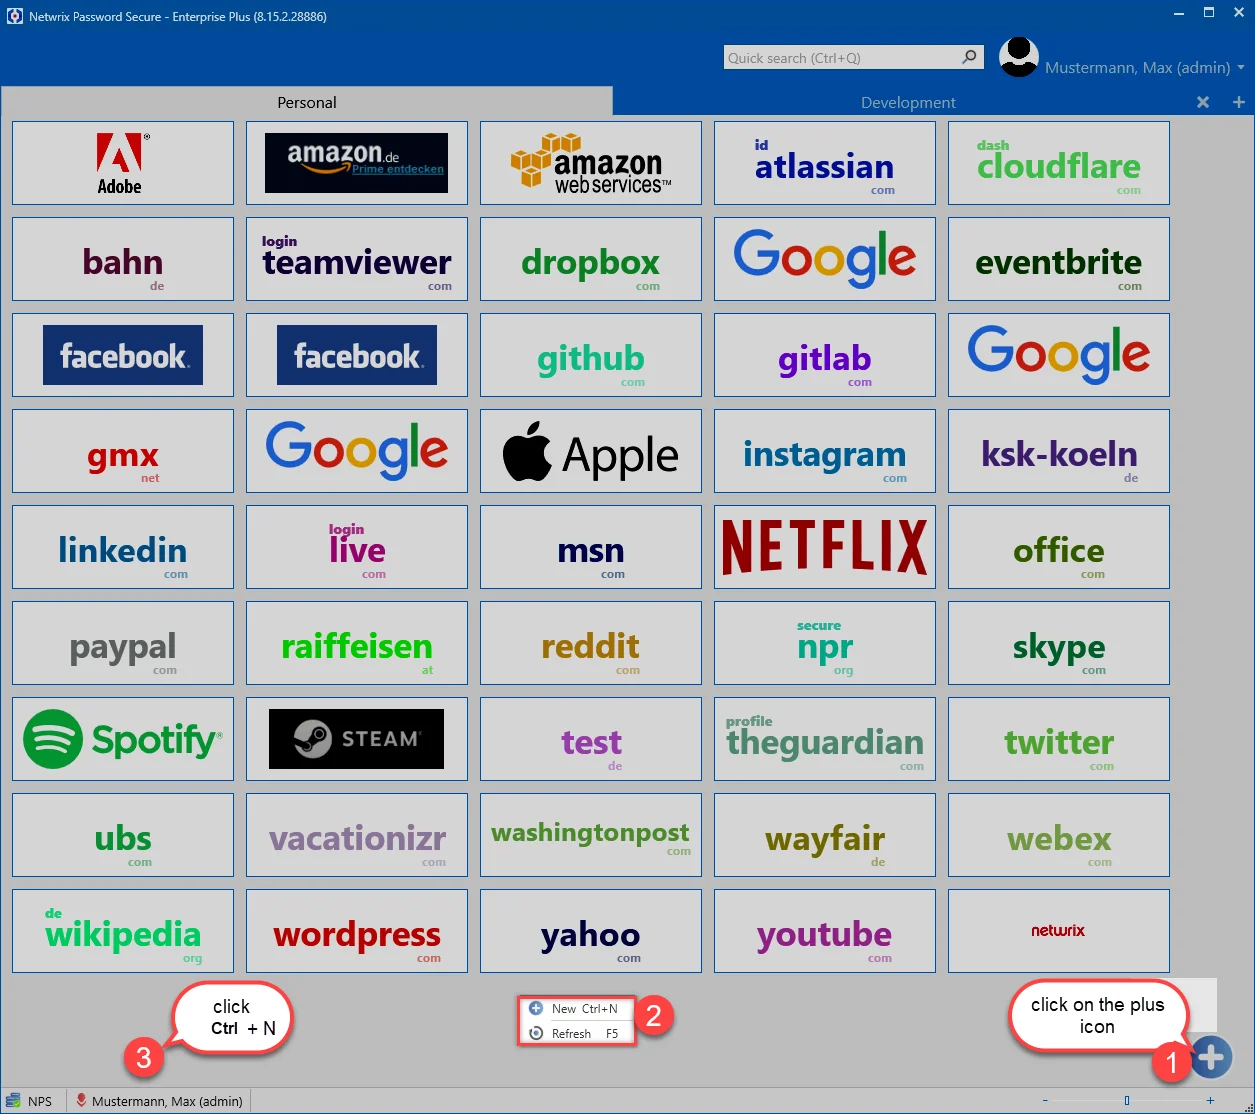
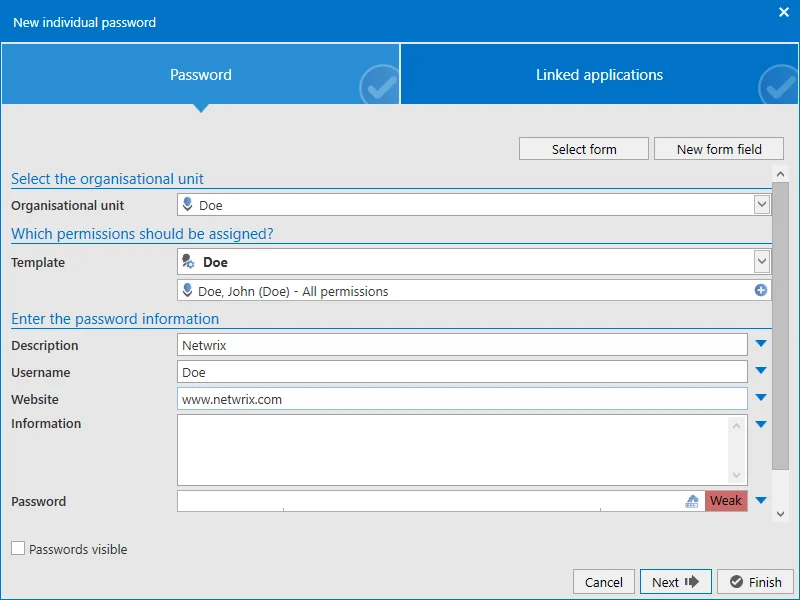
By clicking on the + symbol or right click ->New or CTRL+N a new window opens. In this window, the information relevant for the stored form is entered in the Password tab. It is also possible to assign the data record to each organizational unit to which the creating user is authorized. It does not matter in which tab the user is located. If a rights template is defined for the selected organizational unit, then this template will take effect at this point. It is also possible to define one or more corresponding tags for the data set.
In the next step, an application can be added to the newly created data record, if one already exists. To do this, go to the Linked Applications tab.
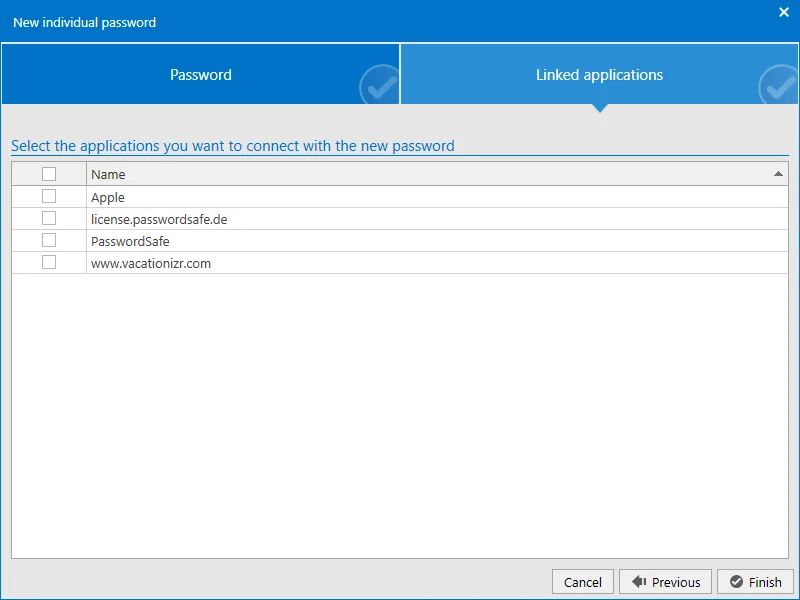
Then the whole process is completed by clicking the "Finish" button.

Changing and deleting passwords
In order to change or delete passwords you should stay on the corresponding tile with the mouse cursor. The control button will appear.
When you click the button, you will be offered the "Edit" and "Delete" options, among others.
