Database settings
To open the settings of a database, select it and click on "Settings" in the ribbon. Alternatively you can open the context menu with the right mouse button and click on "Properties". In the next step you will be asked to enter your admin password. After that a window with the settings will open.
Settings
You can now make the following settings:
- Authentication
- Multifactor Authentication
- Session timeout
- HSM connection via PKCS # 11
- Automatic cleanup
- SAML configuration
- Deletion of users
- More options
Managing databases
Managing a database
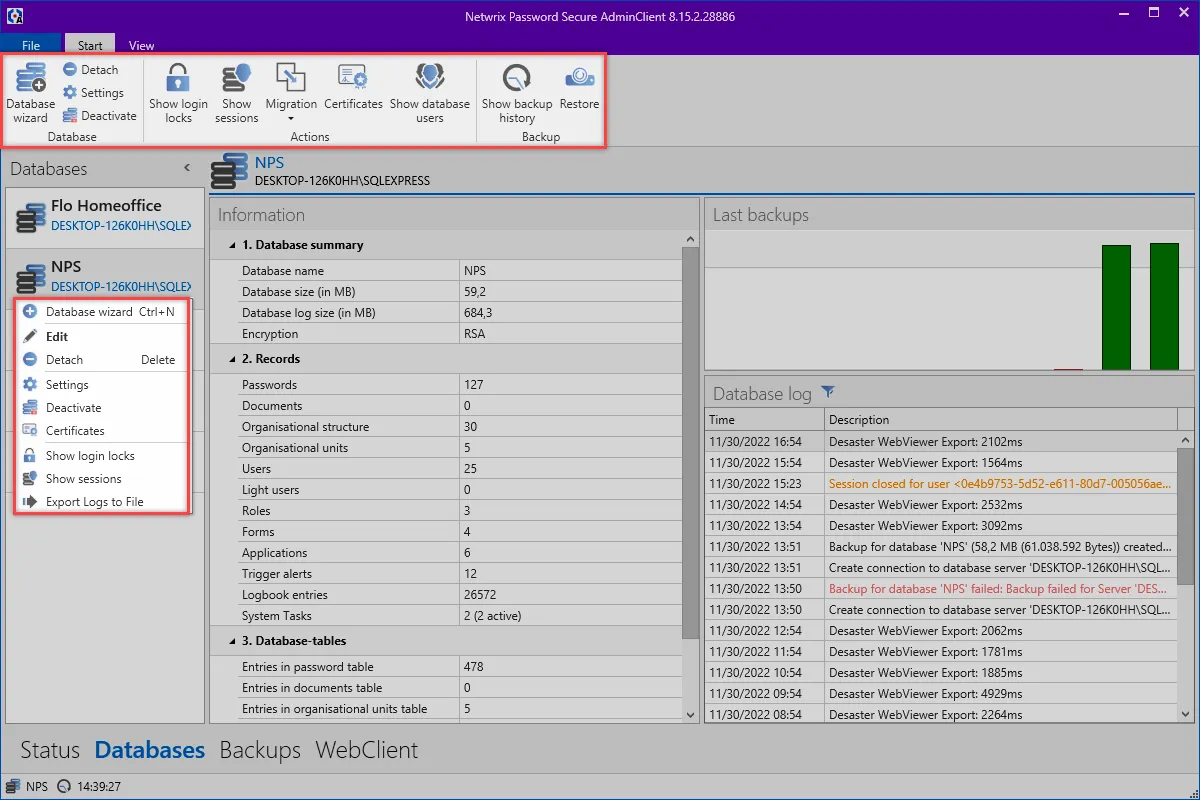
The available actions can be selected via the context menu that is accessed using the right mouse button or also via the ribbon.
Database settings
All database settings are saved in the database. It is necessary to log in to the database before editing the settings. Any user that exists in the database can be used for this purpose. You can always restore Global settings via the ribbon.
Multifactor authentication
This area can be used to configure which services will be used for multi-factor authentication. The available services are: RSA Secure ID, SafeNet, YubiKey NEO, and YubiKey Nano. After selecting the required service, specify the respective access data. You must also configure various services. In this case, you can specify on the client which methods will be used by the individual users.
Further information on this subject can be found in the sectionMultifactor Authentication.
PKCS#11
Via the PKCS # 11 interface, the server keys can be protected via a hardware security module (HSM). The interface can be configured here.
Automatic clean up
If desired, the logbook, notifications, session recordings and also the historical documents can be automatically cleaned up here. You merely have to enter how old the data needs to be before it is deleted. Logbook entries can be exported before the deletion process.
CAUTION: It is important to note that the logbook is also used for the filter functions. If the logbook is regularly cleaned up, it is possible that the full functions of the filter will no longer be available.
Database actions
Show connection locks
In the ribbon, all connection locks can be displayed. To do this, you must first log in to the database. All locked users will be displayed in a list. The following is displayed:
- User name (if known)
- Reason for lock
- Number of login attempts
- Expiry of the lock. The user can be unlocked by right-clicking on an entry.
A user can be locked manually using the corresponding button. It is necessary to select the user, configure the expiration of the lock and specify a reason.
Show / disconnect sessions
You can use the corresponding button to display all currently connected clients. After selecting a session, the connection can be disconnected.
Migration
Once a database has been selected, the can be started via the ribbon. This also allows multiple version 7 databases to be merged into one.
CAUTION: When the migration is started, the database is set to migration mode. For the duration of the migration, it is not possible to log in to the database – users who are already logged in will be sent a corresponding message. The sessions will, however, remain open so that users can continue working as soon as the migration is complete.
Certificates
Management of the certificates is very important. This is described in the section certificates.
Display database users
This button can be used to call up statistics about the users in the respective databases. It shows you which users are active in which database. Naturally, this list can also be exported.
Data backup
Here you can view the history of all backups or also a single backup.
Show history
All backups of the database are displayed hierarchically in a sortable list.
Importing
A backup can be restored here. This can be done via a file or from the history. The procedure is described under Backup management