Client Module
What are modules?
Netwrix Password Secure can be customized according to the needs of the users. This requirement can be applied by the user, and can also be applied by administrative users. This means that everyone gets only those functionalities that are necessary for his special work. The amount of features required by an administrator differs significantly from those of a normal user. The modular structure of Netwrix Password Secure supports this approach by showing only those specific areas that should actually be used by the respective user.
Visibility of modules
The modules are the gateway to various features of version 9. Similarly to the features, not all modules have to be made available to all user layers. The Visibility of modules can be defined individually within the user rights.
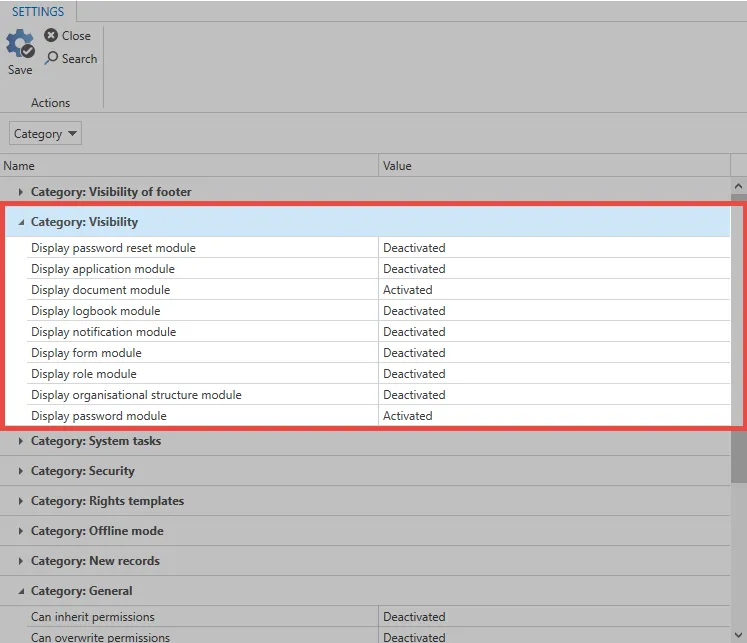
NOTE: The visibility of modules can always be adapted to the needs of individual user groups
Sorting modules
You can access the “Navigation options” via the three dots found at the bottom right end of the module displayed in the client. You can also find those modules displayed there that you have permissions to see in accordance with the visibility settings explained previously but which are hidden e.g. due to the scaling of the size of the client (Application and Password Reset in the example).

The navigation options enable you to define the maximum number of visible elements and also how they are sorted.

NOTE: The previously described visibility of the modules is a basic requirement for viewing and sorting them in the navigation options
Operation and Setup
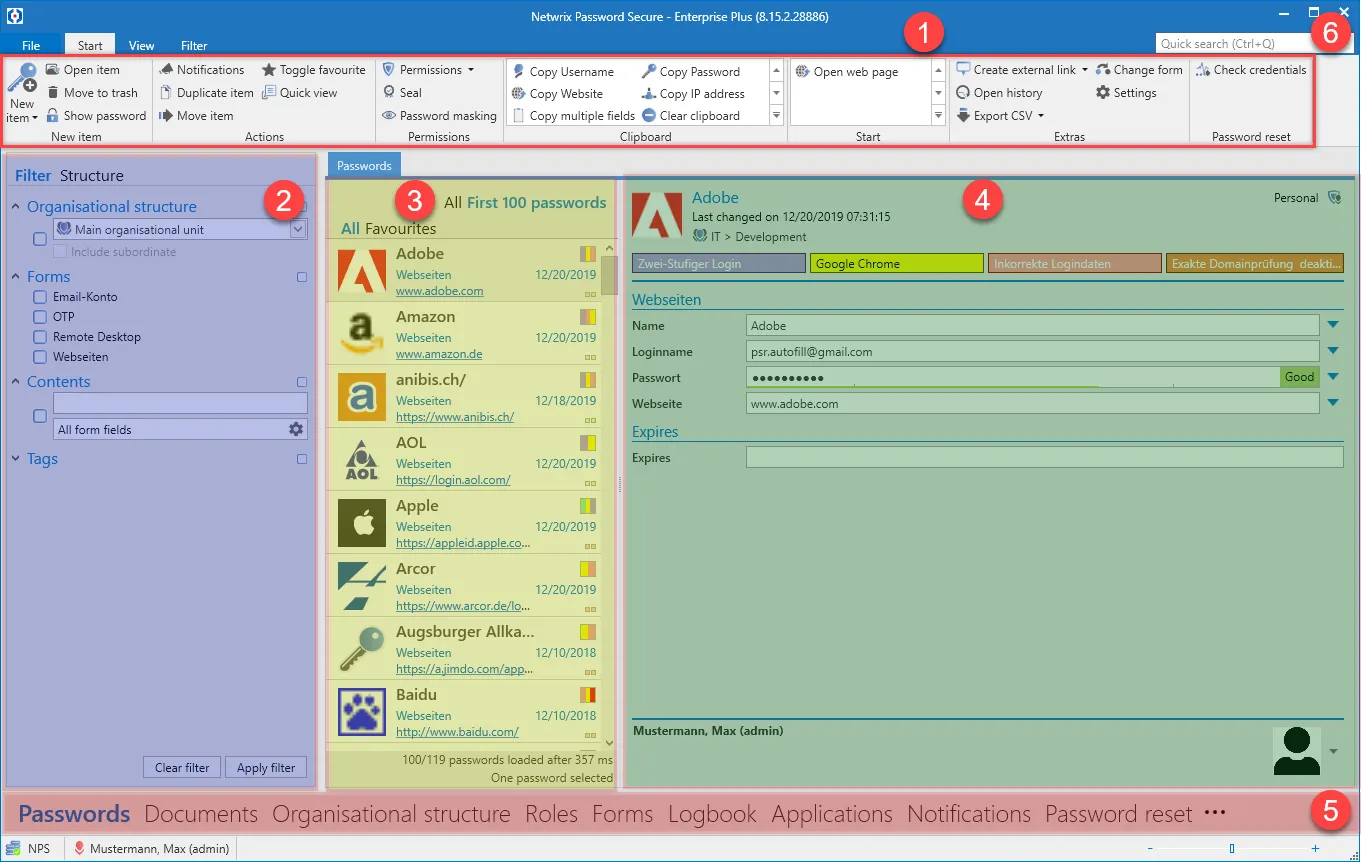
Client structure
The modular structure of the client ensure that the required functionalities are always in the same place. Although the module selection gives access to the various areas of Netwrix Password Secure, the control elements always remain at the positions specified for this purpose. This intuitive operating concept ensures efficient work and a minimum of training time.
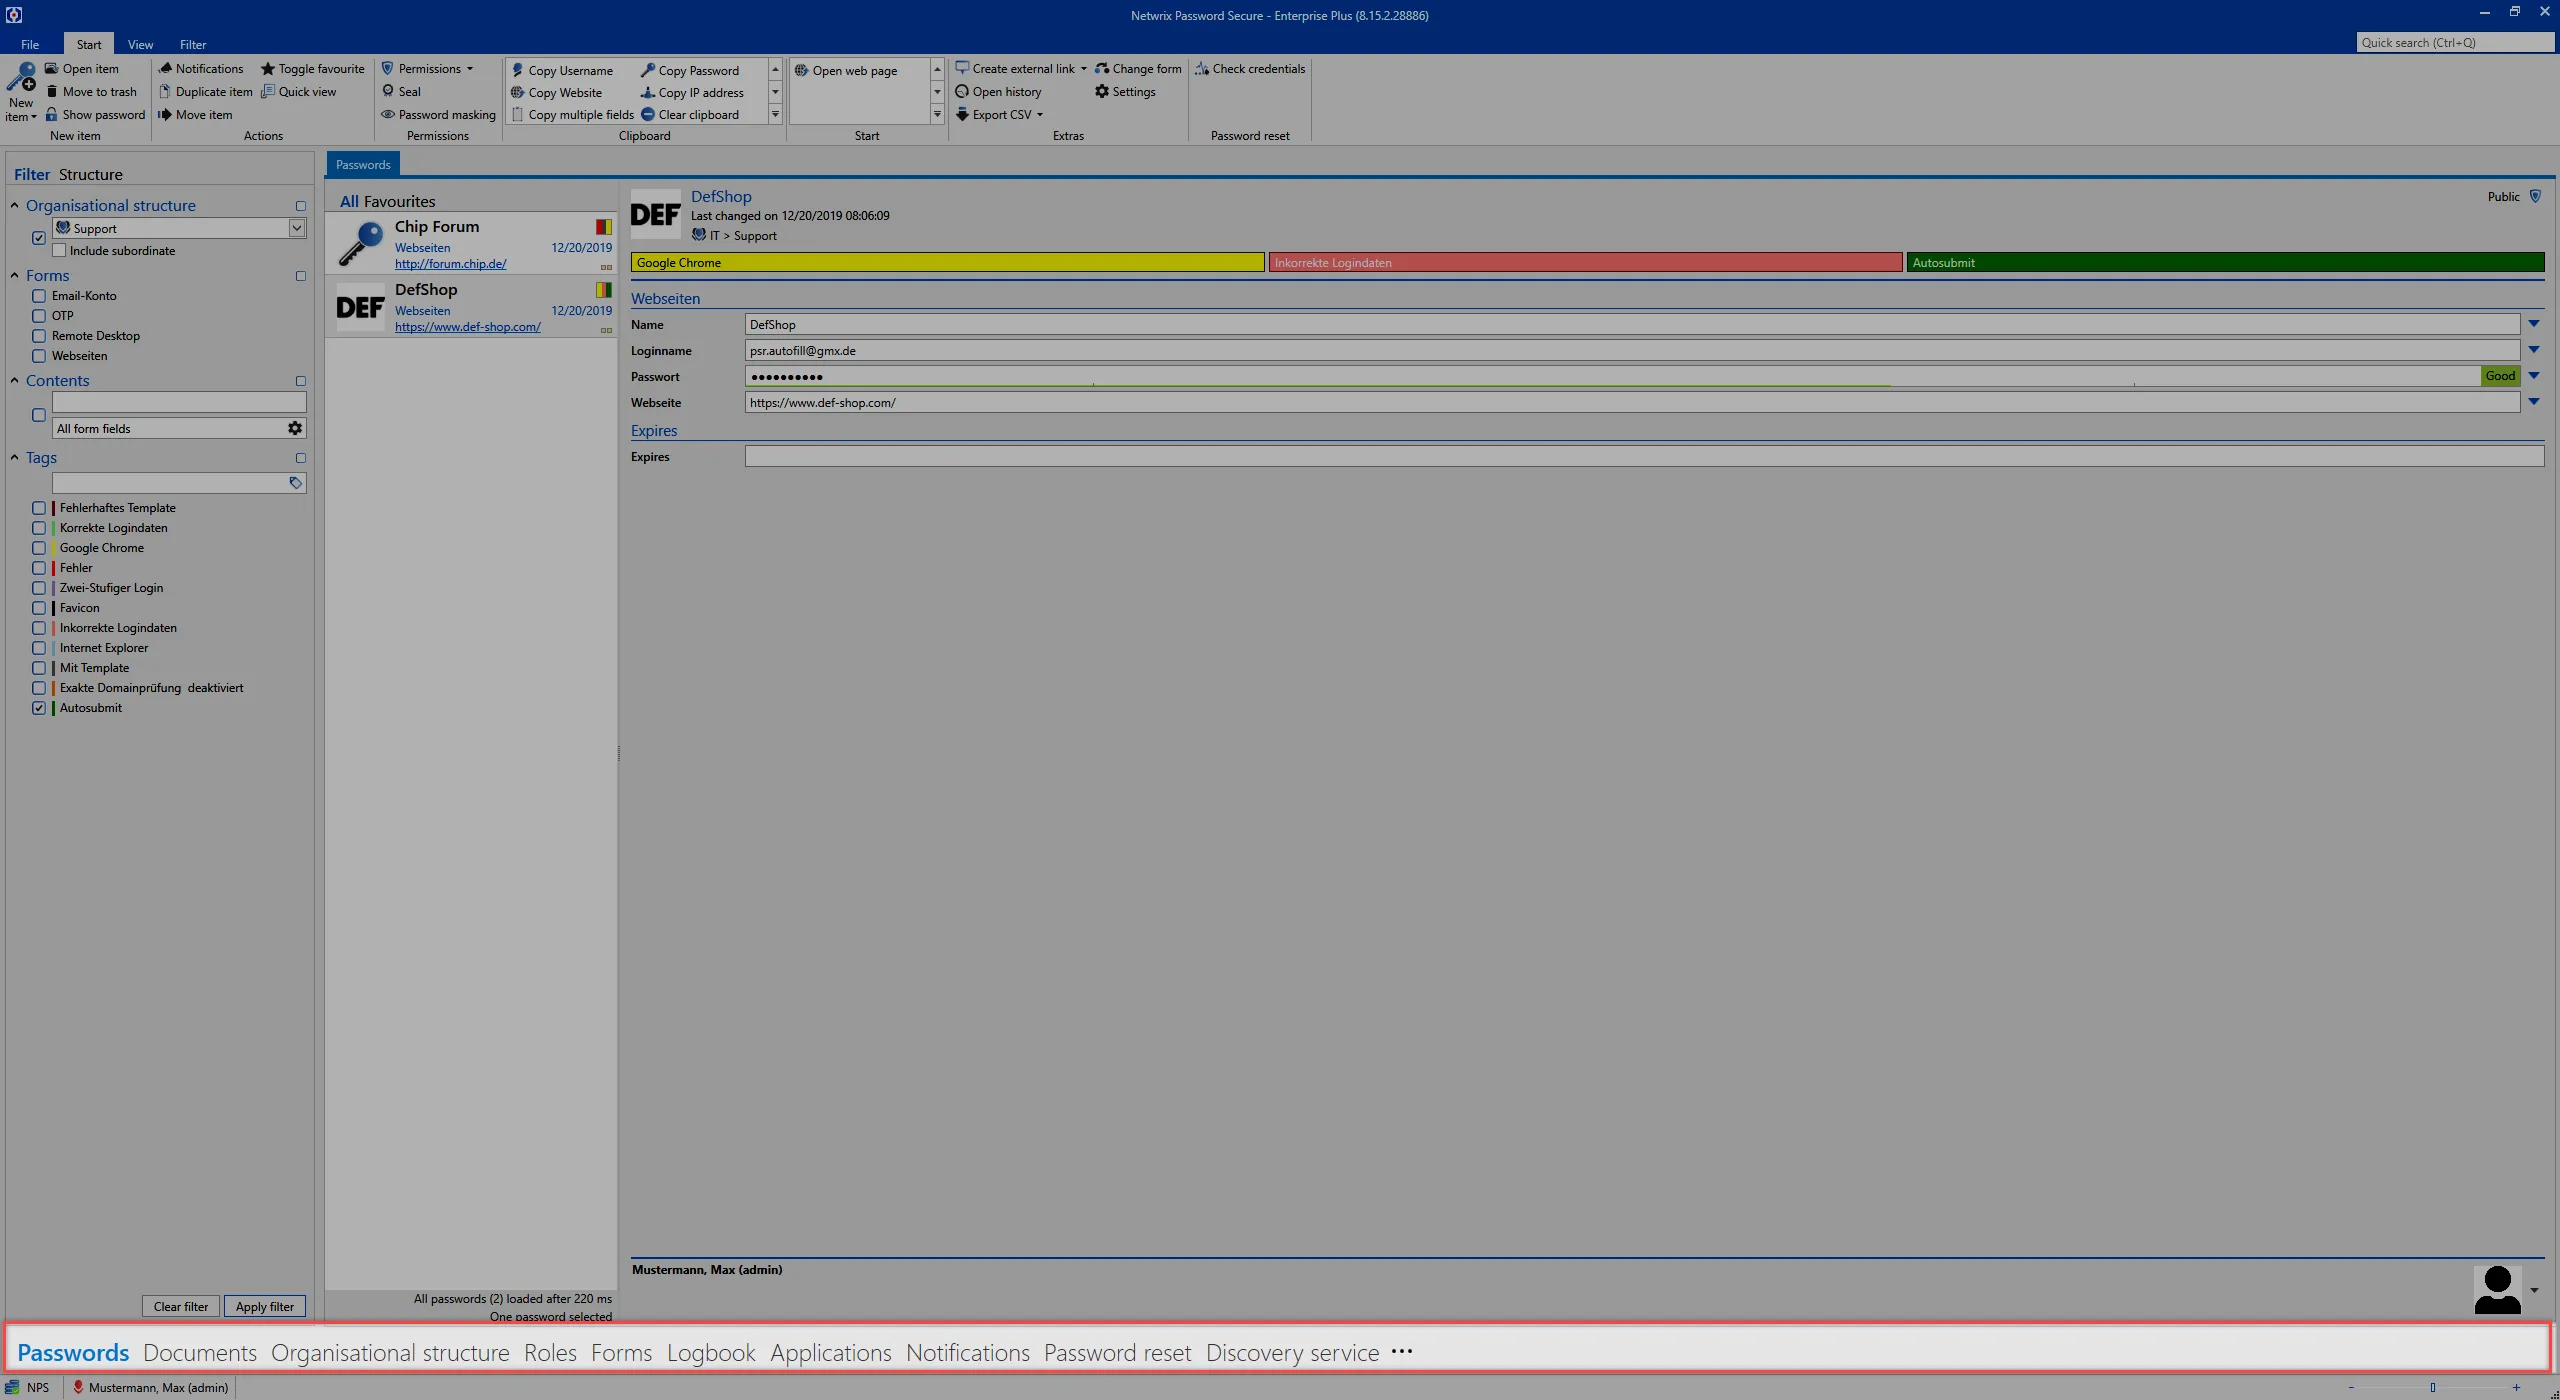
TABs
Tabs offer yet another option within the to present related information in a separate area. This tab navigation enables you to display, quickly access and switch between relevant information. The results for a filter with specific criteria can thus be retained without the original result being overwritten
when a new filter is applied. In parallel, detailed information about records can also be found in their own tabs. It is of course possible to adjust the order of the tabs via drag & drop according to your individual requirements.
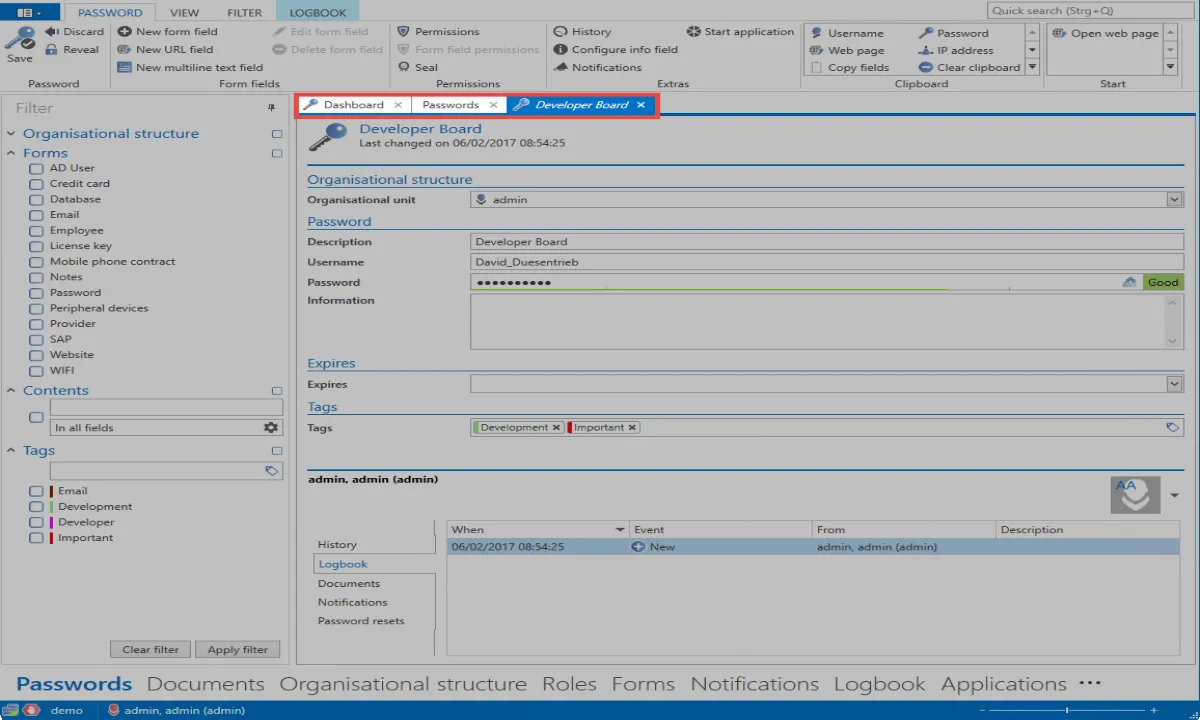
Standard tab
Depending on the active module, the All passwords tab will be renamed to the corresponding module by default. (All documents, all forms, etc.)
Although the name suggests that all records in the database are displayed, the records displayed in list view correspond to the criteria that have been defined in the filter. The tab closes and can be restored by reusing the filter.
Client footer information
Independently of the module chosen, various information is displayed in the footer area of the client. The icons are also provided with a meaningful mouse-over text, which provides additional information.
- Connection to database
- Feedback in case connection is insecure
- Last name, first name (user name) of the logged-in user

Orientation
It is possible to change the alignment of the following objects:
- Active Directory link
- Applications
- Notifications
- Reports
- Documents
- Forms
- Logbook
- Organisational structure
- Password Reset
- Password rules
- Roles
- Seal templates
- System tasks
- Forwarding Rules
- Profil picture in the reading pane
What can the print function do?
It is often necessary to print out data stored in Netwrix Password Secure for documentation purposes. The Print function is available in numerous areas of Netwrix Password Secure for this purpose. It is possible to print out records such as e.g. passwords or also information about organisational units and much more.
Relevantrights
The following rights are relevant.
Record rights
- The Print right for the relevant record is required in each case.
User right
- Can print
Availability
The print function is available in the following modules:
- Passwords
- Documents
- Organisational structure
- Roles
- Forms
Using the print function
The print function can be called up via the ribbon.

Firstly, it is necessary to select whether you want to print a table or a detailed view. The amount of data can also be defined. The individual menu items are described in detail further down in this section. After making your selection, the data is firstly prepared for printing. Depending on the amount of data, this may take a few minutes. The print preview is then opened.
NOTE: The print preview accesses the functions of the printer driver. Depending on the printer or driver being used, the appearance and functions offered by the print preview may vary. The individual functions will thus not be described in detail here.
The printing process is ultimately started via the print preview. It is also possible to save the view or adjust the layout before printing.
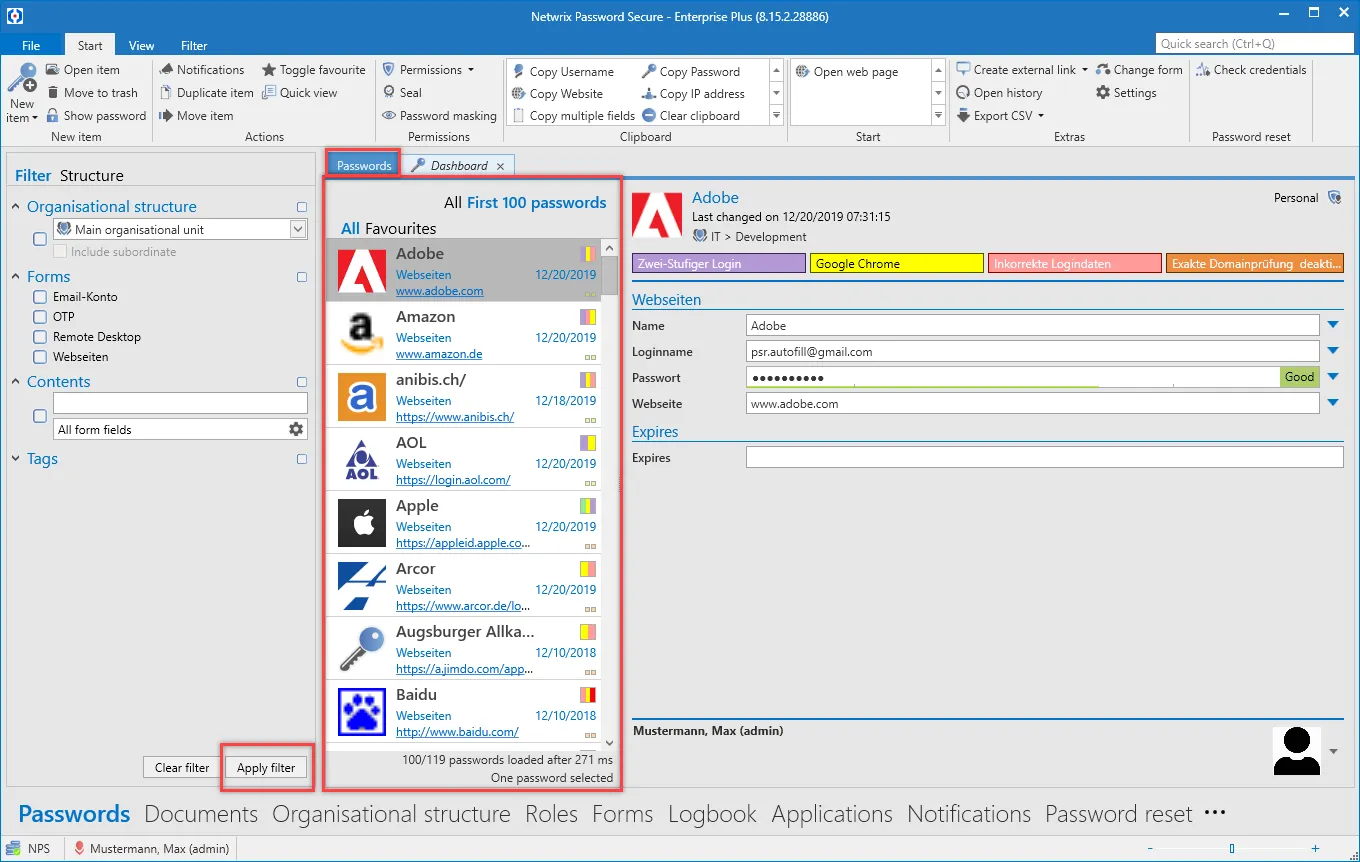
Selecting the data to be printed
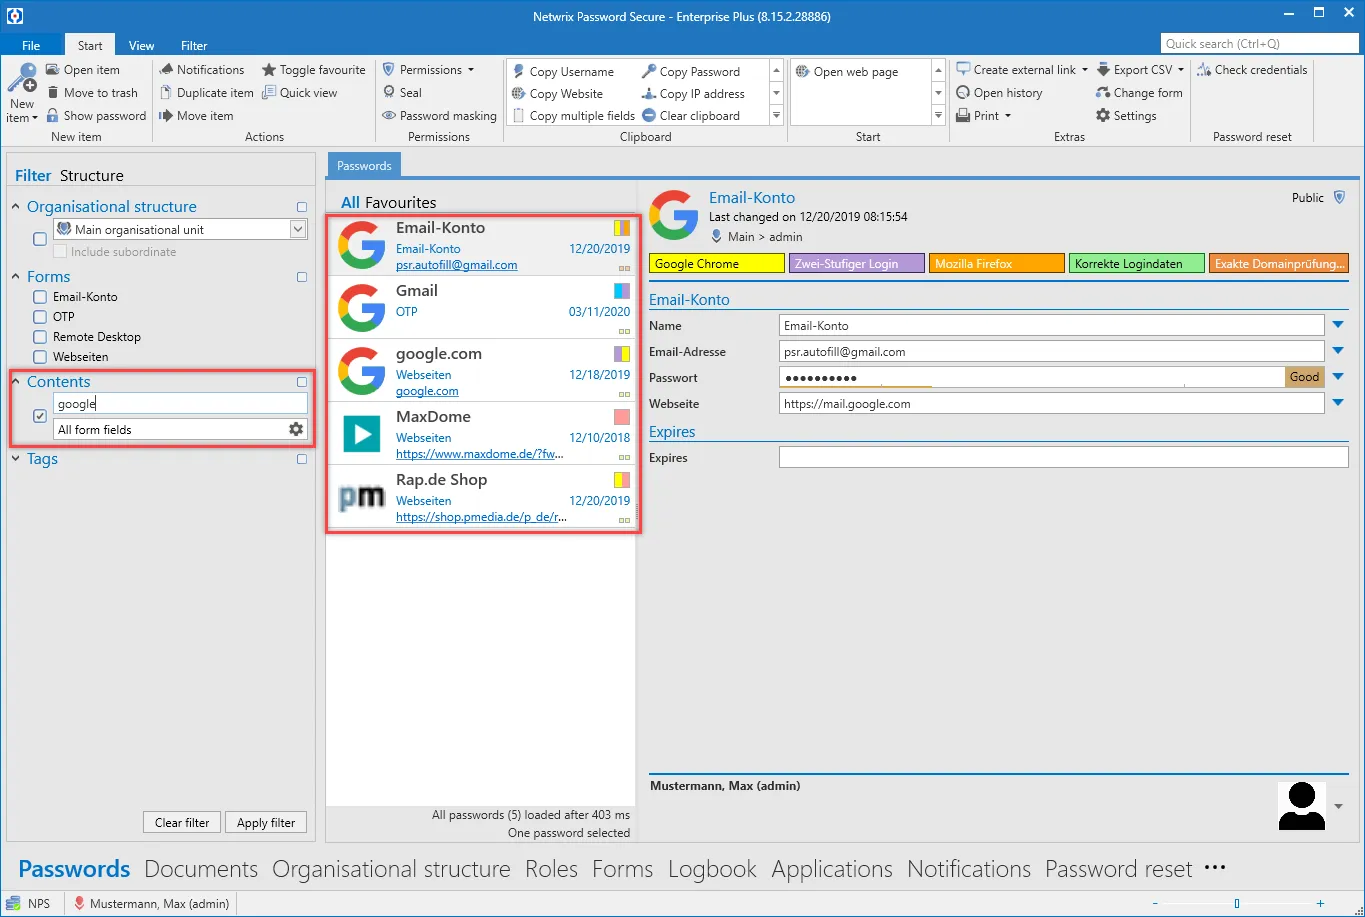
There are different options available for adapting the printing result to your personal requirements. The individual menu items will be explained here using the example of printing passwords.
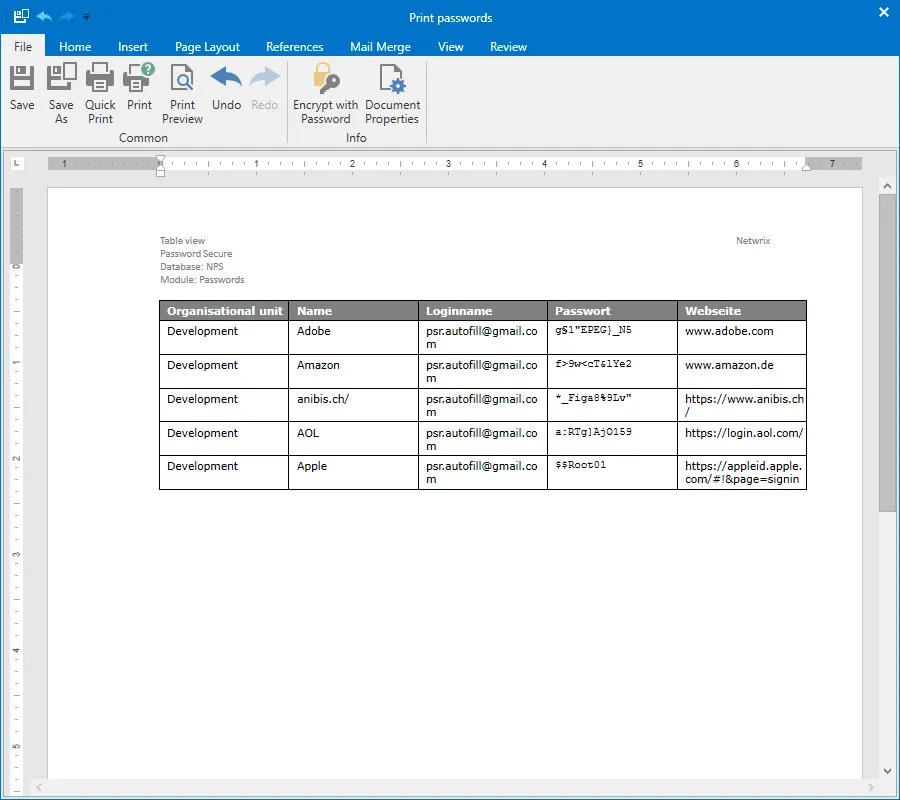
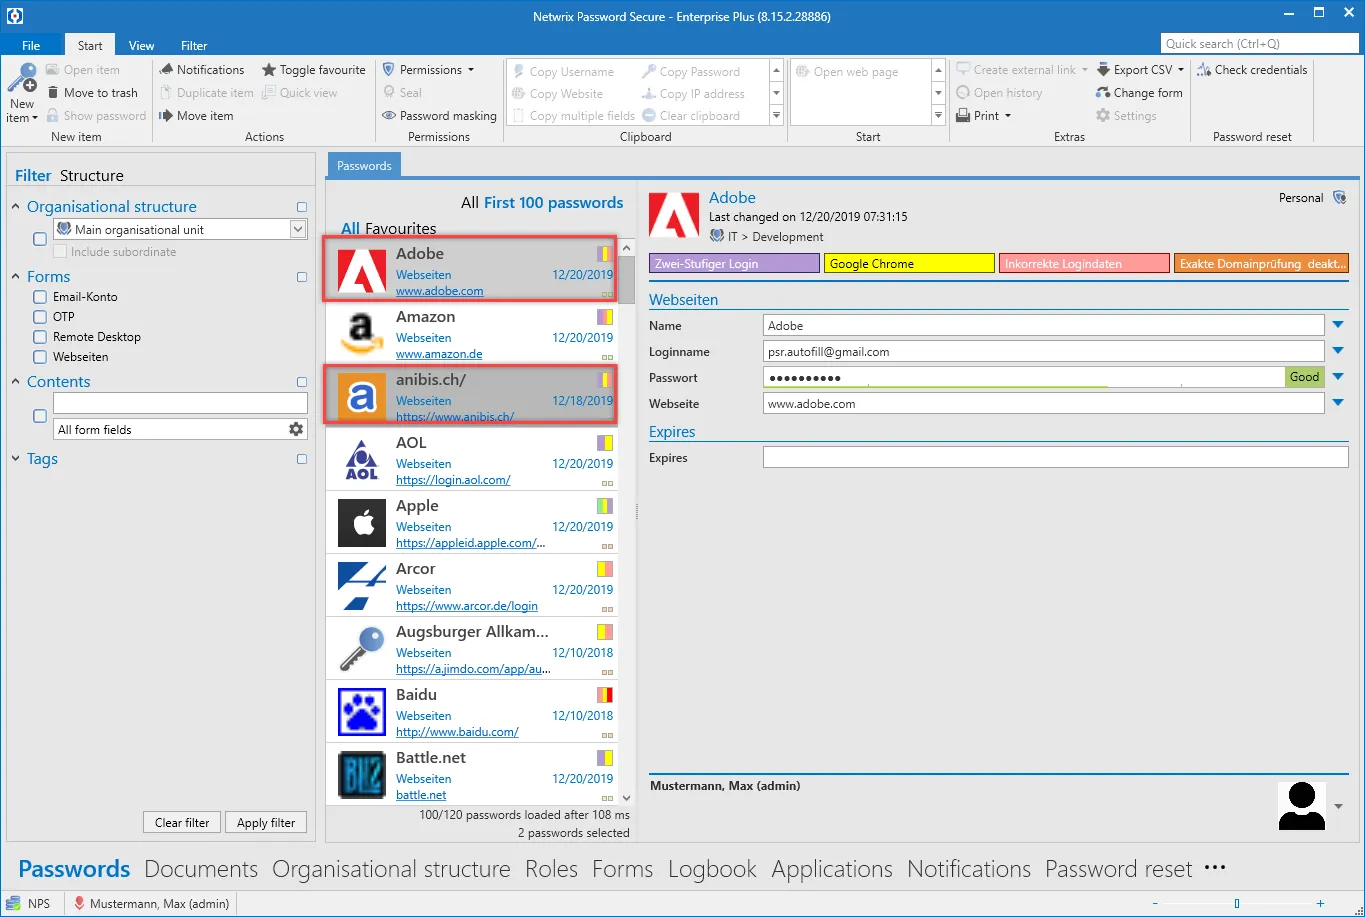
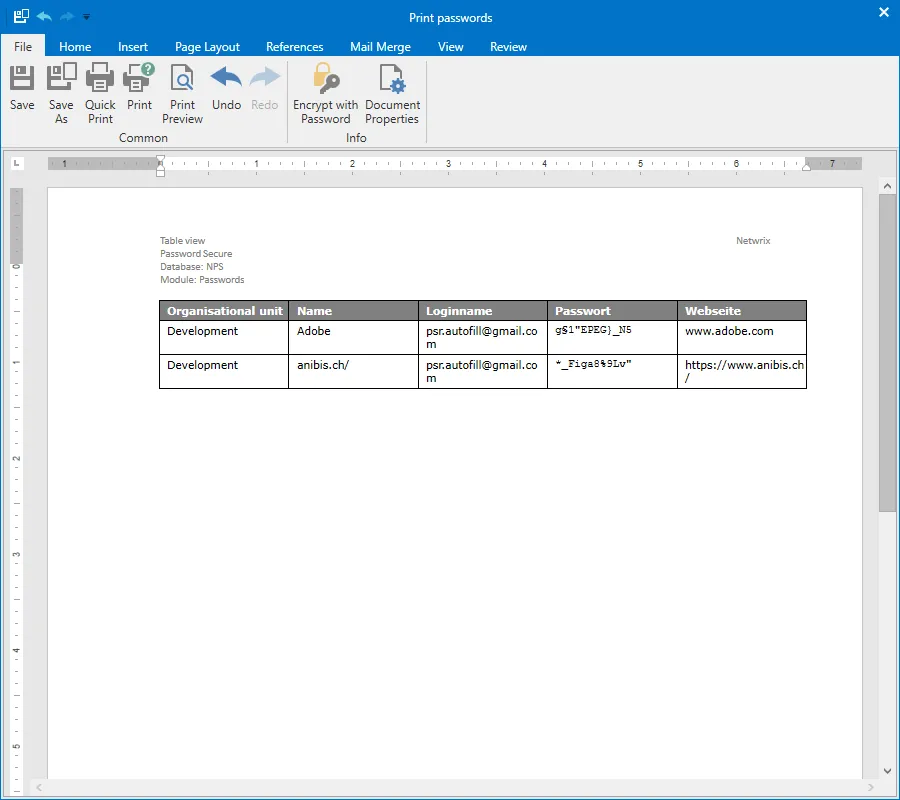
Table view (current selection)
All selected records will be printed out. In the following example, Adobe and Anibis.ch are thus printed out.
The data is printed here in table form.
Tableview (current filter)
All currently filtered records will be printed out here. In this example, all seven records are thus printed out.
They are printed out – as described above – in table form.
Detailed view (current selection)
This option also prints out the currently selected records. However, a detailed view is printed out in this case.

Detailed view (current filter)
This function can be used to print out all filtered records in detailed view as described above.
NOTE: It should be noted that the amount of data generated via this function can quickly become very large.