Filter or structure area
As is also the case on the client, it is possible to select between filter and structure. For this purpose, the following buttons are available on the navigation bar

- Filter
The filter on the Web Application is based on the Filter. Therefore, only those characteristics specific to the Web Application will be described here.
Using the filter
Operation of the “Web Application filter” barely differs from the operation of the client filter. It is only necessary to note that the Clear filter and Apply filter buttons can be found above the filter. The configuration settings can also be found directly above the Web Application filter.
Configuring the filter
The configuration for the filter can be displayed via the following buttons:

New filter groups can be added using Add filter groups and the current filter can be reset using Reset filter. Advanced mode provides you with the possibility of deleting or moving individual filter groups. The Allow negation of filters option can also be selected.
- Structure
The structure can be operated in precisely the same way as on the client.
Footer
The footer displays various different information about the currently selected record in multiple tabs. It can be activated or deactivated using the small arrow on the far right. The footer is hidden by default.
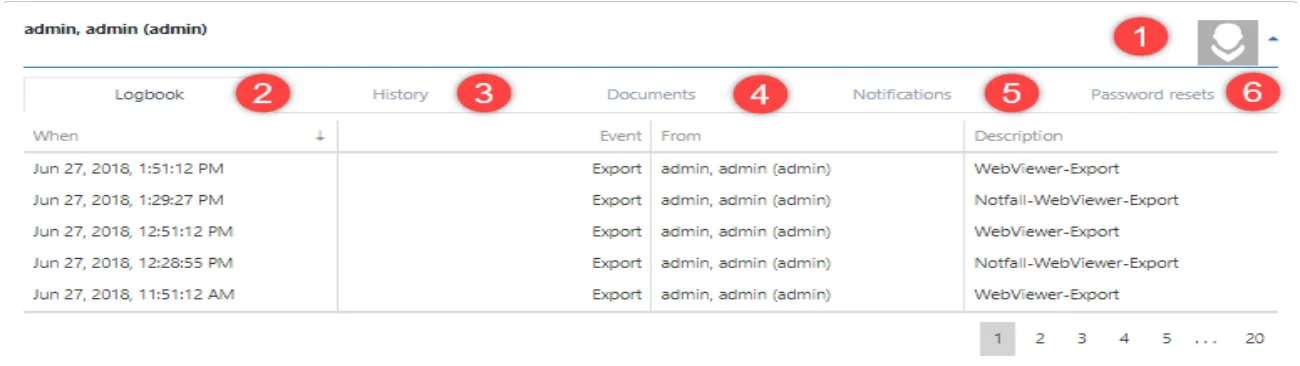
- Notification area
The notification area shows who last had access to the record. The users are displayed using corresponding icons or their avatars. Clicking on the user will display their rights.
- Logbook
You can view the last log entries about the record in the logbook tab.
- History
The history can also be displayed via a corresponding tab.
- Documents
The documents tab can be used to access all linked documents.
- Notifications
This tab shows who has subscribed to receive notifications about the record.
- Password Resets
The Password Resets that have been performed can also be listed.
Header
The header provides the following functions:
![]()
- Logo
The logo acts as a home button. It always takes you back to the standard view.
- Display and hide filter
As is also the case on the client, the filter or structure area can be displayed and hidden.
- Modules
As is also the case on the client, modules like passwords, organisational structures, roles and forms can be managed here.
- Quick search
The quick search offers you the same functions as the quick search on the client. It searches in all fields of the complete database except the password field. The tags are still searched.
- Quick search
Upcoming tasks like export, import, print and so on are displayed here.
- Notifications
here you will be informed about incoming notifications. The notification can also be called up by clicking on it.
- Account
The user who is currently logged in can be seen under account. You can log out by clicking on the account. It is also possible to call up the settings in Account.
List view
What is list view?
The central element of the navigation in the Web Application is list view, which clearly presents the filtered elements. As list view in the Web Application provides the same functions as list view in the client, we refer you at this point to the List view section.
Special features
The list view differs from that on the client in the following areas:
- List view cannot be individually configured
- There are – as is usual in a browser – no context menus
Menu
What is the menu?
The ribbon on the client has been replaced by a menu on the Web Application. The menu thus represents the central operating element on the Web Application. The functions available within the menu are dynamic and are based on the currently available actions. Different actions are possible depending on which view is currently being used.
Menu bar
The menu can take on two forms. In general, the menu bar containing the most important functions is displayed. It will be described here using the example of the password module.

- Expand menu
The size of the menu can be maximised using this button.
- New
This option can be selected to call up the wizard for adding a new record.
- Open
Displays the selected password and all of its details in the reading pane.
- Reveal
Reveals the password.
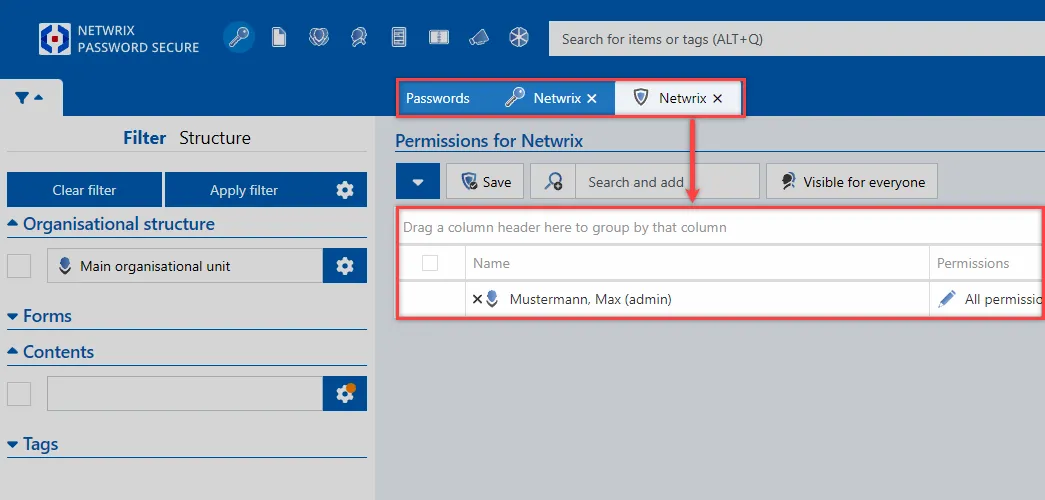
- Permissions
This button is used to configure the rights for the record.
- Password
Copies the password to the clipboard.
Advanced menu
If the menu – as described above – is maximised, all functions are then available. The functions on the menu bar are repeated here. The menu is divided into a number of sections. These correspond 1 to 1 to the sections of the ribbon on the client.

In our example, the menu looks like this:
- New Item
This section offers you more options for editing passwords. These include, for example, Open or also Delete.
- Actions
The actions can be used, for example, to mark the password as a Favourite or also to Duplicate it.
- Permissions
This section does not offer any additional functions than simply opening the permissions.
- Clipboard
This section can be used to copy all available fields to the clipboard.
- Start
A website can be called up here.
NOTE: As already described, the menu is dynamic and thus appears in a variety of different forms. However, the basic function is always the same: The menu bar contains the basis functions, while the advanced menu contains all functions.
- Extras
All of the additional functions can be found here. These functions correspond to the main client and will be described in the next section:
- Password Reset
The functions of the Password Reset can be found here.
Navigation bar
The navigation bar provides the following functions.

- Filter
This function can be used to switch the view to the filter in the left section. You also have the possibility to switch from filter to structure.
- Tabs
The Tabs represent a secondary navigation function within the Web Application. For each action you will do a new tab will be opend.
Example
Settings
The settings are called up via the Navigation bar. The following options are available:
Language
You can select German or English here by simply clicking on them. The change is made immediately and does not require you to restart the browser.
Extras
Seal management
Here you have the possibility to manage templates for seals.
Tag management
The tag management allows you to manage the tags.
Image management
With the image management, you can manage your icons and logos easily and quickly.
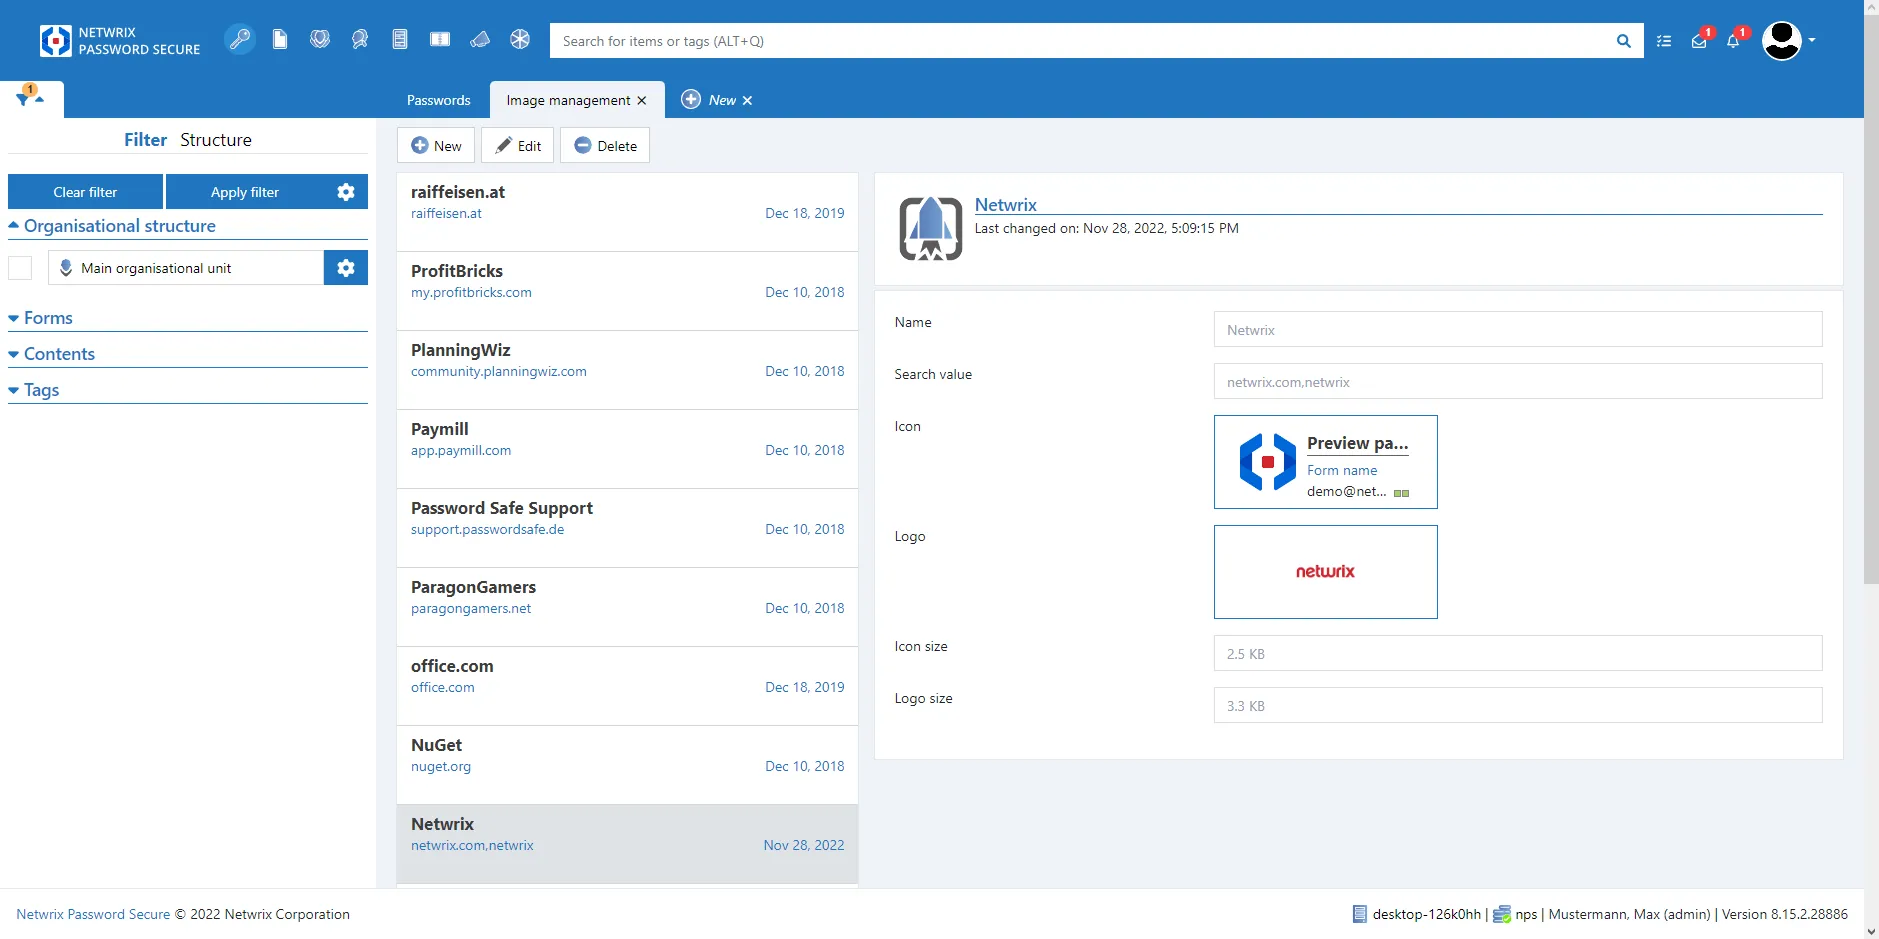
Adding icons and logos
By clicking on the New button, the input mask will open.
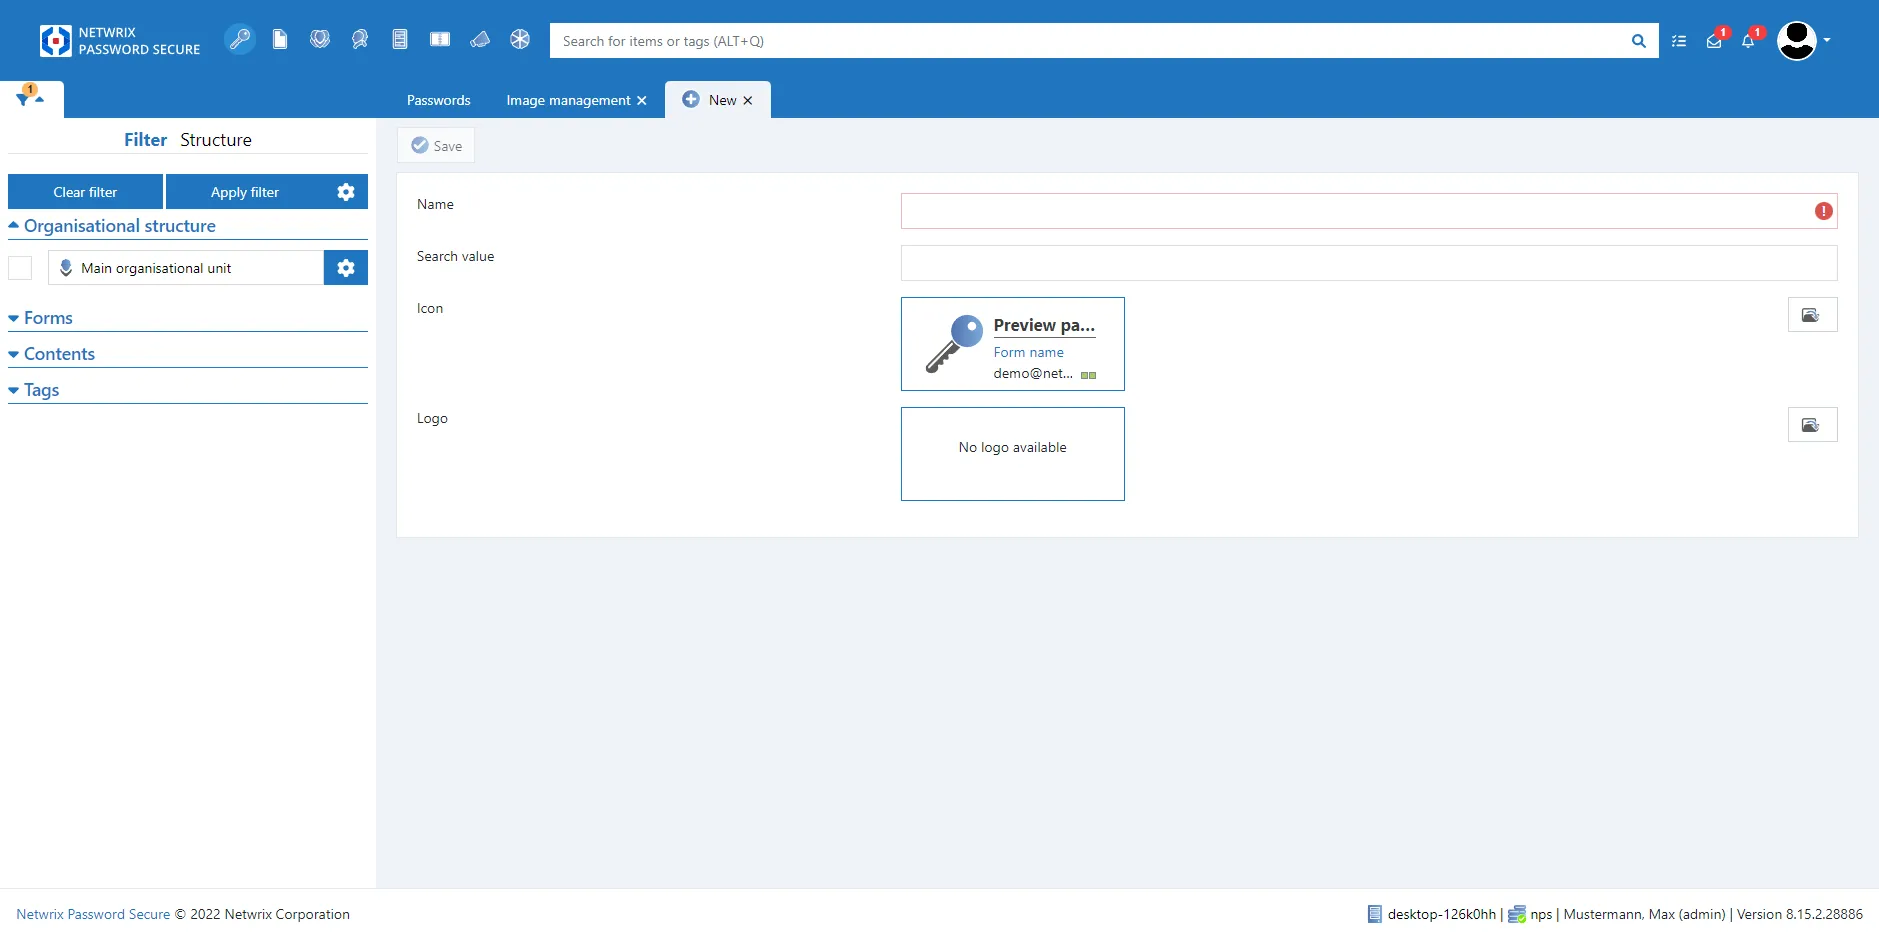
After filling in and uploading the icon/logo, the process only needs to be saved.
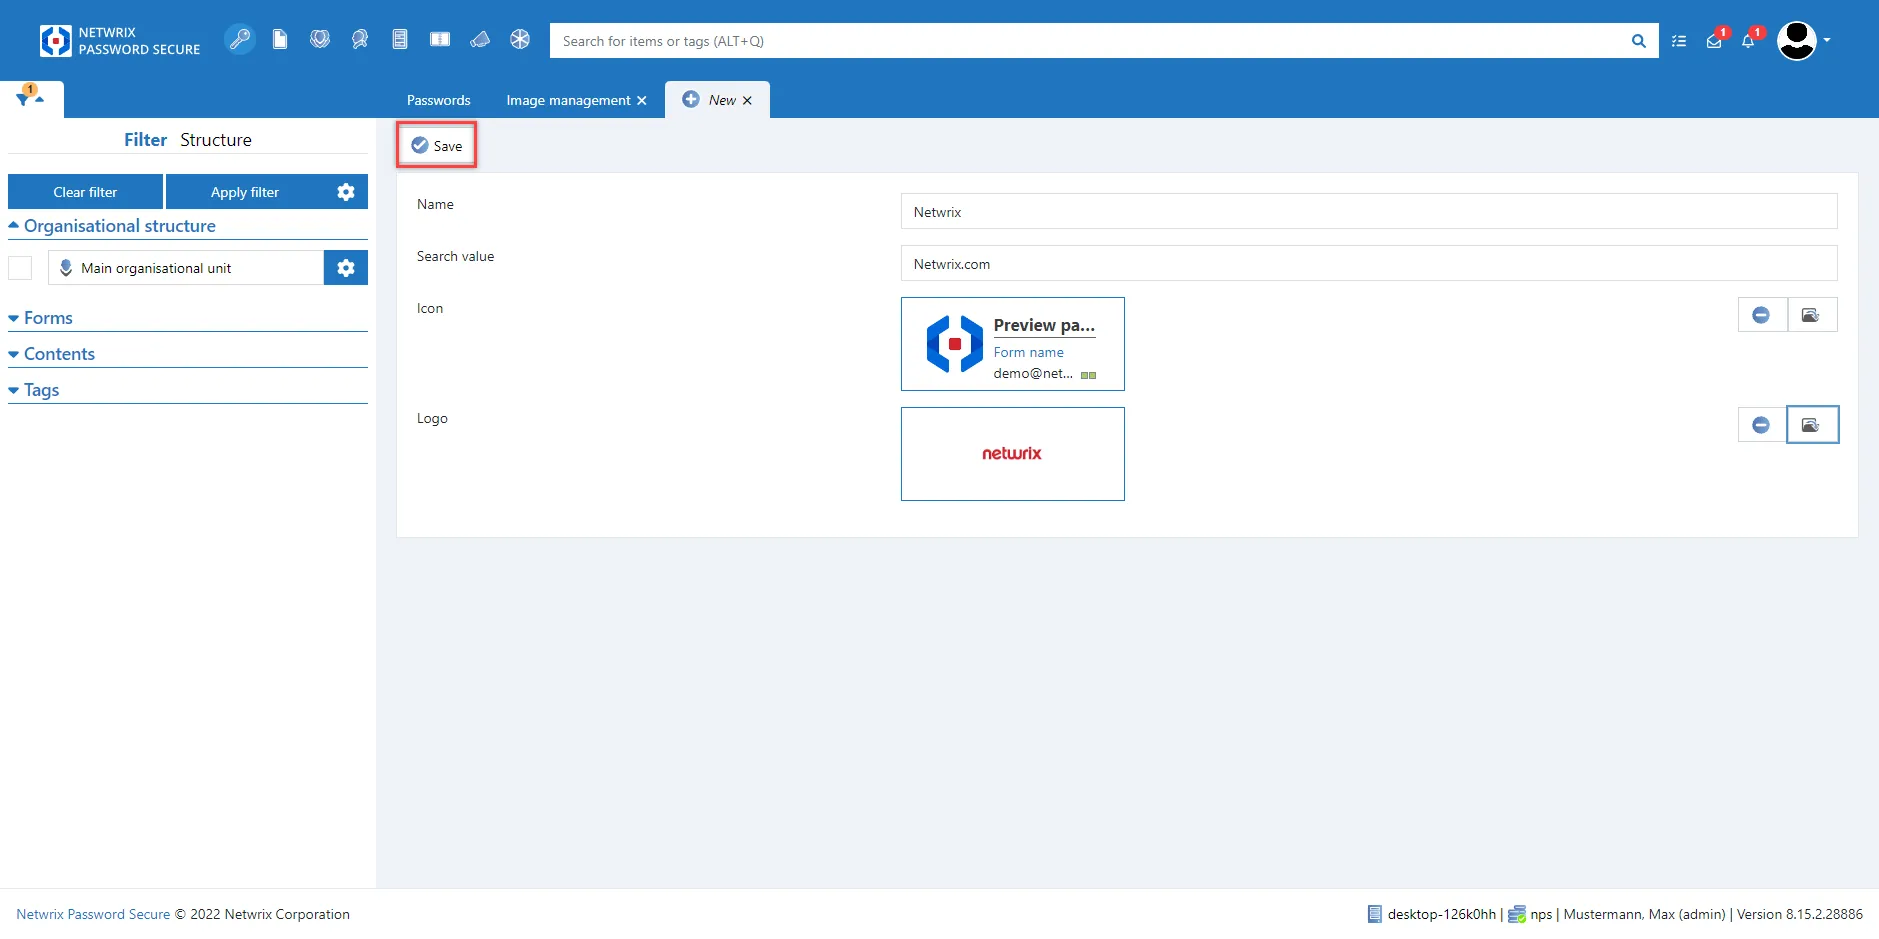
Edit / Delete icons and logos
If an icon and/or logo is outdated, you can edit or even delete the stored icons/logos.

Settings
The following options can be managed via this menu item:
- Global user rights
- Global settings
- User settings
The management of these settings is based on the client. Further information can be found under global User rights and User settings
The following settings are not available on the Web Application:
- Customizable window caption
- Permitted document extensions
- Clipboard gallery
- Category: Proxy
Account
Here it is possible to change the password of the logged in user.
User menu
The user menu can be found in the upper right corner of the Web Application. A right click on the logged in user opens it.
Options in the user menu

Settings
All possible settings can be viewed in the following chapter settings.
Bin
In the bin you can manage your deleted passwords.
Help
A click on help takes you directly to the Netwrix Password Secure documentation page.
Switch to Basic view
What the Basic view is able to do in the web view can be inspected here.
Lock
This locks the user who is currently logged in and only needs to enter his password to use the web client again.
Log out
The logged in user is logged out. All relevant information is now required to log on again.
Operation
Operation of the Web Application has been based as far as possible on the operation of the Netwrix Password Secure client. Nevertheless, there are some differences that need to be noted and they are described here.
NOTE: There is also a Basic view in the Web Application. Everything worth knowing can be found at the following link: web view Basic view
Login
There is no database profile on the Web Application. All databases approved for the Web Application will be made available. The following information needs to be entered to log in:
Database name
User name
Password

After successfully logging in, the last database name used and the last registered user will be saved. You thus only need to enter the password for the next login.
Transferring login data via the URL
The database name and user name can be transferred directly via the URL. The following parameters are used here:
- database for transferring the database nam
- username for transferring the user name
The parameters are simply attached to the URL for the Web Application and separated from one another with a &.
Example
You want to call up the Web Application under https://psr_Web Application.firma.com. In the process, you want the login mask to be directly filled with the database Passwords and the user name Anderson. The following URL is then used: https://psr_Web Application.firma.com/authentication/ login?database=Passwords&username=Anderson
NOTE: It is possible to only transfer the database. The user name is not absolutely necessary.
Structure
The Web Application is split into a number of sections that are described below.
The header provides access to some essential functions.
It is possible to switch between module and filter view on the navigation bar.
As is also the case on the client, it is possible to select between filter and structure.
The ribbon on the client has been replaced by a menu bar on the Web Application.
The records currently selected using the filter can be viewed in list view.
The reading pane shows you details about the relevantly selected element.
Various information about the record is displayed in the footer. For example, logbook entries or the history.
Reading pane
What is the reading pane?
As with the list view, the reading pane on the Web Application is almost identical to that on the client. Therefore, we also refer you here to the corresponding Reading pane section.

Various information is displayed on the header – as is the case with the client. For example, the tags for the records or information on whether the record is public or private. Password masking is also symbolised here.
NOTE: There are – as is usual in a browser – no context menus