Getting Started with PingCastle Enterprise
Initial startup
When the application first runs, it creates the database. If an error occurs with the database (missing right, invalid connection string) or hosting, the application won't display the next screen.
For security reasons, PingCastle Enterprise has no default account or password.
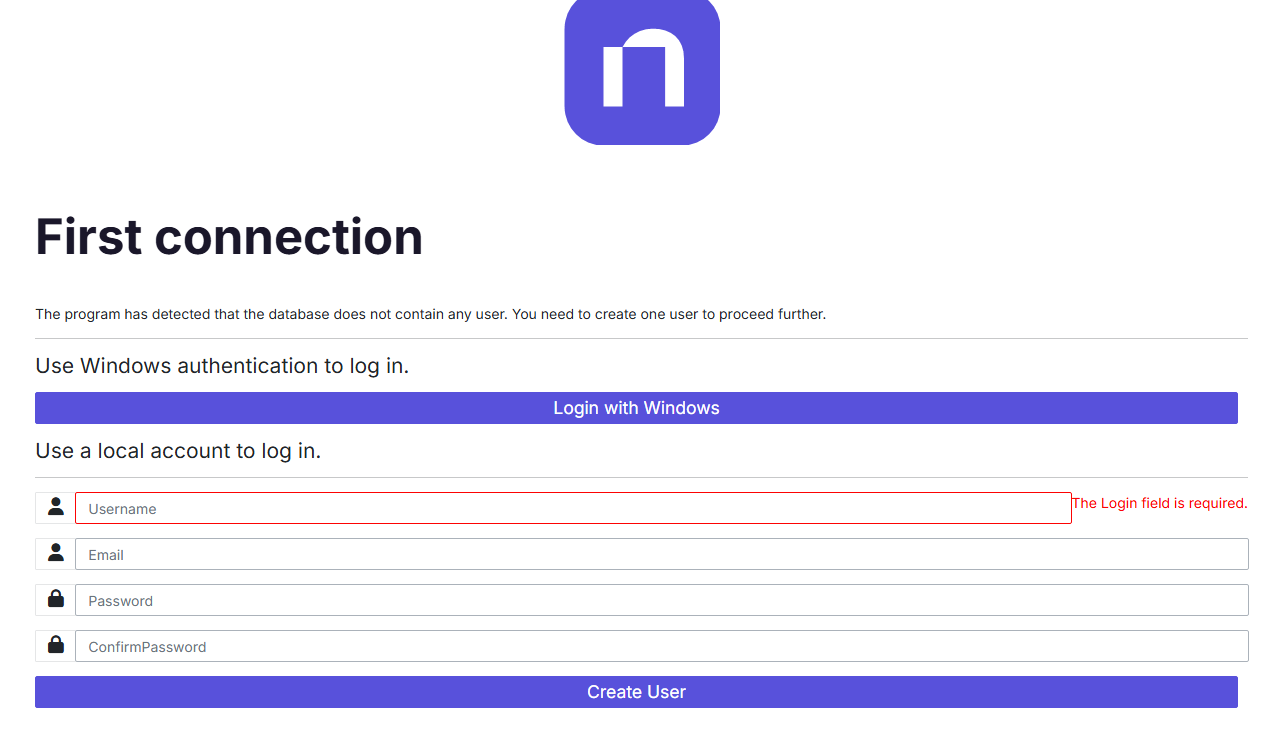
When the application has no configured user, a special screen appears to create the first user. This user receives the "Admin" role.
Scheduling your first scan
PingCastle Enterprise runs scheduled scans through Configuration > Scheduler. See Active Directory scan scheduling for the full field reference.
The scheduled scan wizard labels the credential profile field "execution profile." Credential profile and execution profile refer to the same thing.
Scheduling an Active Directory scan
- If the domain isn't already in PingCastle Enterprise, go to Infrastructure > Domains and create it with just the name. PingCastle Enterprise populates the domain's SID automatically the first time it processes a report for that domain, whether from a scheduled scan or a manual import.
- Go to Configuration > Scheduler.
- Click Credential Profiles, then Create profile.
- Enter a profile name, select Active Directory as the scan type, select the Agent (use the default Agent), and select the domain. Toggle the run-as account switch if you're using a custom account, and add a description if needed.
- Click Create profile to save the profile.
- Click Scheduled scans, then Create schedule.
- Enter a unique job name, select the execution profile you just created, set the scan frequency and time, toggle Privileged Scan depending on whether you want to run a privileged scan, set any advanced options you need, then click Create schedule.
After the job runs, its report appears on the domain's page in PingCastle Enterprise.
Scheduling an Entra scan
Entra scans follow a different process for tenant setup. Go to Entra scanning and use the Add tenant wizard to connect your tenant — the wizard includes its own scheduling step, so you can create the schedule as part of setup.
If you skip that step, or need to add another schedule for a tenant you've already connected, see Scheduling an Entra scan.
What's next
- Authentication — Configure Windows Authentication, OpenID Connect, SAML2, or a combination. See Authentication.
- Email — Configure SMTP or Microsoft Graph for notifications. See Email.
- Entities and permissions — Group domains and control who can see and act on them. See Entities.
- Agent deployment — For domains a security or network boundary keeps the scheduler from reaching. See Agent deployment.
- Synchronization — For multi-instance security zone deployments. See Synchronization.
- Decryption keys — For decrypting reports agents encrypt before upload. See Decryption keys.
- Settings — Authentication, notifications, data retention, and more. See Settings.