PingCastle Pro Upgrade Guide
Before proceeding to the upgrade
Version check
You can check the existing version using the About link at the bottom of each page.

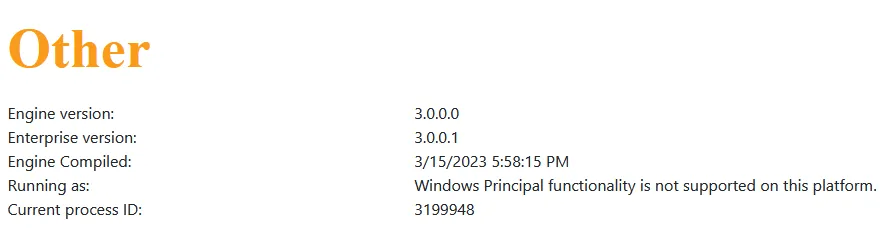
Database backup
Netwrix highly recommends backing up the data before proceeding with an upgrade.
PingCastle Pro stores the data in the database. No data exists outside the database.
Software requirements
Before performing the upgrade, you must meet the software requirements for the new version. The following table lists the requirements for each version.
| Upgrade path | Requirement |
|---|---|
| Any 2.x version | All versions have the same requirements. |
| 2.x to 3.2 | Upgrade ASP.NET from 3.1 to 6.0. |
| 3.2 to 3.x | Upgrade ASP.NET from 6.0 to 8.0. |
Performing the upgrade
To upgrade PingCastle Pro:
- Download the MSI installer for the new version.
- Run the MSI installer on the server where PingCastle Pro is installed. The installer detects the existing installation and performs an in-place upgrade.
- If PingCastle Pro connects to the database with a limited-privilege account (read, modify, and delete only), apply the SQL script Netwrix provides before you run the installer. PingCastle Pro can't create or alter tables without database-owner permissions. If the database user is the database owner, PingCastle Pro creates or modifies tables automatically the first time it runs after the upgrade.
- If PingCastle Pro runs on IIS, restart IIS after the upgrade completes.
Post-upgrade verification
After the upgrade completes:
- Confirm the application starts successfully.
- Check the About link at the bottom of the page to confirm the version number matches the version you installed.
- Confirm your settings in
appsettings.Production.jsonare unchanged, since the upgrade doesn't remove or reset this file. - Confirm the database is intact. Upgrading, like uninstalling, doesn't remove the database.