Installation
Install PingCastle Pro on a Windows server in four parts: IIS, the ASP.NET Core 10.0 Hosting Bundle, a SQL Server database, and the PingCastle Pro Windows Installer (MSI). This installation is suitable for production.
PingCastle Pro needs a SQL Server database. Have one available before you run the MSI. See Database requirements. If you don't have a SQL Server instance, get SQL Server Express.
Install IIS
Internet Information Services (IIS) is a Windows component that hosts the PingCastle Pro website.
- On the server, open Server Manager and select Add roles and features.
- Select Web Server (IIS) and complete the wizard.
Alternatively, run the following command in an elevated PowerShell window:
Install-WindowsFeature Web-Server -IncludeManagementTools
Install IIS before the ASP.NET Core 10.0 Hosting Bundle. If you don't, you may need to repair the Hosting Bundle installation.
Install the ASP.NET Core 10.0 Hosting Bundle
-
On the .NET 10.0 download page, find the Windows installers for ASP.NET Core Runtime and select Hosting Bundle.
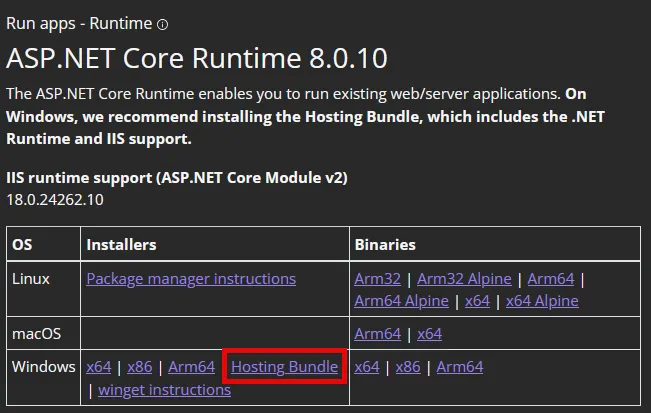
-
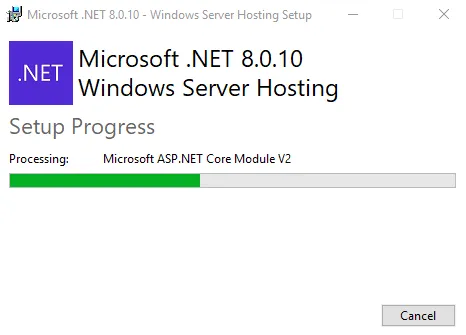
Run the installer and let it finish.
Get SQL Server Express
Skip this step if you already have a SQL Server instance. PingCastle Pro works with any edition of SQL Server.
- Download SQL Server Express from the Microsoft SQL Server downloads page.
- Run the installer and select Basic.
- Let the installation finish.
Install the PingCastle Pro MSI
Before you start, have the following ready:
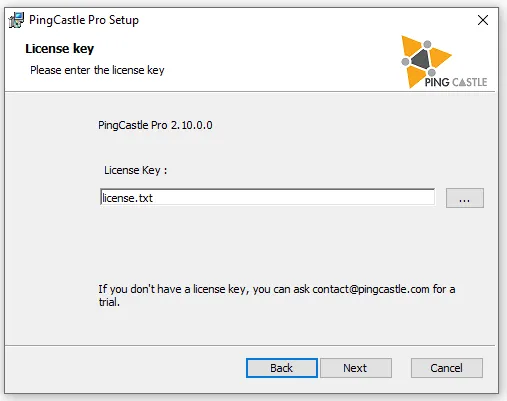
- The license key that Netwrix distributes alongside the MSI file. If it's missing, contact PingCastle support.
- If you use Entra ID authentication, the Tenant ID and Client ID of the application. The Client Secret, notification group, and SMTP configuration are optional. You can change them later in the
appsettings.Production.jsonfile.
Run the MSI file and follow the installer.
-
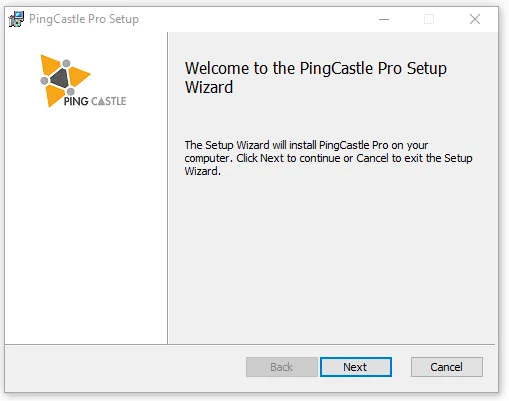
On the welcome screen, select Next.
-
Accept the license terms.

-
Enter the license key.
-
Configure the database. Choose one of two options:
- Create the database: Enter a connection to the database server. The installer creates the database for you.
- Use a connection string: Enter the connection string of an existing database.
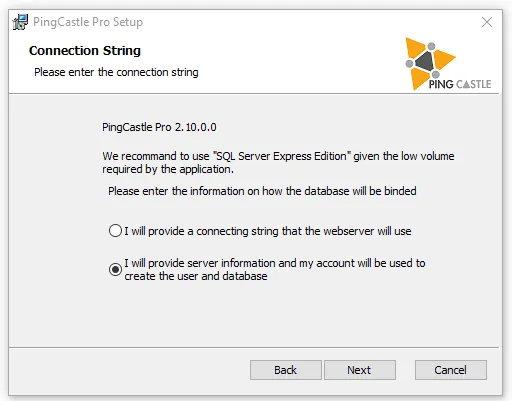
The option that creates the database:
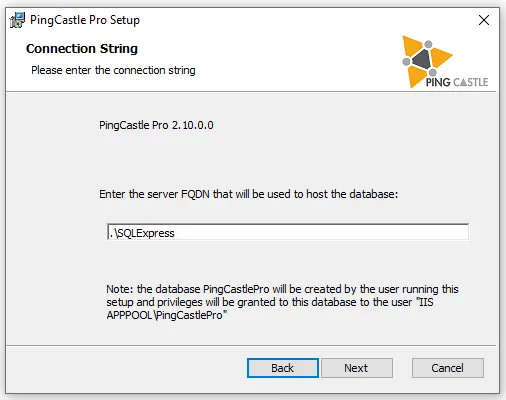
The option with the direct connection string:
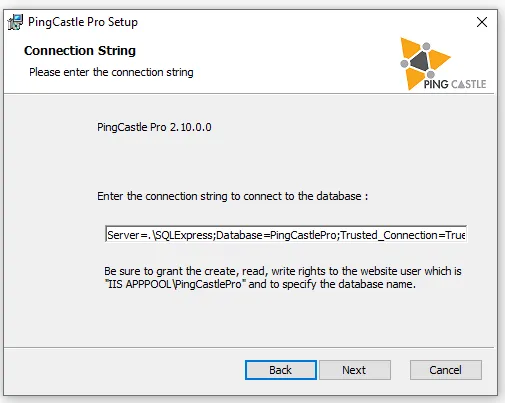
-
Configure authentication.
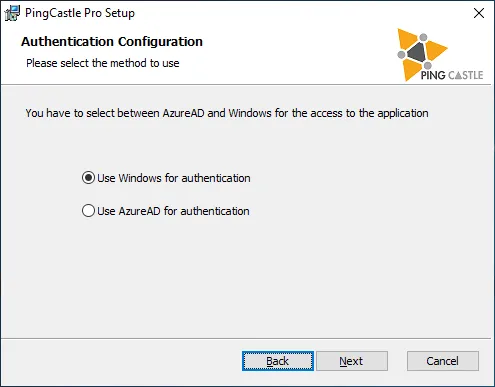
-
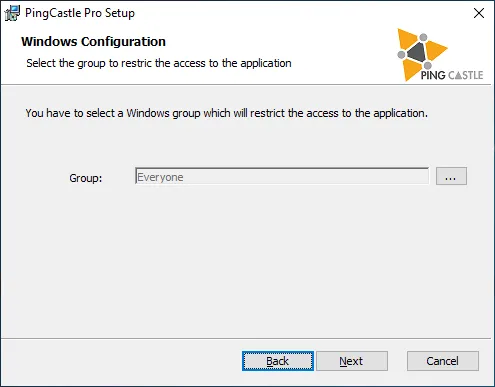
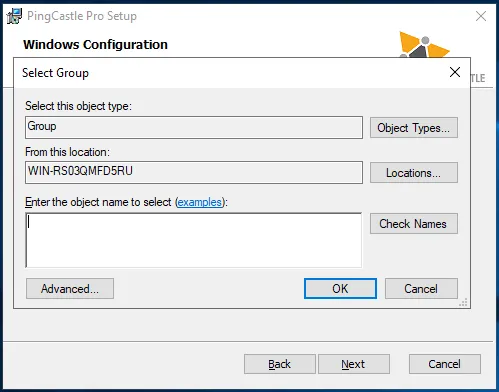
Windows: PingCastle Pro allows the Everyone group by default. To change the group, select the browse button, then select the group in the Select Group dialog.
 note
The Domain Admins group doesn't work. Windows strips the group from the restricted token, so the application doesn't see the user as a member even if the user belongs to the group. Run
whoami /allin a command prompt to see the groups the token presents to the application. -
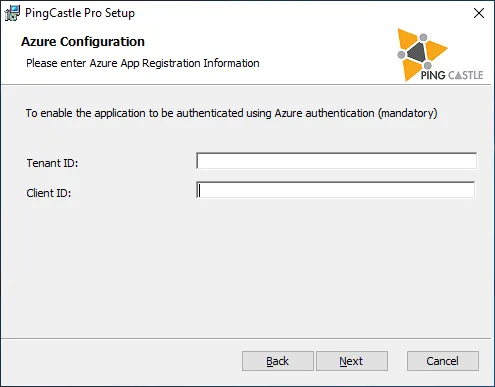
Entra ID: Enter the Tenant ID and Client ID of the application.
-
-
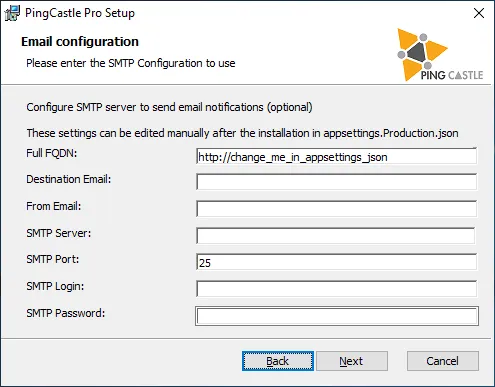
Optional: To send email notifications, configure SMTP. In Destination email, enter the addresses that receive the notifications.
-
Select Install.
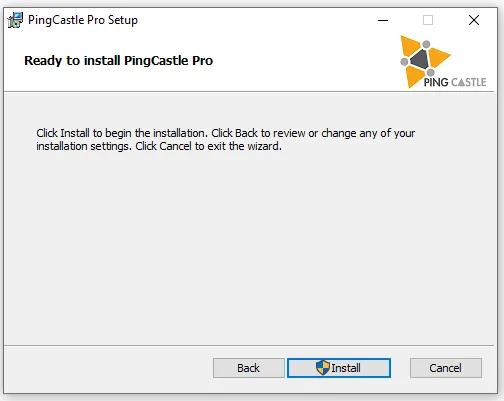
The installer configures the website, the database, and the application. If it creates the database, it also grants the IIS application pool permission to the database.
When you remove PingCastle Pro, the uninstaller doesn't remove the database.