Zendesk Walkthrough Example
This walkthrough is one example based on our test account. You must install and configure the Zendesk integration, prior to using this walkthrough.
Alerts and notifications may occur during this walkthrough, and are not included in these steps. For example, override alert, notifications for approvers, and notification for the change request.
The walkthrough demonstrates these steps:
- Create a Zendesk Ticket
- Create the Change Request
Create a Zendesk Ticket
-
Login in to your Zendesk dashboard.
-
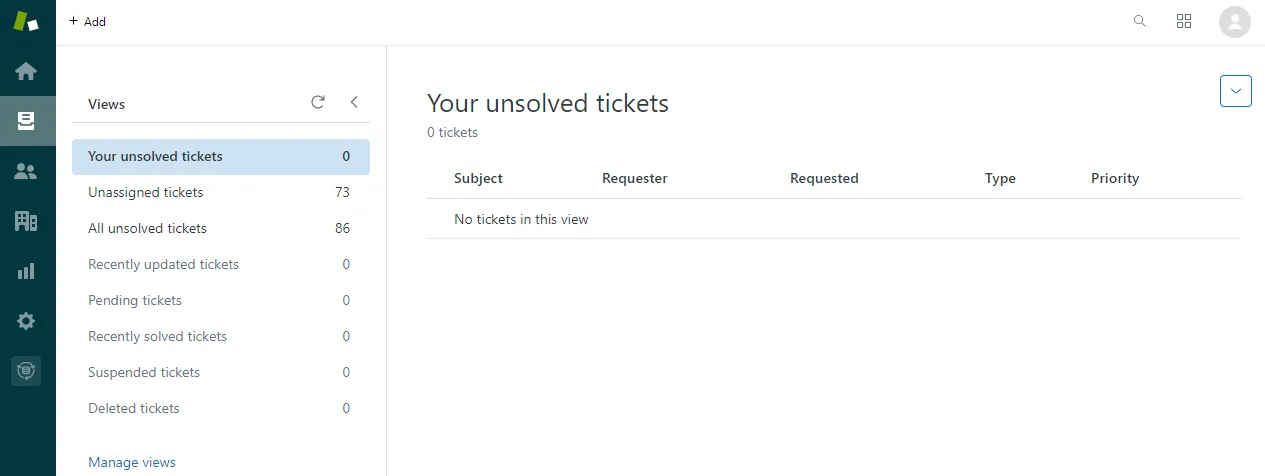
Open your Views.
-
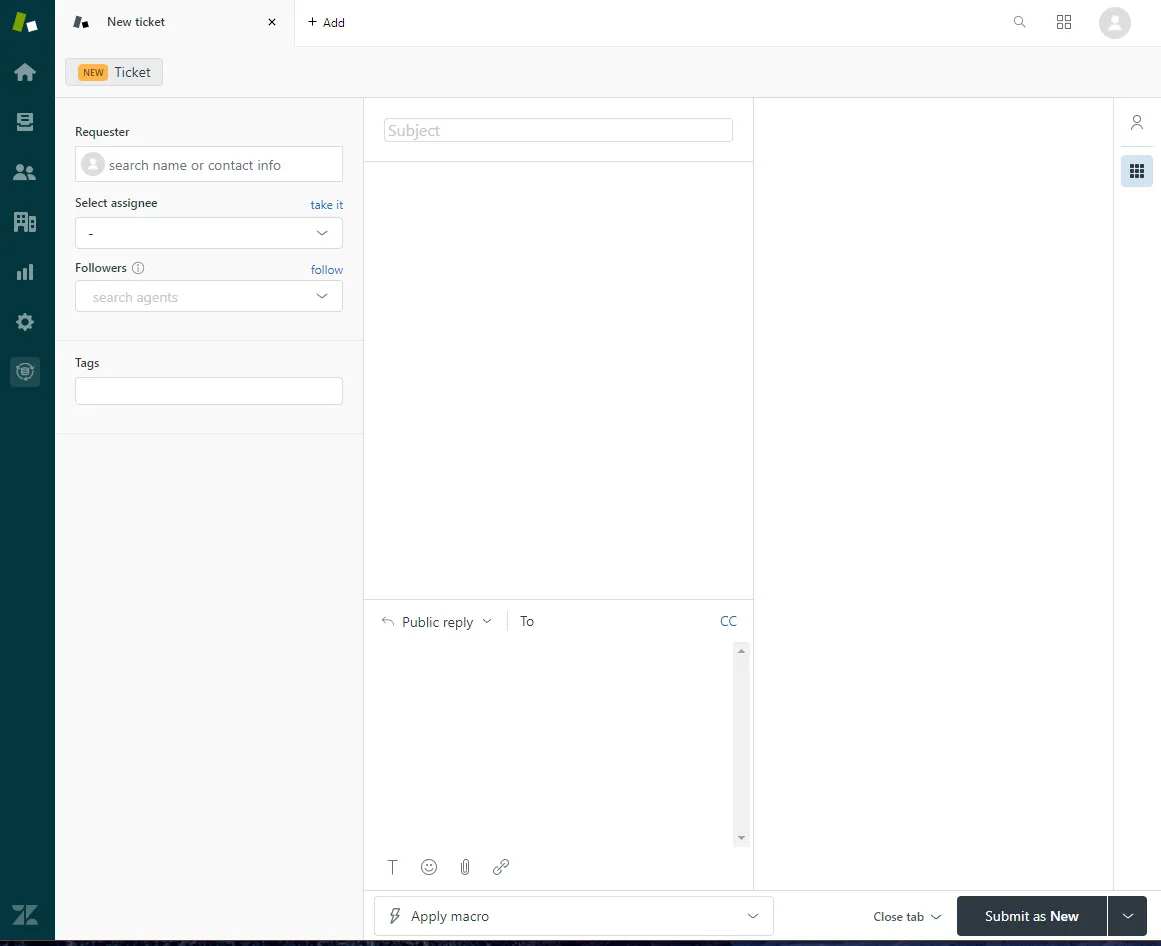
Click + Add > Ticket.
-
Enter your information for the Ticket:
- Requester: start typing the name of the requester. Matching names are displayed. Click + Add user to add a new user.
- Select Assignee: assignees are added as users or groups.
- Click take it to assign it to yourself.
- Start typing a user name and pick from one of the matches. User names are listed by group.
- Expand the drop down and open a group. Select a user or assign it to the group.
- Followers: add users to follow this ticket.
- Click follow to add yourself.
- Start typing a user name and pick from one of the matches.
- Tags: enter any tags, separated by commas.
-
Enter the ticket Subject and details. You can set either Public reply and send email to other users, or select Internal note to add the info to the ticket without sending email. You can also Apply macro if applicable.
The app information is not available until the ticket is created.
-
Click Submit as New.
Create the Change Request
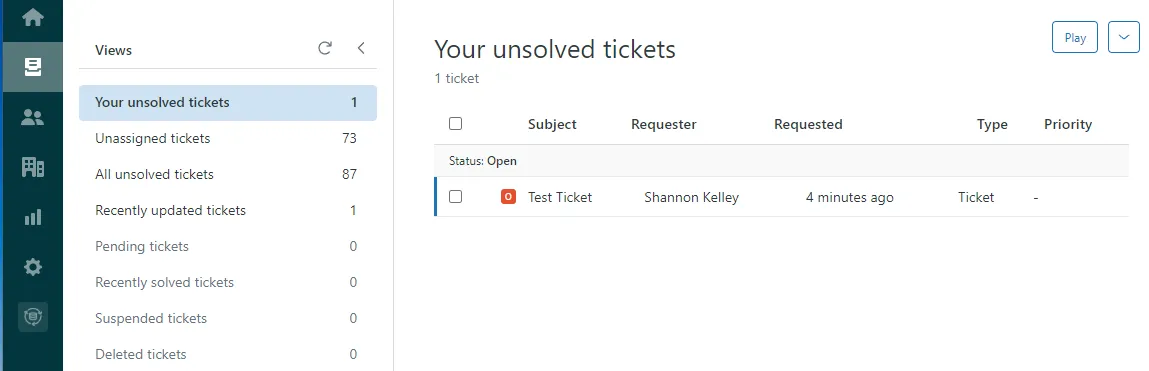
Open your new Zendesk ticket. Test Ticket in this example.
If you do not see the app, make sure the Apps are toggled on using the Apps icon
![]() and verify you are a member of a group or role
authorized to access the app.
and verify you are a member of a group or role
authorized to access the app.
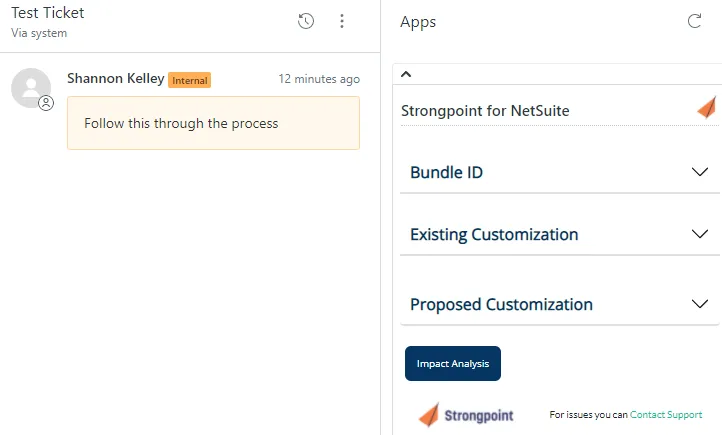
Use Bundles for the Scope of Change
Specify a Bundle to use a bundle for the scope of change. This is optional.
-
Expand the drop down.
-
Enter the Bundle ID.
-
Click + to add the bundle. 232111 in this example. You can remove a bundle using the drop down toggle.

Once you have made a change, the Request Approval button is available if you are a member of a group with the Set up Approvals permission.

Add Existing Customizations
Existing Customizations can be added to the change request with the Look up Customization feature.
-
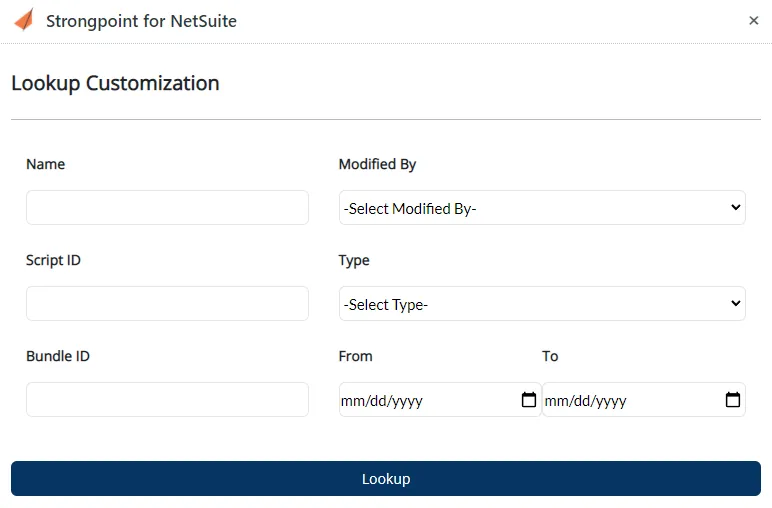
Click Look up Customization.
-
Enter the search information in one or more of the available filters. For example, enter new for Name and select Body Field for Type to search for all body fields containing the word new.
-
Click Lookup.
-
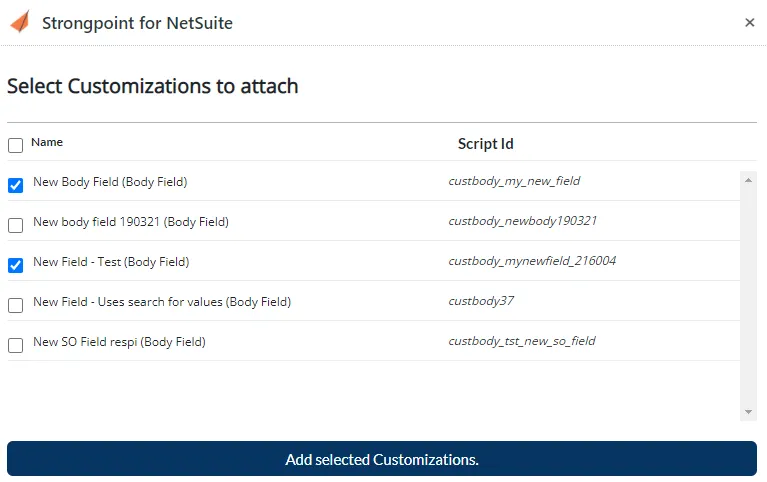
Select one or more customizations to attach to the change request.
-
Click Add selected Customizations.
There is an options menu available for each added customization. Options include Remove and ERD. Selecting ERD launches the Entity Relationship Diagram for the customization.
Add Proposed Customizations
-
Enter all or part of a Name in Add Customizations. For this example, enter new.
-
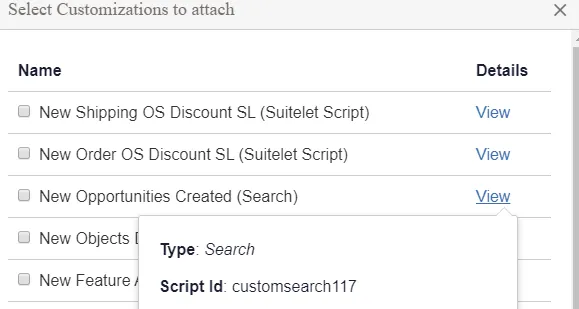
Click + to search for matching Customizations. View displays the Type and Script ID for a Customization.
-
Select one or more Customizations. For this example, select New Opportunities Created (Search).
-
Click Add Selected Customizations. The selected Customization is added to the Existing Customizations list.

-
Enter the Script ID custentity_fmt_cust_credit_on_hold in Add Customizations and click +.
-
The Set Customer Credit on Hold (Entity Field) is displayed. Select it, and click Add Selected Customizations. The selected Customization is added to the Existing Customizations list. Notice that the Change Level Required has changed from Log Changes Only to Full Software Development Lifecycle, which is the policy for the Set Customer Credit on Hold field.

- Impact Analysis and View ERD are tools to Zendesk Walkthrough Example.