Pending Role Assignments
This view makes it easy to identify roles without owners, and facilitates adding owners. Access your Pending Role Assignments from your menu bar. All changes are captured in the UAR History.
Here is an example of the Pending Role Assignments:
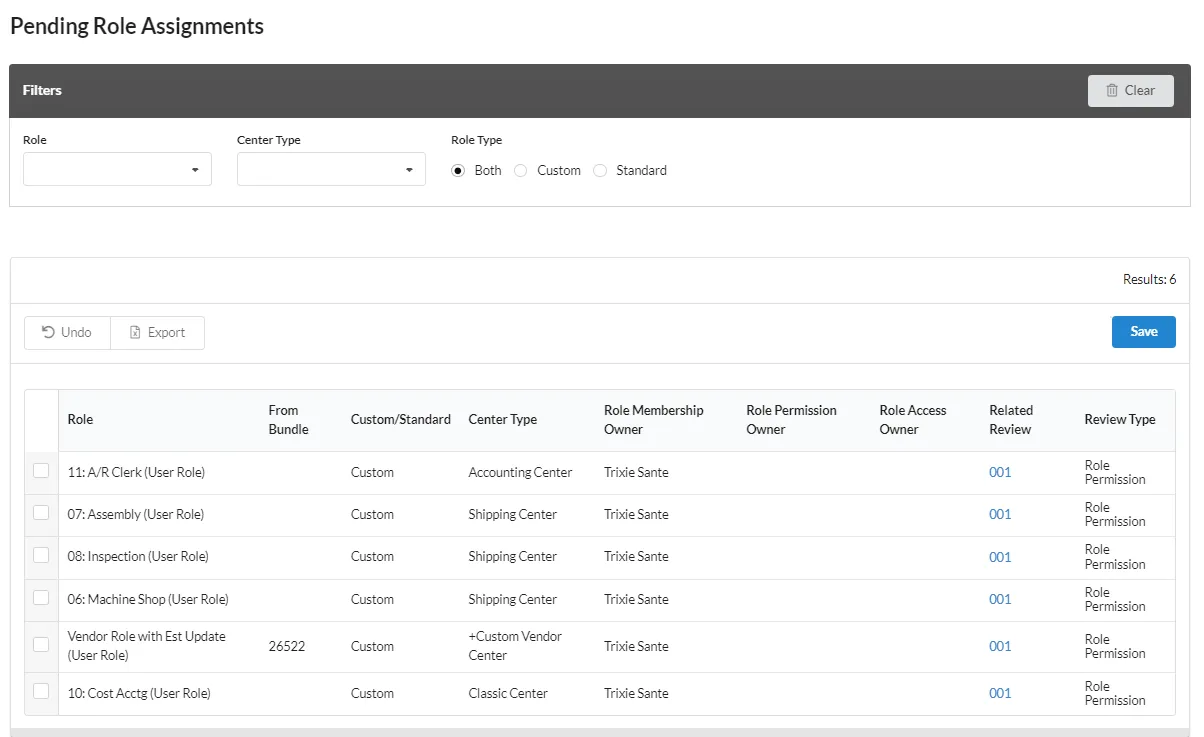
Filters
Filters help you organize your Pending Role Assignments list.
Use Clear to reset the Filters.
- Role Select from the drop down list. All is the default.
- Center Type Select from the drop down list. All is the default.
- Role Type Displays Both, Custom only, or Standard only roles in the list.
Pending Assignments List
- Undo undoes all actions that have not been submitted.
- Export exports the list of selected reviews as either a CSV or PDF file. The exported file is named Pending_Role_Assignments.
- Save saves your changes.
- Role is the role to be reviewed.
- From Bundle the bundle number if applicable.
- Custom/Standard the role type.
- Center Type the center for the role.
- Role Membership Owner the user assigned to the role membership.
- Role Permission Owner the user assigned to the role permissions.
- Role Access Owner the user assigned to the role access.
- .Related Review a link to the review for the pending role assignment.
- Review Type is either role permission or membership.
Assign Owners
You can assign owners on the Pending Role Assignments List.
- Open Pending Role Assignments from your menu bar.
- Select an existing role. The drop down lists for the ownership roles are displayed.
- Select users from the drop downs for the ownership roles.
- Click Save when your changes are complete.
Set a Due Date
You can assign due dates on the Pending Role Assignments List.
-
Open Pending Role Assignments from your menu bar.
-
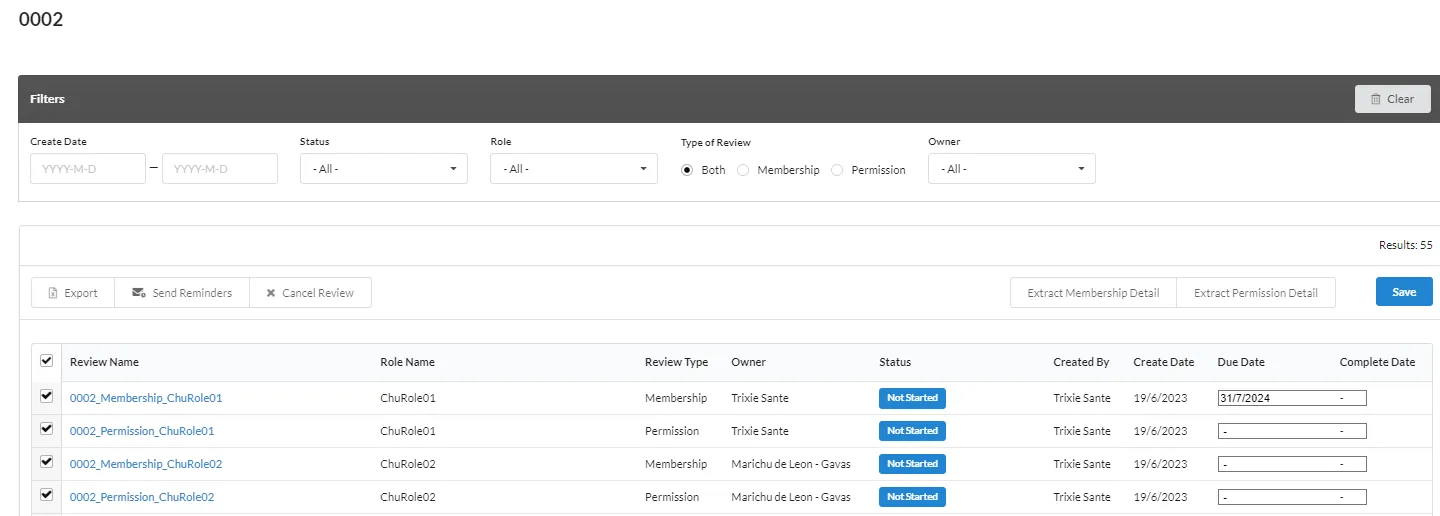
Select a Related Review link.

-
Select a single review, or select the box in the table header to select all of the reviews.
-
Click in the Due Date box and use the date picker to set a date.
-
Click Save when your changes are complete.