Multiple Environment Deployment Tracking
Create change requests in your production account so that they aren't lost, they have an audit trail, and approvals are recorded.
Here is the overall process flow for multiple deployment tracking:
- Create the Change Request
- Push the Change Request
- Push the Updated Change Back into Production
- Create the Deployment Record
- Create the Deployment Record
- Deploy the Changes
- Complete the Process
Create the Change Request
-
In your Production environment, open Change Requests > New Change Request
-
Enter the relevant fields, including:
- Change Request Name: Enter a meaningful name.
- Select the Change Type.
- Change Overview: Enter a meaningful description.
- Add Customizations. If you add Proposed Customizations, they don't appear on the change log because they don't exist in both environments.
- Add one or more Additional Approvers.
-
Save the change request.
-
Click Submit for Approval
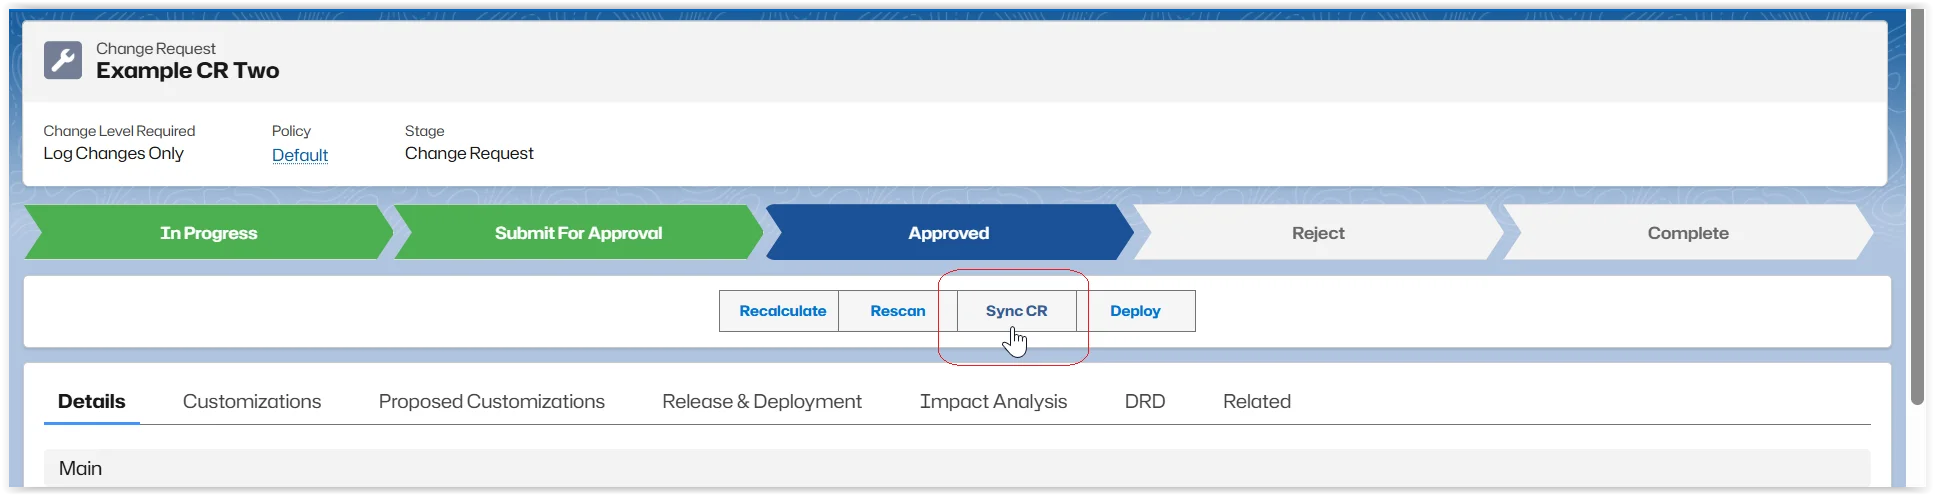
Push the Change Request
After the change request is approved:
-
Click Sync CR.
-
Choose a Saved Environment. (Where you plan on developing/testing solutions and/or customizations.)
-
Add your Credentials.
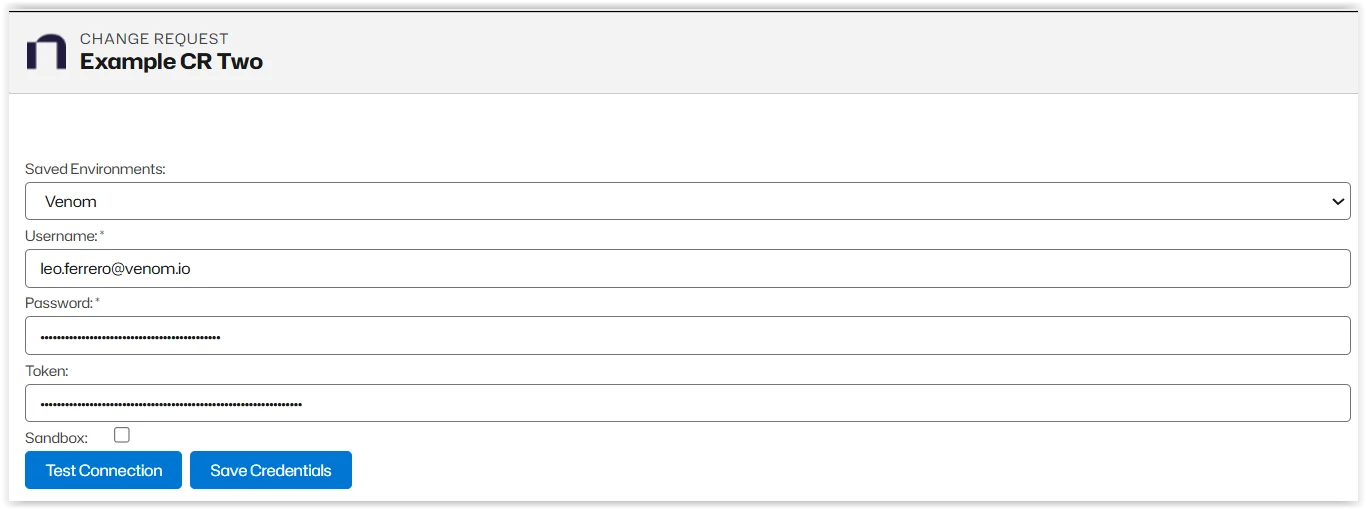
-
Click Test Connection to ensure your credentials are correct. If your credentials are not correct, click Save Credentials and edit.
-
Make the necessary changes on your change request in your development/testing environment and Save.
Push the Updated Change Back into Production
- On the updated change request, click Sync CR.
- Choose a Production environment.
- Add your Credentials.
- Click Test Connection to ensure your credentials are correct. If your credentials aren't correct, click Save Credentials and edit.
- Click Push.
- Click Push CR.
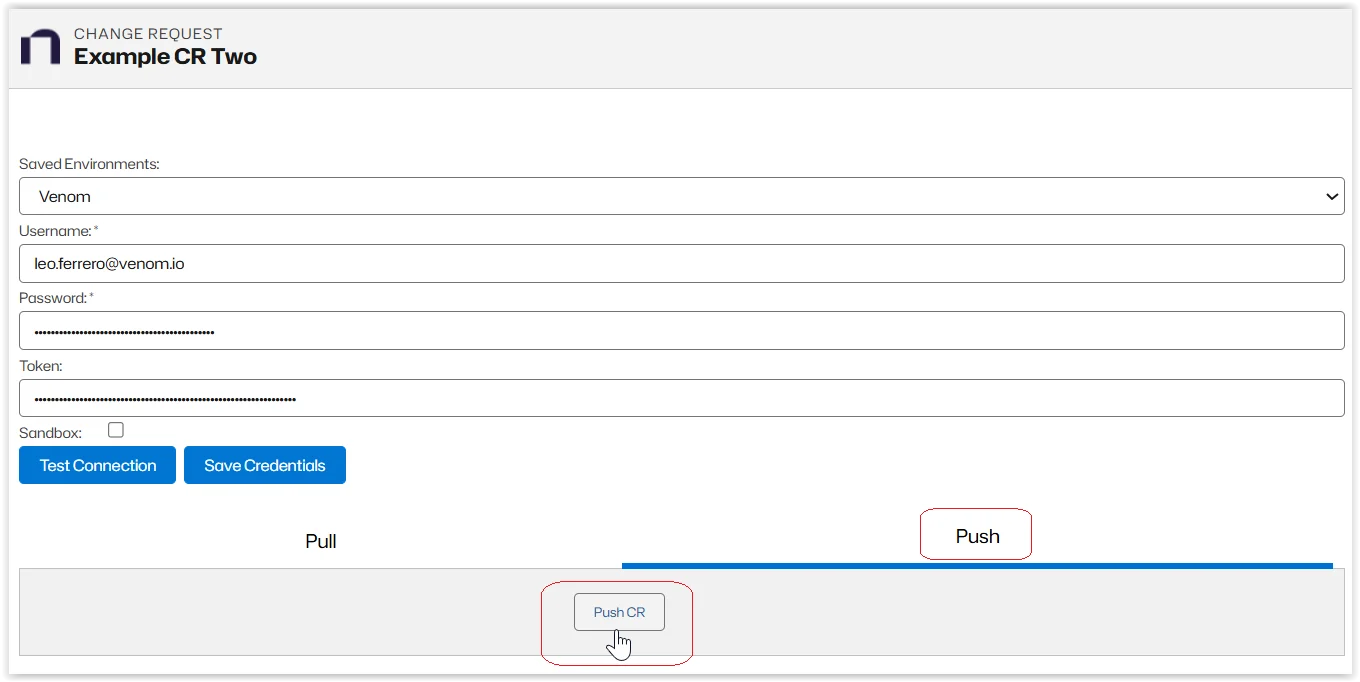
After the push, the Change Request in Production has a related deployment record.
Create the Deployment Record
-
Open the Related Lists tab on your change request.
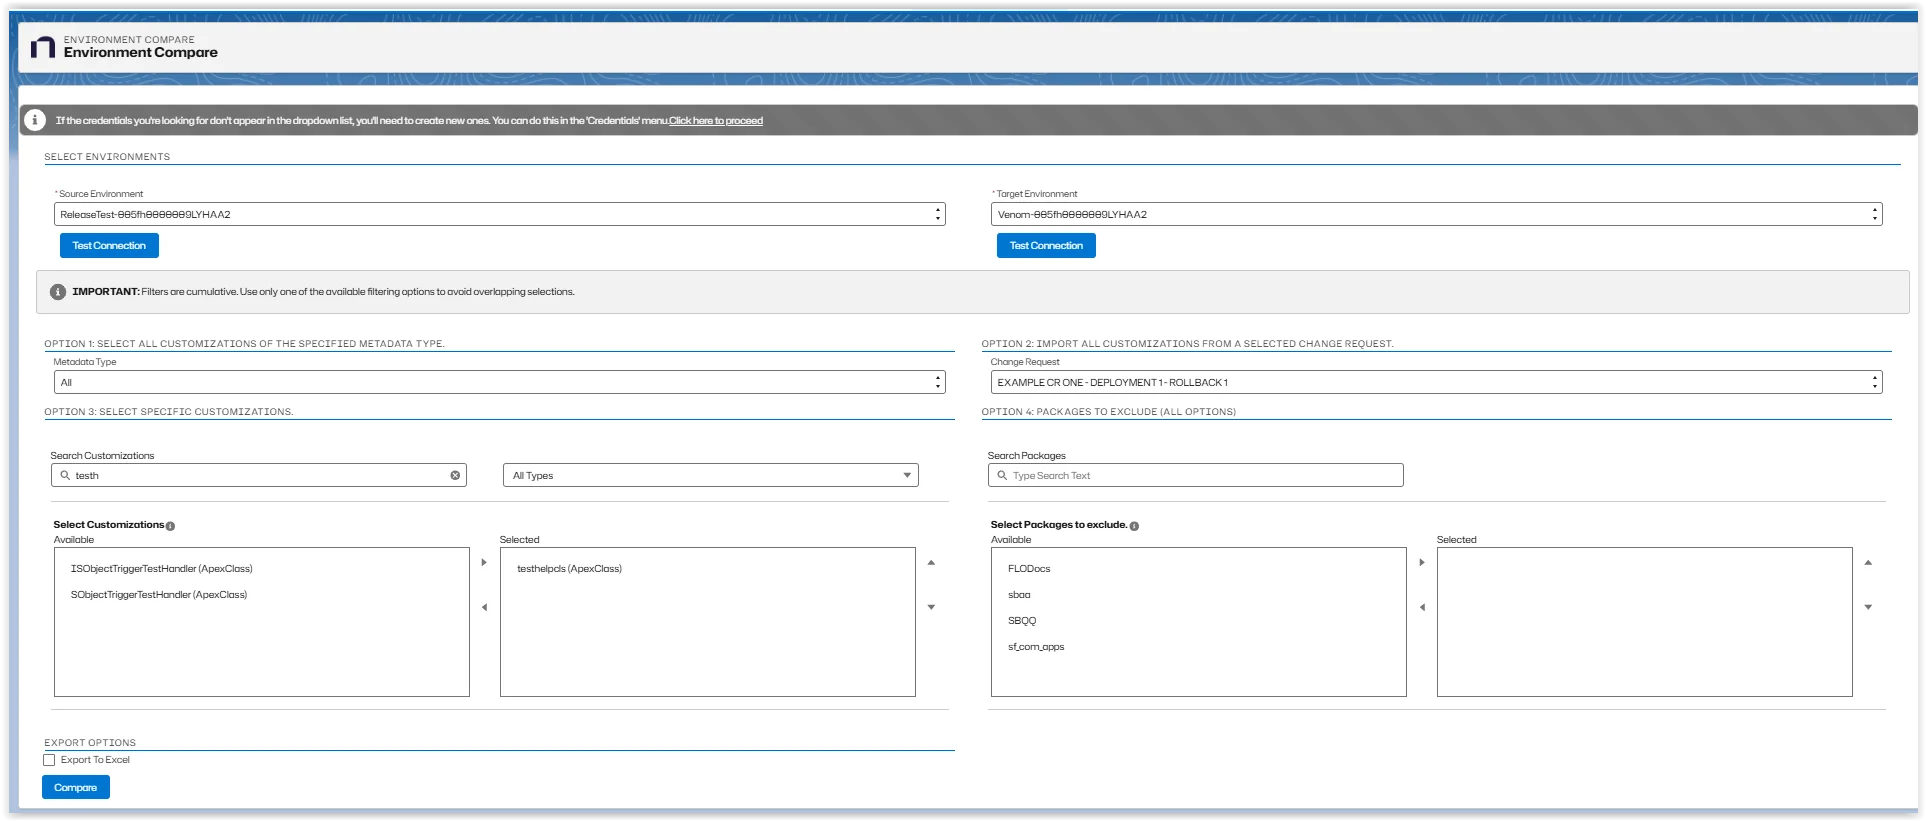
-
Click Run Compare Tool. See Compare Environments for instructions.
-
Click Deploy in the change request tool bar. Deploy is only available for approved change requests.
-
Enter your environments and credentials and Test Connections.
-
Save the deployment record.
-
Click Submit for Approval.
Deploy the Changes
These steps can be completed after the deployment record is approved.
-
Open Change Requests and select the approved deployment record.
-
Click Deploy Changes
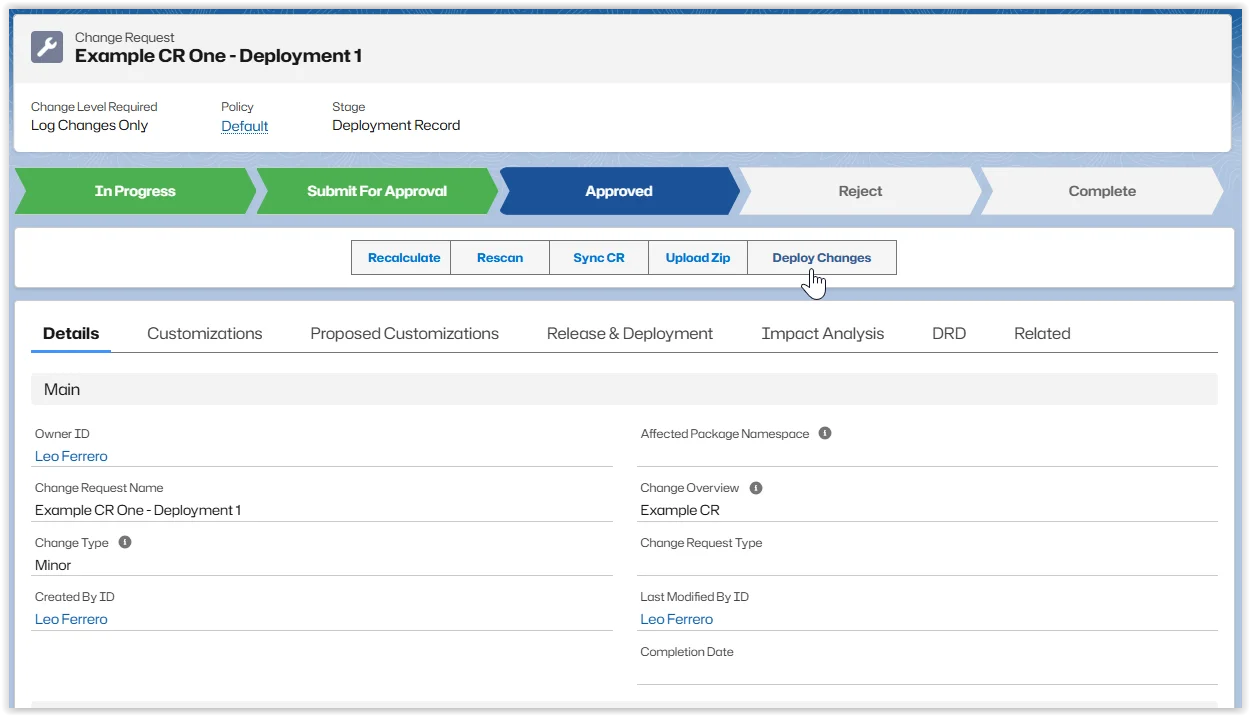
-
Click Retrieve Selected Customizations
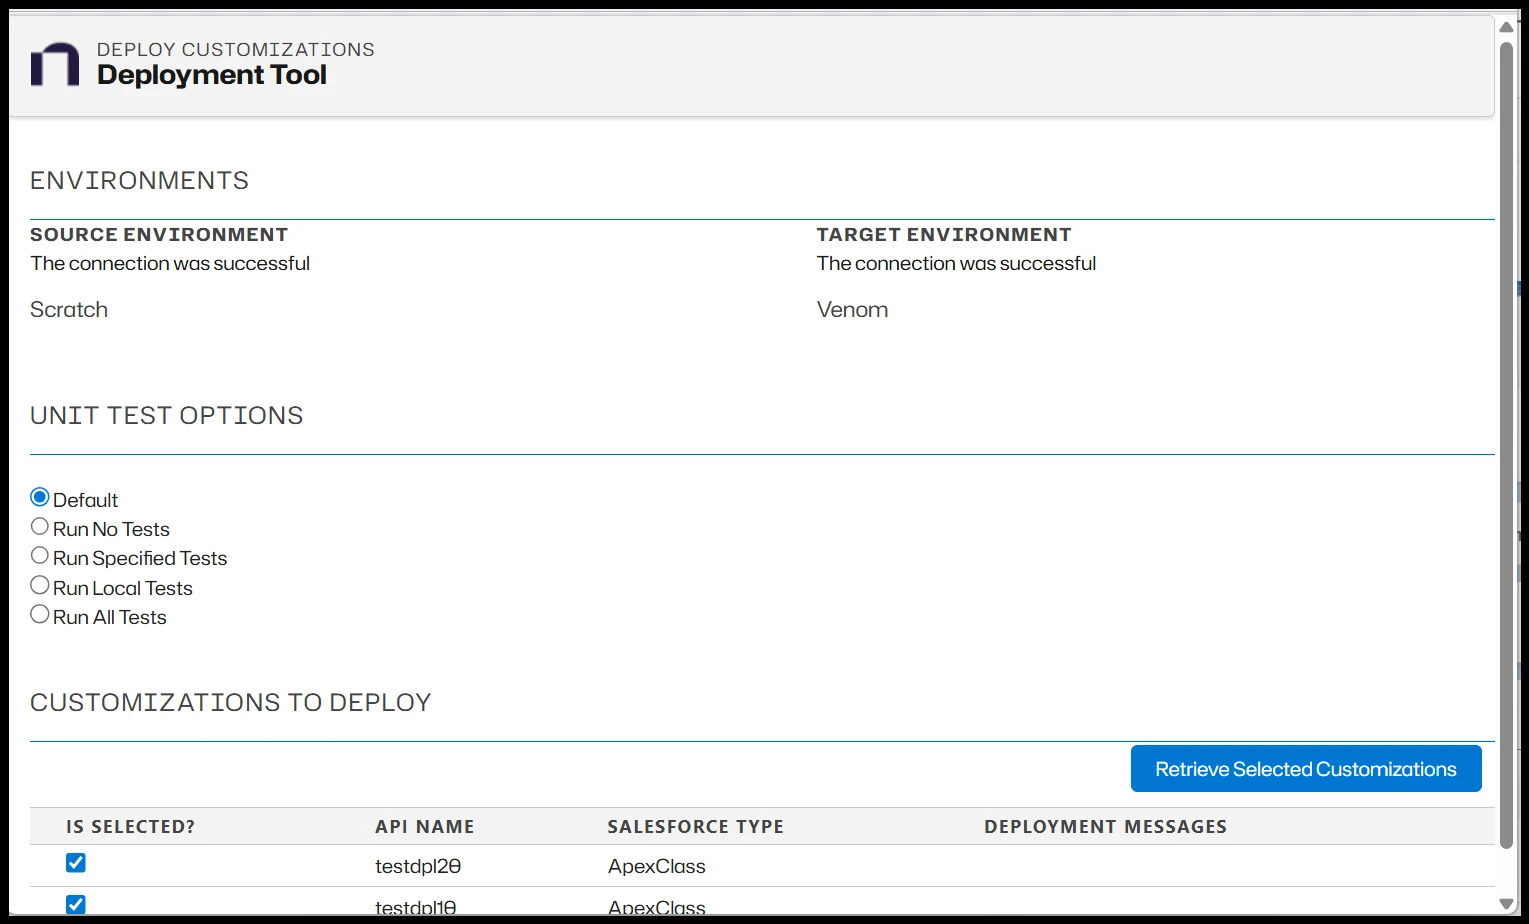
This creates a package to:
- Check Dependencies: Use to check what has been referenced.
- Validate Customizations: Use to check the deployment before it runs. It simulates your deployment.
- Deploy Retrieved Customizations: Use to deploy your customizations when you are ready to proceed.
-
Check your dependencies and validate your customizations.
-
Click Deploy Retrieved Customizations to start the deployment. This can take some time because it runs the test cases into the target environment.

-
Run the Compare Tool to verify all changes moved correctly.
Complete the Process
When the deployment process is finished:
-
Check the Deployment Logs.
-
Fix any errors and repeat the deployment if needed.
-
After the deployment is successful, open the change request and set the status to Completed.
