Rollback
When deploying changes in a single Salesforce environment, you can roll back to a previous state after a deployment. Platform Governance for Salesforce's rollback tool lets you roll back all or selected components of your deployment, enabling you to address a specific problem. There are two steps:
- Create the Rollback Record
- Execute and Validate the Rollback
Create the Rollback Record
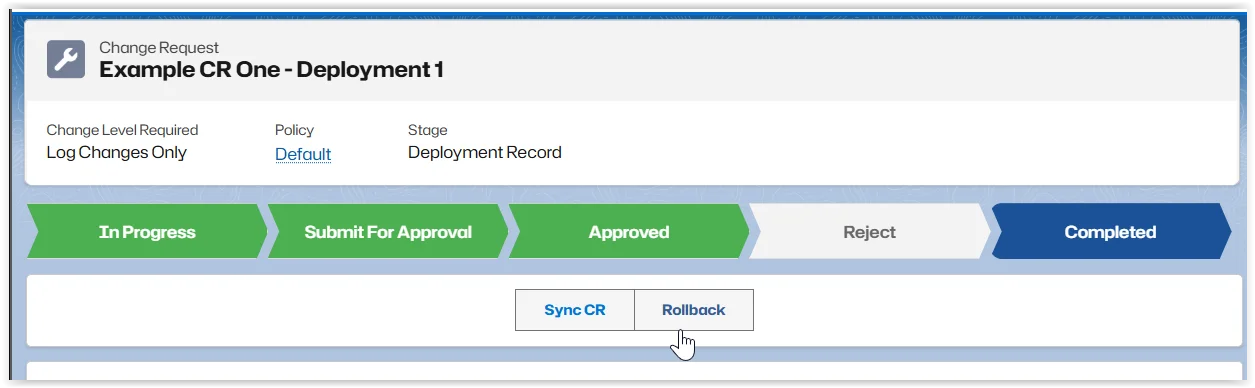
The Deployment Record status must be Completed to be eligible for Rollback.
-
Open the Deployment Record to rollback. To locate the record, click Change Requests and change the view to Deployments.
-
Click Rollback
-
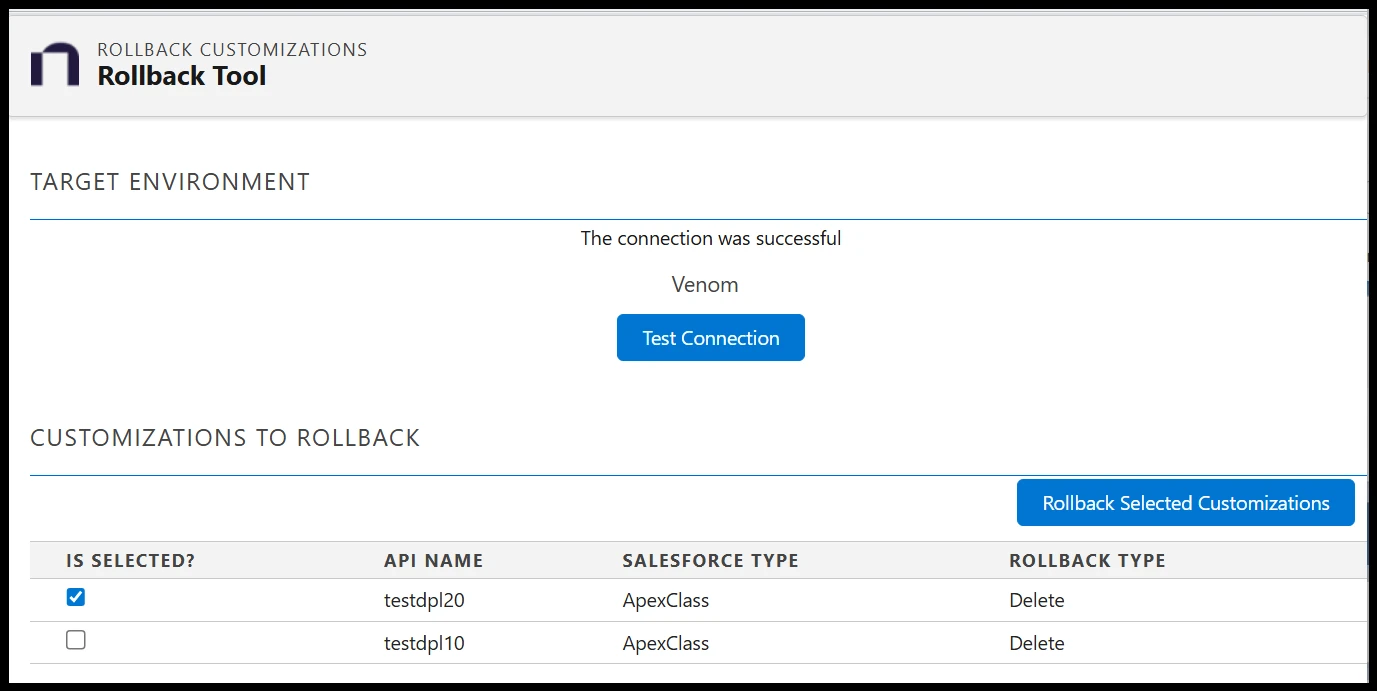
Click Test Connection to ensure your credentials are working. If your credentials aren't correct, click Save Credentials and edit.
-
By default, all customizations are selected for rollback. Deselect any customizations to keep. The Rollback Type specifies the effect of the rollback:
- Delete: If a customization was created during the deployment, it is deleted during the rollback.
- Override: If a customization existed in the target environment and was changed during deployment, it is reset to the previous version.
-
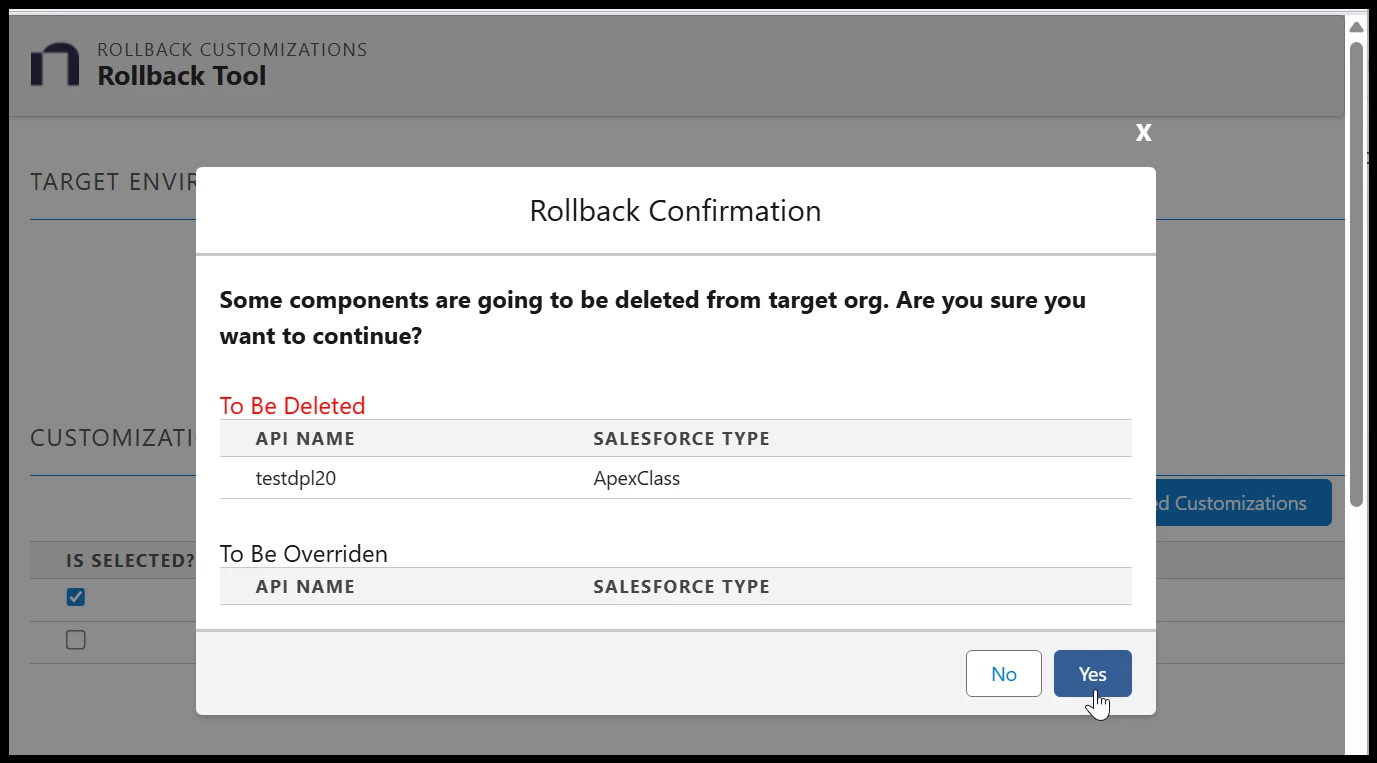
Click Rollback Selected Customizations. The Rollback Confirmation is displayed.
-
Click Yes to continue. A Rollback Record is created.
-
Click Submit for Approval on the Rollback Record.
Execute and Validate the Rollback
The Rollback Record must be approved before it can be executed.
-
Open the Rollback Record. To locate the record, click Change Requests and change the view to Deployments.
-
Click Test Connection to ensure your credentials are working.
-
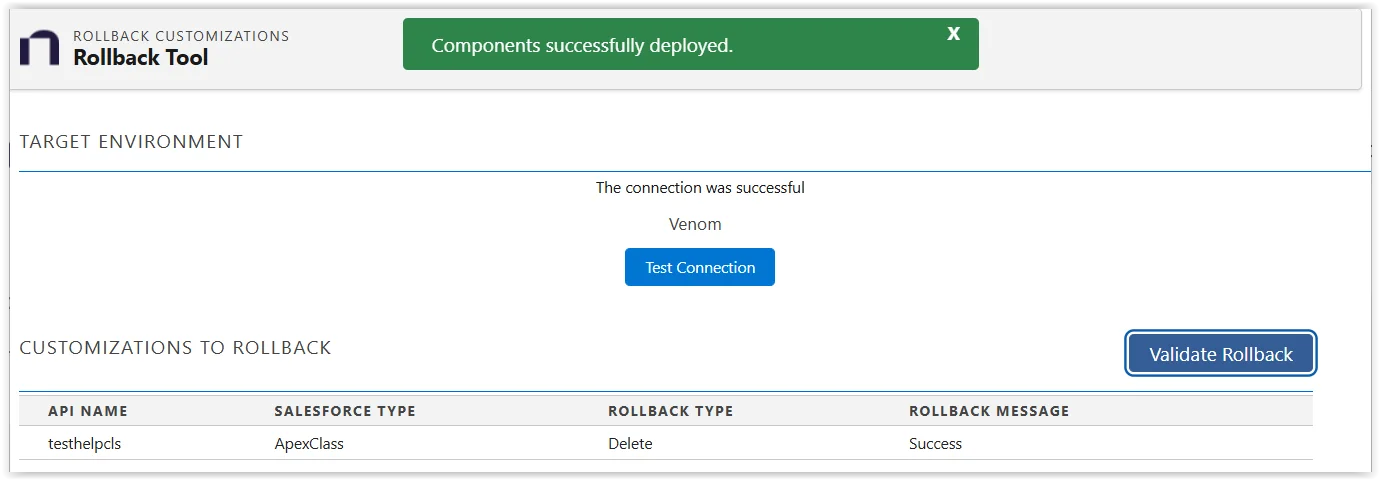
Click Execute Rollback. A Confirmation is displayed. Click Yes to continue.
-
When the rollback is complete, click Validate Rollback.
-
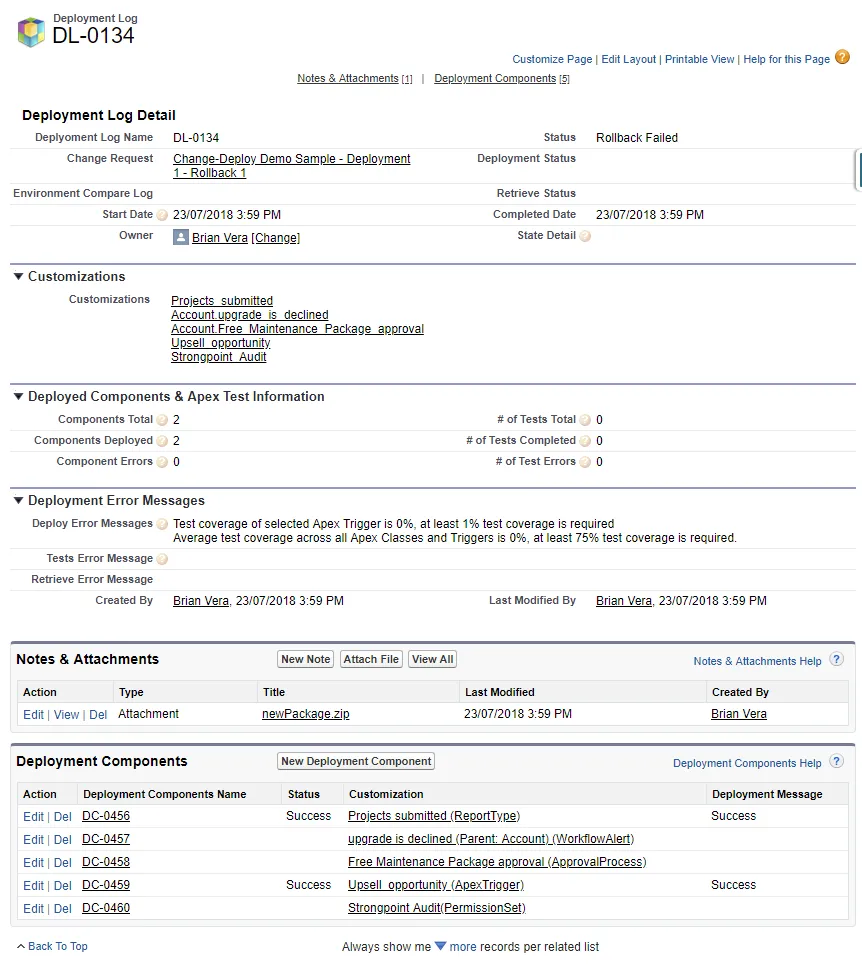
Open Netwrix Dashboard > Reports > Release and Deployment > Rollback Logs Use Customize to add the Status column to your report. The following is an example of a failed rollback deployment log.
-
Click the report to open it. Check the Notes & Attachments for a rollback validation file.