What are the step by step instructions to install the MacOS Client for PolicyPak Cloud manually?

Step 1 – First download the MacOS Client for Netwrix PolicyPak Cloud as seen here.
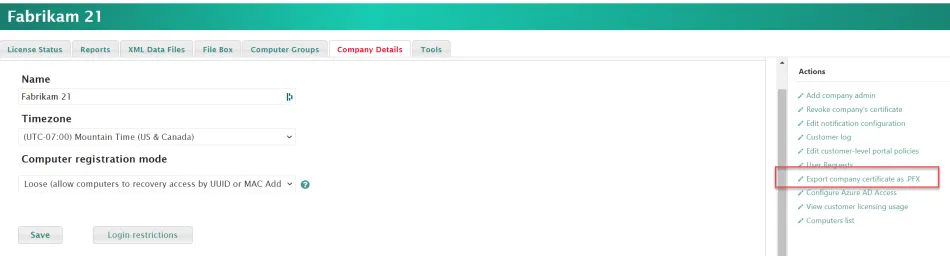
Step 2 – Download the PolicyPak Cloud PFX file like what's seen here (requires a password) and keep the file and password handy.
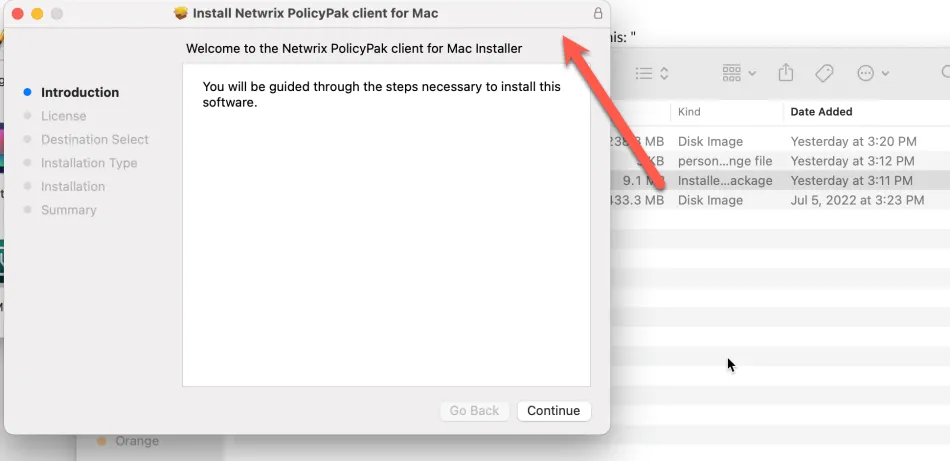
Step 3 – Next, double-click on the installer to run. When the installer finishes, the PolicyPak command will be installed for all users.
Step 4 – After installation completes you will be asked to "Open Preferences" like what's seen here.
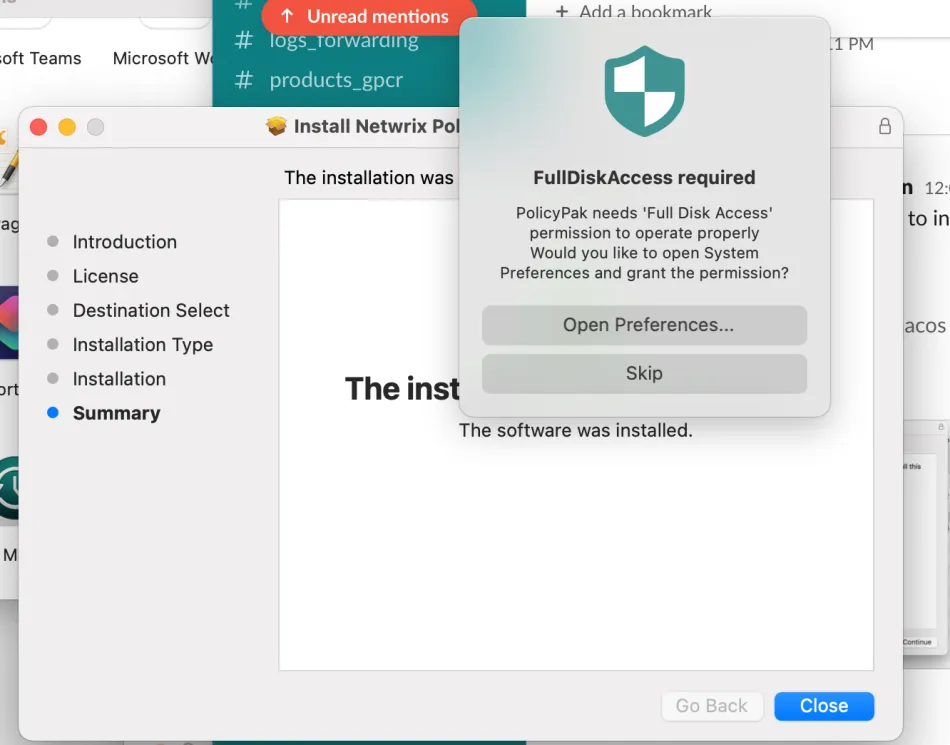
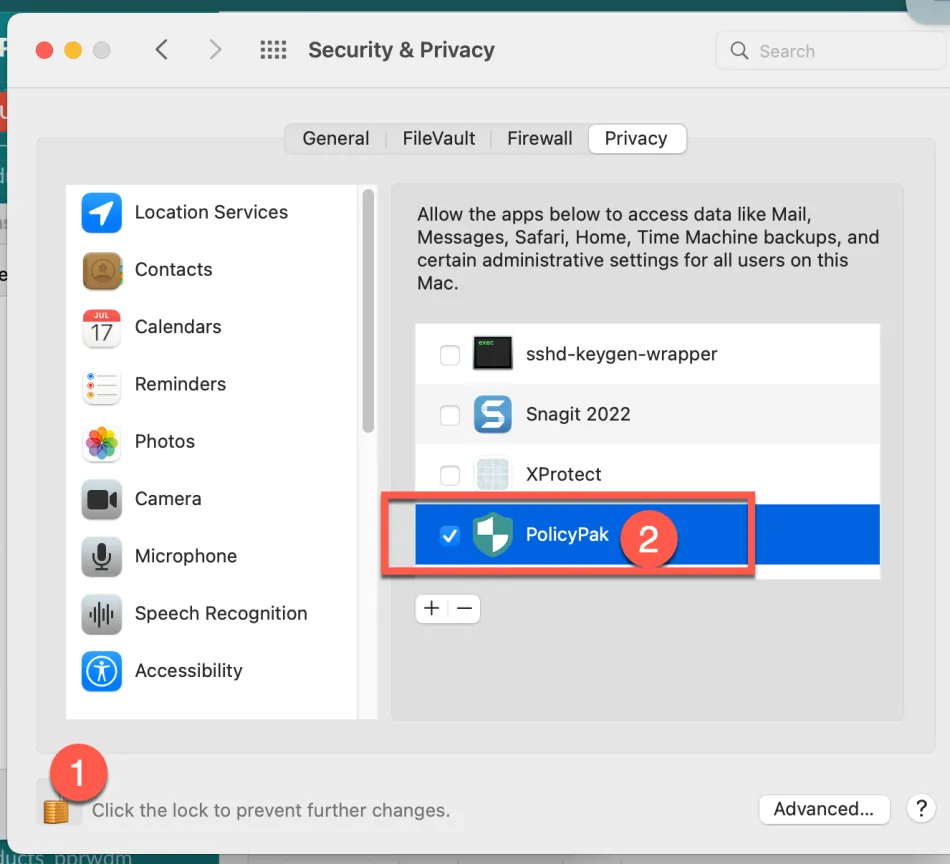
Step 5 – Select Privacy, then Unlock, and then grant PolicyPak access to the Disk like what's seen here.
At this point the MacOS Client for PolicyPak Cloud is installed, but it is not yet enrolled in PolicyPak Cloud.
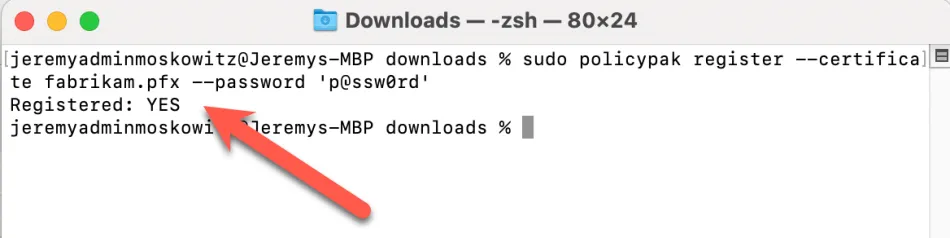
Step 6 – Using the SUDO command, register the machine in PolicyPak Cloud with the certificate you downloaded earlier.
-
Open a terminal window
-
Enter the following command
sudo policypak cloud-register --certificate /path/to/certificate.pfx --password 'certificate_password'Where:
/path/to/certificate.pfx- the folder in which the certificate was downloaded."certificate_password" - the password that was added when exporting the certificate. Export from step 3.
Step 7 – After completing the operation, the message "Registered: YES " should appear in the
terminal window.
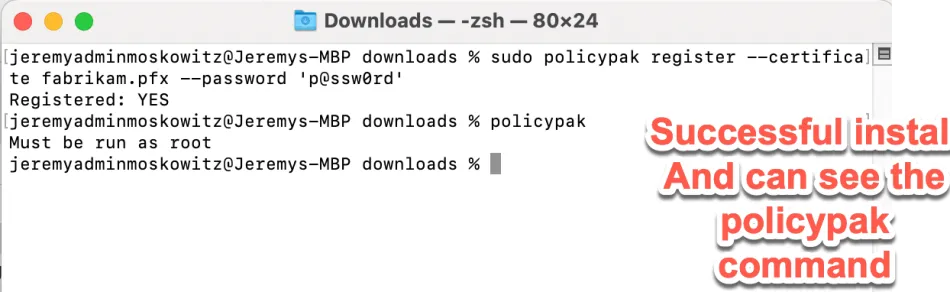
Now the PolicyPak command is registered and available to use, but it must be run as root (or under
sudo.)
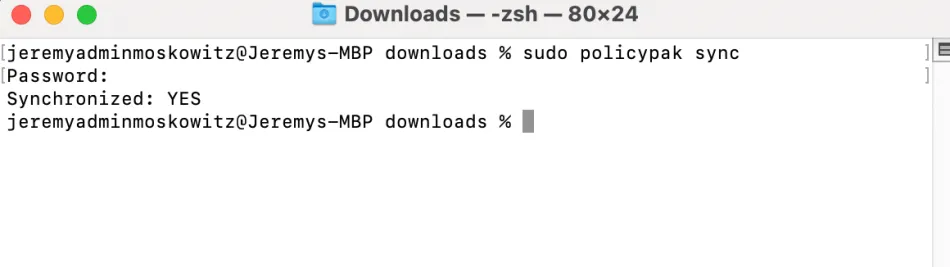
Step 8 – Sync with PolicyPak Cloud with the command
sudo policypak sync
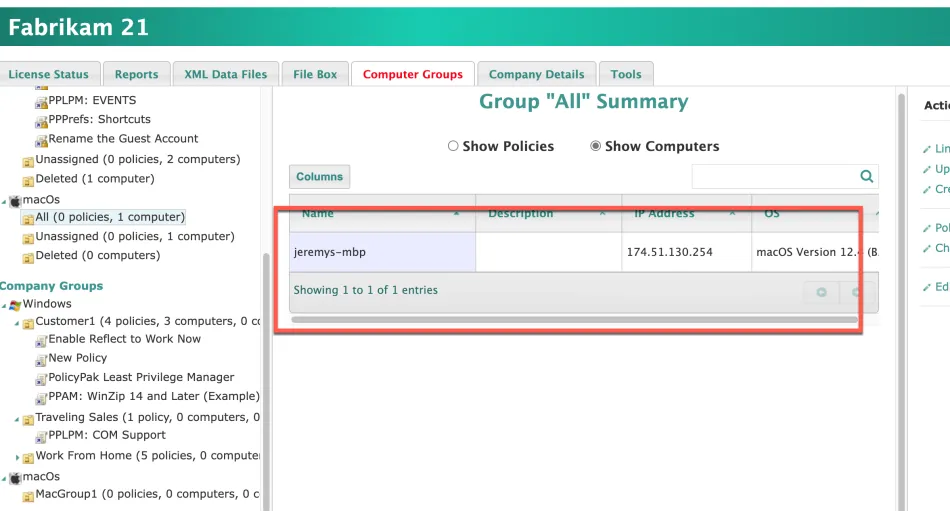
When you see Synchronized: Yes you are ready to make rules in PolicyPak Cloud.
You should see your Mac in the MacOS | All group like what's seen here.