Troubleshooting Installation
If you choose an interactive installation of the PolicyPak Cloud client, then any success or failure messages that occur when connecting to PolicyPak Cloud will be shown on the final window during installation, as shown in Figure 156.
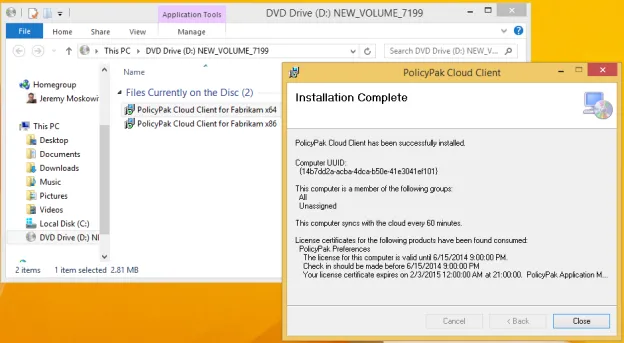
Figure 156. The final window of the installation process.
There are some common issues that occur during installation, and these client troubleshooting errors are documented in one place: Getting Started with Cloud > Knowledge Base. However, three of our most common errors are presented in the next few pages.
No Internet Connection During Installation
You might install the PolicyPak Cloud client during a time when there is no internet connection, or some other issue might occur when your client initially joins PolicyPak Cloud.
If you always use a proxy, and the PolicyPak Cloud client cannot seem to contact the PolicyPak services, please read this PolicyPak KB article: I always use a proxy and the cloud client cannot seem to make contact with the services (see FAQ Item #3 above first.) What else can I try?.
During installation, the PolicyPak Cloud client will try to connect with PolicyPak Cloud for a maximum of 60 seconds. If it is able to make a connection and acquire a license within 60 seconds, you'll get a success message. If the PolicyPak Cloud client cannot locate PolicyPak Cloud you'll get an error message, as shown in Figure 157.

Figure 157. The error message when the PolicyPak Cloud client cannot connect to PolicyPak Cloud.
If you click "Continue," you'll see a success message, but no results of the connection to PolicyPak Cloud, as shown in Figure 158.

Figure 158. The success message indicating installation is complete.
Therefore, if the PolicyPak Cloud is contacted and/or the license isn't acquired, then the PolicyPak Cloud client will try to sync again within the next hour. It will continue to re-try every hour (after Internet access is restored).
System Time Error
A common error occurs when the system time is off. If you get the error shown in Figure 159, ensure that the system time on the client system is correct. If the time significantly off, the cloud client cannot talk with the cloud server.

Figure 159. System time error message.
To check the time, do the following:
Step 1 – Change the time zone to UTC, as shown in Figure 160.
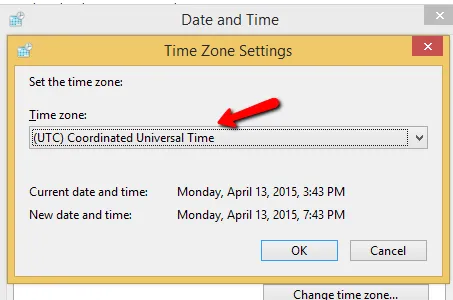
Figure 160. Selecting UTC as the time zone.
Step 2 – Verify the time on the computer is now the same as what is shown at the following website: https://www.worldtimeserver.com/current_time_in_UTC.aspx.
Step 3 – If the computer's time is off, change it so it matches the UTC time.
Step 4 – Then join PolicyPak Cloud.
Step 5 – After joining, change the time zone to your correct time zone.
Step 6 – Verify PolicyPak Cloud still works with commandline: ppcloud /sync.
Multiple Registrations for the Same Computer
If you attempt to destroy and re-create a computer, for instance, after re-installing the whole OS, then the computer will, by default, be seen as unique (see Figure 161). This is expected because of the computer registration modes, and it can typically happen when the computer is a VDI machine that gets destroyed and rebuilt often. To compensate for this, refer to the section "Company Details."
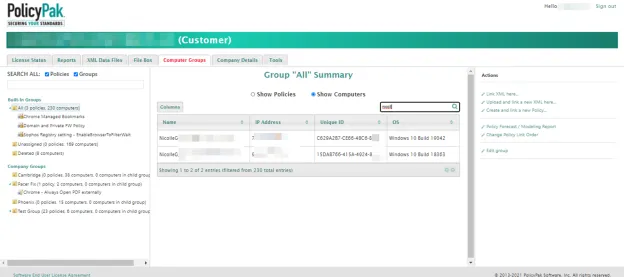
Figure 161. A computer is seen as being unique after the OS is re-installed.
The registration mode you likely want to use is "Loose (allow computers to recovery access by UUID or MAC Address)" for normal machines (as shown in Figure 162), and "Advanced (always register a new computer and keep existing records)" for VDI machines.
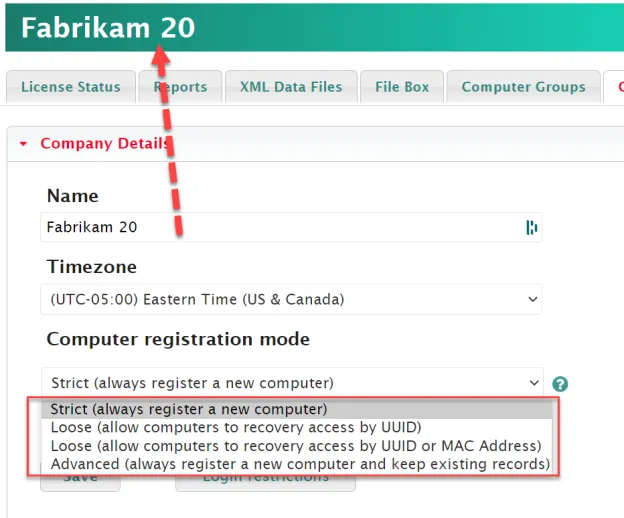
Figure 162. Selecting the registration mode.