Access > My Activities Page
The Access > My Activities page displays activities mapped to the user as individual cards, organized alphabetically or by Access Policy.

To access the My Activities page, open the Access interface. If there is only a single activity card present on this page that activity will open automatically.
Activities may be sorted in alphabetical order (the default) or organized into groups according to Access Policy. Duplicate activities will be automatically grouped into a single card on this interface. In the modal for provisioning the session, the user can still select from the multiple Access Policies that are duplicating their access to the activity.
An Activity may appear in more than one Access Policy group if the Activity is a member of more than one Access Policy. When sorted by Access Policy, the list of resources displayed is determined by the resource list of the Access Policy.
To create an Activity Session, click the plus button to begin. See the Create My Activity Session topic for additional information.
Add Activity
Follow the steps to add activities to the console.
Step 1 – Navigate to the Activities page.
Step 2 – In the Activities list, click the Add Activity icon.
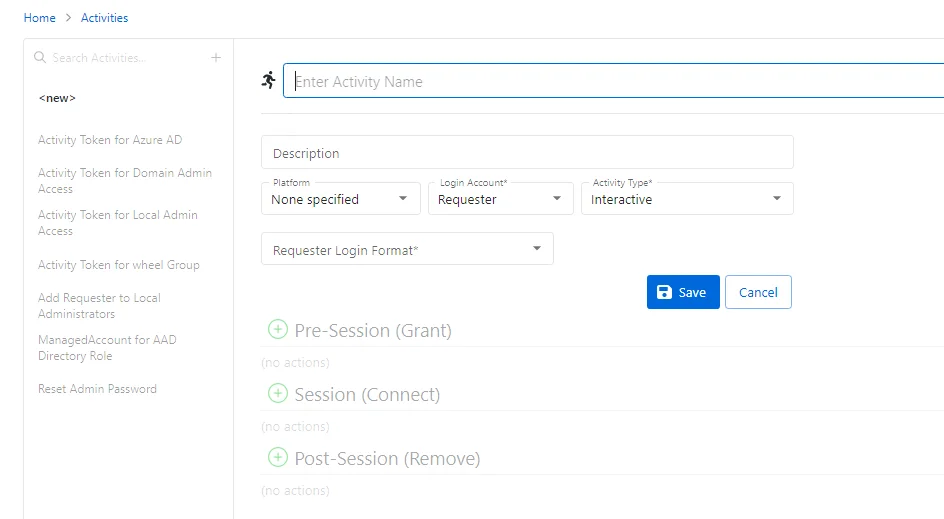
Step 3 – Enter the information for the desired activity. The configuration options will vary depending on each selection.
The pane on the left side of the page displays a list of the configured activities. This pane has the following features:
- Search — Searches the table or list for matches to the search string. When matches are found, the table or list is filtered to the matching results.
- Green + button - Add an activity to the list.
- Copy icon — Clones the activity and adds a new entry to the Activities list. Icon appears when activity is hovered over.
- Trashcan icon — Deletes the activity. Icon appears when activity is hovered over. A confirmation window will display.
Step 4 – Enter the configuration information on the right side of the page. Configuration options include:
- Name — Displays the name of the activity.
- Description — Description of the policy.
- Platform — Displays the type of platform, which defines the resource.
- Login Account — Displays the account used to log onto the resource.
- Activity Type — Controls the type of actions for the activity.
- Requester Login Format — Indicates the format that will be used to prefill the Username field for logging into the resource. It must exactly match the username defined on the resource.
- Application to Launch — Indicates the application that will be launched on the RDS server that the user is connected to by Privilege Secure
- Logon URL — Displays the primary logon page
Step 5 – Click Save to create the new activity.
Step 6 – With the new activity selected, configure the following settings. See the Add Action Window topic for additional information:
- Pre-Session (Grant) — List of actions that will run before the session begins. These actions may be paired with a corresponding Post-Session action.
- Session (Connect) — List of actions that will run during the session
- Post-Session (Remove) — List of actions that will run after the session completes. These actions may be paired with a corresponding Pre-Session action.
The new activity is added to the console and is shown in the Activities list.
Add Activities Window
The Add Activities window provides a list of Activities that have been created. Activities are created in the Activities Page.
The window has the following features:
- Search — Searches the table or list for matches to the search string. When matches are found, the table or list is filtered to the matching results.
- Available Activities — Shows all available activities
- Activities to Add — Shows selected activities
- Add button — Closes the window
Both tables have the following columns:
- Checkbox — Check to select one or more items
- Type — Classification of the activity
- Name — Displays the name of the activity
- Description — Description of the policy
- Created — Date timestamp when the item was created
Add Activities
Follow the steps to add activities to an activity group.
Step 1 – Navigate to the Policy > Access Policies page.
Step 2 – In the Activity Groups list, select the name of the activity group.
Step 3 – Click Add to open the Add Activities window.
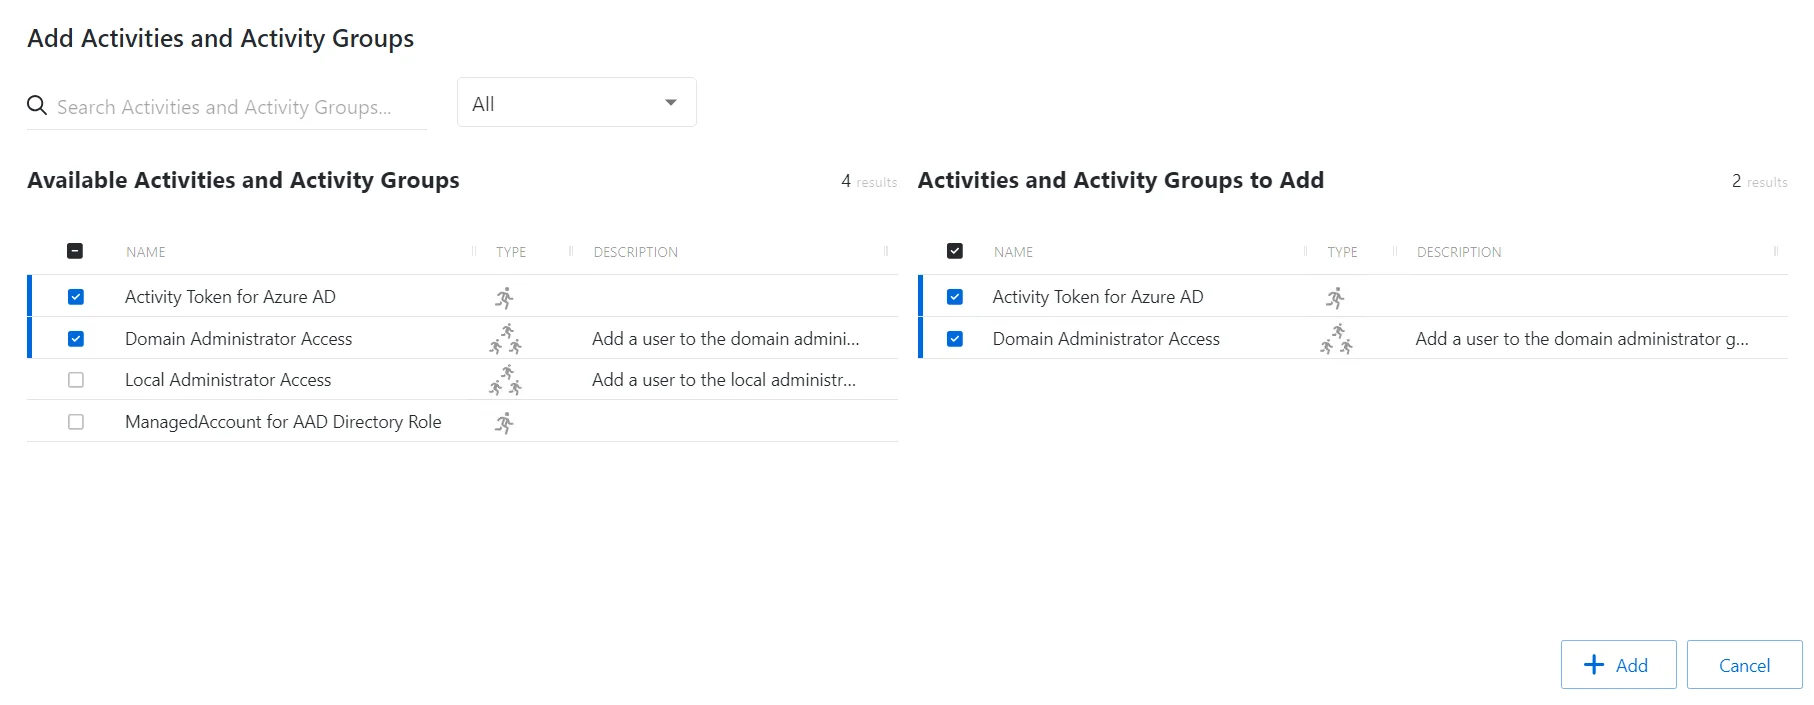
The Add Activities and Activity Groups window has the following features:
-
Search – Searches the Name and Operating System columns to match the search string. When matches are found, both tables are filtered to the matching results.
-
Available Credentials and Groups– Shows all Credentials and Groups that have been added to the console
-
Credentials and Groups to Add – Shows the Credentials and Groups to be added to the protection policy
-
Column headers can be sorted in ascending or descending order
- Name – The name of the activity
- Type – The type of activity, individual or group
- Description – Additional details for the activity
Step 4 – To add an activity to the activity group, click a row in the Available Activities list and it is immediately moved to the Activities to Add list.
Step 5 – (Optional) Click a row in the Activities to Add list to move it back to the All Activities list.
Step 6 – Click Add to add the activities to the activity group.
The activities are added to the activity group.